-
×
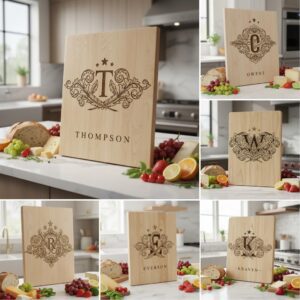 Vintage Crest Bundle, Charcuterie Board Designs, Elegant Monogram Family Name Art
1 × Original price was: $5.00.$3.50Current price is: $3.50.
Vintage Crest Bundle, Charcuterie Board Designs, Elegant Monogram Family Name Art
1 × Original price was: $5.00.$3.50Current price is: $3.50.(30% off)
-
×
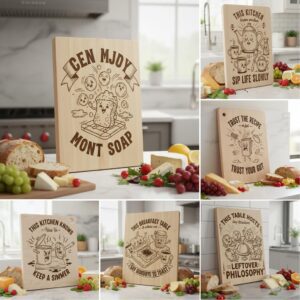
 Funny Kitchen Humor Bundle, Charcuterie Board Engraving Designs, 20 Styles
1 × Original price was: $5.00.$3.50Current price is: $3.50.
Funny Kitchen Humor Bundle, Charcuterie Board Engraving Designs, 20 Styles
1 × Original price was: $5.00.$3.50Current price is: $3.50.(30% off)
-
×
Funny Charcuterie Board Engraving File, 21 Cracked Egg Designs, Kitchen Humor
1 × Original price was: $5.00.$3.75Current price is: $3.75.
(25% off)
 Funny Kitchen Humor Bundle, Charcuterie Board Engraving Designs, 20 Styles
  Funny Charcuterie Board Engraving File, 21 Cracked Egg Designs, Kitchen Humor
 Tutorials
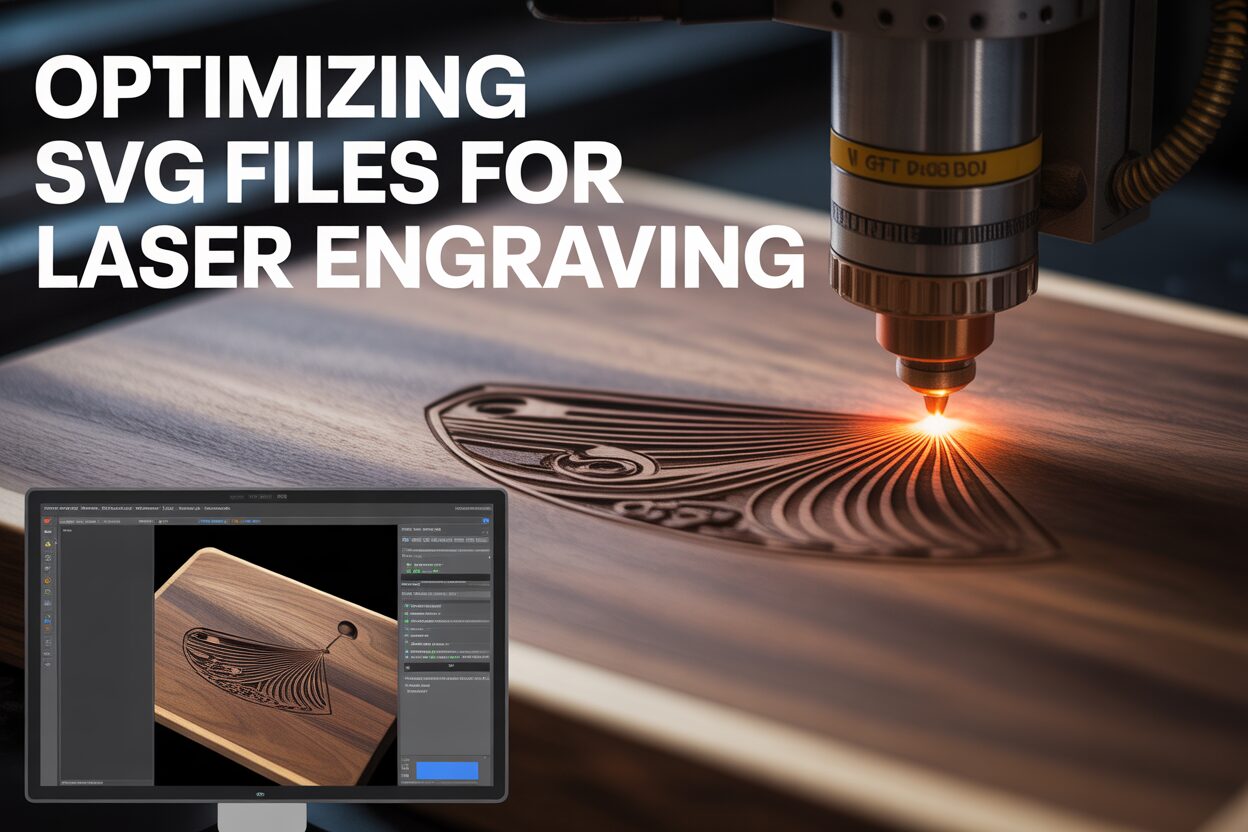
Optimizing SVG Files for Flawless Laser Engraving and Cutting
17
Nov
Nov
Estimated reading time: 6 minutes
Key Takeaways
- Vector SVG files are non-negotiable for laser cutting because their mathematical paths allow for infinite scaling without any loss of quality, ensuring perfectly sharp lines.
- Before sending a file to the laser, you must perform critical preparation steps: convert all text to paths, expand all strokes into fillable shapes, and unite or weld any overlapping objects into a single, clean outline.
- Use a color-coding system in your design file (e.g., red for cut, blue for score, black for engrave) to automatically assign different laser operations in software like Lightburn, drastically speeding up your workflow.
- Optimize the sequence of operations by always engraving first, then cutting internal shapes, and finally cutting the exterior outline. This prevents the workpiece from shifting and ensures perfect alignment.
Table of Contents
- Why Vector SVG Files Are Essential for Laser Work
- Core Techniques to Prepare SVG for Laser Cutting
- Streamlining Your Workflow with Lightburn SVG Settings
- Conclusions
- Frequently Asked Questions
The quality of your laser projects hinges on well-prepared design files. A poorly optimized SVG can lead to unexpected results, wasted material, and frustration. This guide provides a comprehensive tutorial on transforming any vector design into a flawless blueprint for your machine, ensuring clean cuts and crisp engravings every time. Master these essential steps to elevate your craft.
Why Vector SVG Files Are Essential for Laser Work
To understand why vector files are non-negotiable for high-quality laser work, we must first grasp the fundamental difference between the two main types of digital images: raster and vector. Your choice between them is the single most important factor determining whether you get a crisp, professional result or a fuzzy, amateurish one.
Raster images, like JPEGs, PNGs, and GIFs, are what we encounter most frequently in our digital lives. They are essentially intricate mosaics made of a fixed grid of tiny squares called pixels. Think of a digital photograph—if you zoom in far enough, you’ll see the individual colored blocks that make up the image. This structure is perfect for capturing the complex color gradients and subtle details of a photograph. However, it has a critical weakness for laser applications: it doesn’t scale. When you enlarge a raster image, the software simply makes the pixels bigger, resulting in a blurry, jagged, or “pixelated” appearance. For a laser that requires surgically precise lines, feeding it a pixelated roadmap is a recipe for disaster.
The Power of Paths: How Vectors Guarantee Precision
This is where vector graphics, and specifically the SVG (Scalable Vector Graphic) format, become essential. Unlike raster images, vectors are not based on pixels. Instead, they are built from mathematical equations that define points, lines, curves, and shapes on a Cartesian plane. A vector file doesn’t store a picture; it stores a set of instructions. For example, instead of storing a million pixels to form a circle, a vector file simply states: “Draw a circle with a radius of X, centered at coordinate Y, with a line thickness of Z.” Because these instructions are purely mathematical, they are infinitely scalable. You can resize a vector design from the size of a coin to the size of a house, and it will never lose a shred of quality. The lines will remain perfectly sharp and clean because the software simply recalculates the math for the new dimensions. This quality makes svg files for laser cutting and engraving the undisputed industry standard.
When you send a design to your laser machine, the software, like Lightburn, interprets these vector instructions directly. The laser head doesn’t “see” an image; it follows the paths defined in the file. A straight line in your SVG becomes a straight, continuous movement of the laser head. A perfect curve in your design is translated into a smooth, arcing motion, resulting in a flawless cut or score on your wood or slate. This direct translation from a mathematical blueprint to a physical action is what allows for the incredible precision of laser technology. Trying to achieve this with a raster image would force the software to guess where the “edge” is among a sea of pixels, leading to wobbly lines and imprecise results. For creating professional engraving files for laser machines, nothing comes close to the clarity and control offered by a well-made laser engraving svg.
Core Techniques to Prepare SVG for Laser Cutting
Once your design concept is complete, the next crucial phase involves technically preparing the file so the laser machine can interpret it flawlessly. A visually appealing design can fail spectacularly if its underlying vector structure isn’t clean and logical. Following these core preparation steps will eliminate the most common errors and ensure your digital file translates into a perfect physical object. This process is essential every time you prepare svg for laser cutting, regardless of the software you use.
-
Convert Text to Paths (or Outlines)
This should always be your first step when working with typography. Your design software uses font files installed on your computer to display text. However, the laser cutter’s software (like Lightburn) does not have access to those same fonts. If you save your file with “live” text, the receiving software will either display an error or substitute your carefully chosen font with a generic default, completely altering your design. To prevent this, you must convert the text into shapes. This process, often called “Create Outlines,” “Convert to Curves,” or “Object to Path,” transforms each letter from an editable character into a standard vector shape with nodes and paths. Once converted, it’s no longer text but a graphic that any system can read perfectly, ensuring your design’s integrity. -
Expand or Outline Strokes
In vector design, a line or “stroke” is defined by a central path and an assigned thickness. A laser cutter, by default, will only follow the infinitesimally thin central path. If you draw a 3mm thick line and want it engraved, the laser will simply trace a single hairline path down its center, ignoring the thickness you see on screen. To fix this, you must “Expand” or “Outline” the stroke. This command converts the line into a closed, filled shape defined by two paths—one for the inner edge and one for the outer edge. The laser now recognizes it as a shape to be filled (engraved) rather than a single path to be traced. This is critical for ensuring that the visual weight of your lines is accurately reproduced on the final product. -
Unite and Weld Overlapping Shapes
Complex designs are often built by layering and combining simpler shapes. A common example is script font, where each letter is an individual shape that overlaps the next. If you send this directly to the laser, it will cut out each letter’s full outline, creating unwanted internal cuts where they intersect and ruining the piece. The solution is to use a “Unite” or “Weld” function (found in tools like the Pathfinder panel in Adobe Illustrator). This operation merges all selected overlapping shapes into a single, cohesive object with one continuous outline. It intelligently removes all the interior path segments, leaving only the clean, exterior silhouette required for a perfect cut. This step is non-negotiable for creating a structurally sound laser cutter svg. -
Identify and Close Open Paths
For the laser to cut a shape out completely, it needs a closed path—a continuous loop where the start point and end point are the same. An “open path” is a line that doesn’t connect back to itself. If the laser is instructed to cut an open path, it will trace the line and then stop, leaving you with an incomplete cut. These open paths are a frequent source of errors. Most design programs have features to highlight these open nodes or “endpoints.” You must manually join them to close the shape. Advanced laser software like Lightburn also includes helpful tools like “Show open shapes” or an “Auto-join” function that can find and fix these issues for you. A final check for open paths is the last line of defense against a failed cut.
Streamlining Your Workflow with Lightburn SVG Settings
After you’ve meticulously prepared your vector file, the next step is to import it into laser control software. While the principles are similar across platforms, Lightburn offers an exceptionally powerful and intuitive system for translating your design into machine instructions. The key to mastering your lightburn svg workflow lies in understanding and utilizing its color-coded layer system, which gives you granular control over every line and shape.
Instead of a traditional layer panel, Lightburn assigns laser operations based on the color of the vector paths in your design. When you import an SVG, Lightburn automatically separates each distinct color into its own layer in the “Cuts / Layers” window. This brilliant system allows you to assign a unique set of instructions—including speed, power, and operation type—to each color. A common and highly effective practice is to establish a personal color-coding standard. For example:
- Red Paths: Assigned for cutting completely through the material. This layer will have high power and low speed.
- Blue Paths: Used for scoring or marking a line on the surface. This layer will use low power and high speed.
- Black Shapes: Designated for engraving or filling an area. This is where you bring a laser engraving svg to life.
By assigning these colors in your design software (like Adobe Illustrator or Inkscape) before importing, you can streamline the setup process immensely. When Lightburn loads the file, it will automatically populate your layers, ready for you to fine-tune the settings for your specific material.
Setting Operations with Line and Fill Modes
Within the “Cuts / Layers” panel, each color layer can be set to one of three main modes: ‘Line’, ‘Fill’, or ‘Fill+Line’. ‘Line’ mode tells the laser to trace the vector path exactly. This mode is used for both cutting and scoring; the only difference is the power and speed settings you apply. ‘Fill’ mode is used for engraving. It instructs the laser to scan back and forth, like an inkjet printer, to burn away the entire area enclosed by a shape. This is how text and logos are typically engraved. ‘Fill+Line’ is a convenient combination that first fills the shape and then traces its outline, which can create a sharp, defined edge for your engravings. Understanding the distinction between having the laser follow a path (‘Line’) versus filling a shape (‘Fill’) is fundamental to achieving your desired result.
Optimizing the Job for Efficiency and Precision
One of Lightburn’s most powerful features is its ‘Optimization Settings’. These controls dictate the sequence in which the laser will perform its operations, which is critical for both speed and quality. By default, the software might try to cut in a seemingly random order. However, you can command it to operate in a more logical sequence. A crucial best practice is to set the order so that all engraving (‘Fill’) operations happen first. Next, you should perform all interior cuts (e.g., the holes in the letter ‘O’). The final operation should always be the main exterior cut that separates the piece from the source material. Following this “engrave, then inside cuts, then outside cuts” order prevents your workpiece from shifting or dropping prematurely, which would ruin the alignment for any subsequent operations. Taking a moment to configure these settings ensures a clean, professional outcome every time.
Conclusions
Properly preparing your svg files for laser engraving is not just a preliminary step; it’s the foundation of a high-quality finished product. By converting text, expanding strokes, and organizing your layers, you take full control over your laser cutter. These techniques will consistently help you achieve professional, predictable results and bring your most intricate designs to life with precision.
Frequently Asked Questions
Q: Why can’t I use a JPEG or PNG file for laser cutting?
A: JPEGs and PNGs are raster images made of a fixed grid of pixels. When you enlarge them, they become blurry and jagged, which leads to imprecise and low-quality cuts. Vector SVGs use mathematical paths that remain perfectly sharp at any size, which is essential for the precision required by a laser.
Q: What is the most common mistake when preparing a design with text?
A: The most common and critical mistake is forgetting to convert the text to paths (or “create outlines”). If you leave the text “live,” the laser machine’s software won’t recognize the font and will substitute it with a default, completely changing your design. Converting text to shapes ensures it is treated as a graphic that any system can read.
Q: My laser isn’t cutting through a shape completely. What could be the cause?
A: This is most often caused by an “open path,” where the start and end points of a shape’s outline are not connected. The laser follows the line and simply stops where it ends. You must find these open points in your design software and join them to create a single, closed loop for the laser to follow.
Q: In what order should my laser perform its tasks for the best result?
A: The optimal order is always the same: 1. Engraving (Fill) operations first. 2. All interior cuts next. 3. The final exterior cut last. This sequence guarantees that your workpiece remains stable and perfectly aligned for all operations, preventing it from shifting before the job is complete.
Block "subscribe-popup" not found