Tools
Mastering Your Machine: A Guide to Laser Engraving Software
Jul
Estimated reading time: 9 minutes
Key Takeaways
- Laser engraving software is paramount for achieving precision and creativity, encompassing essential features like diverse file format support, basic design tools, and crucial parameter controls (power, speed, frequency, passes).
- Software types range from integrated (machine-specific, beginner-friendly) to dedicated standalone (advanced, versatile, professional) and accessible free options, each with distinct advantages and limitations.
- Optimizing designs for specific materials, especially wood, requires fine-tuning settings such as DPI, line interval, and dithering methods to achieve desired engraving effects and quality.
- Consistent experimentation with material test grids, proper focus calibration, and utilizing material-specific profiles within your software are key practices for professional and efficient laser engraving.
Table of Contents
- Understanding Laser Engraving Software Essentials
- Navigating Different Types of Laser Engraving Software
- Optimizing Your Designs for Wood and Other Materials
- Conclusions
- FAQ
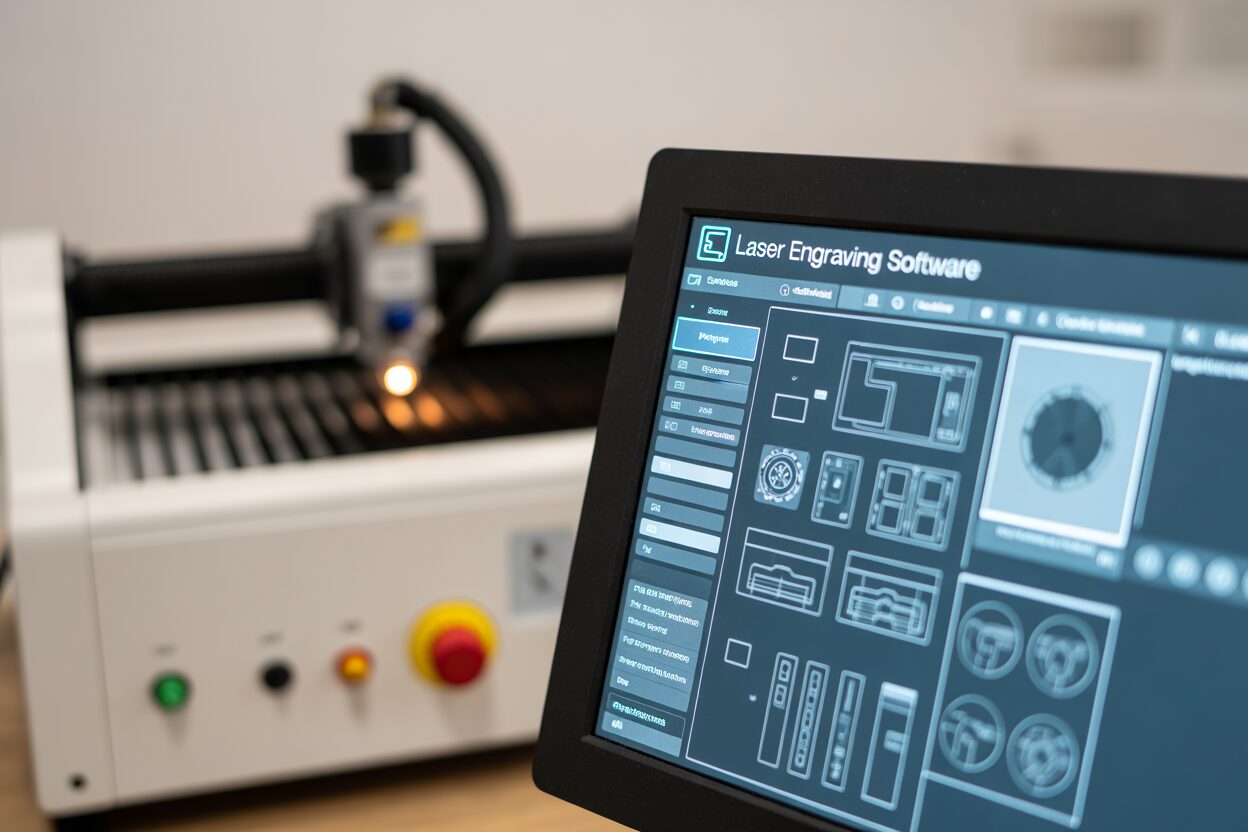
The power of a laser engraver lies not just in the hardware, but in the software that controls it. This guide delves into the world of laser engraving software, exploring essential features, different types, and how to choose the perfect fit for your projects, ensuring precision and creativity in every engraving.
Understanding Laser Engraving Software Essentials
Before you embark on the thrilling journey of transforming your digital visions into tangible laser-engraved masterpieces, a fundamental grasp of your software’s core capabilities is paramount. While the market offers a diverse array of design software for laser engraving, a shared set of essential features forms the backbone of almost every reliable program. Understanding these elements unlocks the true potential of your machine and empowers you to achieve professional-grade results, even as a novice.
File Format Versatility: The Gateway to Your Designs
One of the most critical functionalities of any laser engraving software is its ability to interpret and process various file formats. This interoperability is what allows you to bring your creative concepts, whether meticulously drafted or quickly sketched, into the engraving environment.
- Scalable Vector Graphics (SVG): This XML-based vector image format is a cornerstone of laser engraving. SVG files are resolution-independent, meaning they can be scaled to any size without losing quality or becoming pixelated. This makes them ideal for intricate designs, precise cuts, and detailed engravings where crisp lines are essential. Software support for SVG ensures your designs maintain their integrity from concept to a finished product.
- Drawing Exchange Format (DXF): Primarily used in computer-aided design (CAD) applications, DXF is another vital vector format. It’s often employed for more technical drawings, architectural plans, and parts fabrication. If your projects involve engineering precision or mechanical components, robust DXF import capabilities are non-negotiable.
- Joint Photographic Experts Group (JPG) and Portable Network Graphics (PNG): These raster image formats are essential for photographic engravings and designs that rely on gradients, textures, or a rich palette of colors. While laser engravers can’t reproduce colors directly, they translate colors into varying shades of gray or dot patterns, allowing for nuanced photographic etching. JPG is great for continuous-tone images with subtle variations, while PNG, with its support for transparency, is excellent for designs with irregularly shaped outlines or when layering elements. Understanding how your software handles these raster images, especially in converting them for engraving, is key to achieving realistic and appealing photographic results.
Basic Design Tools: Your Digital Canvas
Beyond importing existing artwork, effective laser engraving software provides a suite of intuitive design tools, allowing you to create and modify designs directly within the application. This eliminates the need for constant switching between different programs and streamlines your workflow.
- Text: The ability to generate and manipulate text is fundamental for personalizing items, adding labels, or creating signage. Look for software that offers a wide range of font choices, along with options for sizing, spacing, alignment, and even converting text to paths for more customized effects.
- Shapes: From basic geometric forms like circles, squares, and triangles to more complex polygons, integrated shape tools drastically simplify the creation of many designs. These tools often include options for precise sizing, rotation, and alignment, which are crucial for accurate engraving.
- Lines: Drawing straight lines, curves, and freeform paths empowers you to create custom outlines, intricate patterns, and detailed illustrations directly within the software. Advanced line tools might include snapping features, bezier curves for smooth transitions, and options for line thickness and style.
Parameter Controls: The Voice of Your Laser
The true art of laser etching lies in your ability to meticulously control the laser’s interaction with your material. This is where parameter controls come into play, providing the granular adjustments necessary to achieve specific effects, from deep cuts to delicate surface markings.
- Power: This setting dictates the intensity of the laser beam. Higher power settings are typically used for cutting through thicker materials or achieving deeper engravings, while lower power is suitable for surface marking, delicate etching, or engraving less dense materials. Mastering power control is crucial for preventing burning, achieving consistent results, and extending the lifespan of your laser.
- Speed: Speed refers to how quickly the laser head moves across the material. A slower speed allows the laser to dwell longer on a specific spot, resulting in a deeper cut or darker engraving. Conversely, faster speeds are used for lighter marks or for covering larger areas more efficiently. The interplay between power and speed is a dynamic dance that dictates the final appearance of your etch.
- Frequency (Hz/PPI): Primarily relevant for CO2 lasers, frequency or pulses per inch (PPI) determines how many times the laser fires per unit of distance. Higher frequencies apply more laser energy in a given area, leading to denser and darker engravings, which is particularly useful for achieving high-quality photographic reproductions or very opaque etching. For cutting, frequency helps in creating cleaner edges by reducing heat accumulation and preventing scorching.
- Passes: This setting specifies how many times the laser will trace the same path. Multiple passes at lower power can achieve the same depth as a single pass at higher power, often with less material damage or less burning. This is especially useful for cutting thicker materials where a single pass might not be sufficient, or for achieving highly detailed, layered engravings.
Understanding and skillfully manipulating these core elements is not merely about using software; it’s about mastering your machine. It’s the foundation upon which all your creative aspirations in laser engraving will be built, enabling you to transform simple vector lines and raster images into stunning, tangible realities. Even as a beginner, a solid grasp of these essentials will make the world of laser etching accessible and incredibly rewarding.
Navigating Different Types of Laser Engraving Software
The landscape of laser engraving software is as diverse as the projects you can create. Understanding the various categories and their inherent strengths and weaknesses is crucial for selecting the right tool for your specific needs, experience level, and budget. While our previous discussion covered the fundamental features common to most software, this chapter delves into how these features are packaged and delivered across different software types. Choosing the appropriate software can significantly impact your learning curve, the complexity of designs you can achieve, and the overall efficiency of your workflow.
Integrated Software: Machine-Specific Solutions
Many laser engravers, particularly entry-level and consumer-grade models, come bundled with their own proprietary software. This integrated software is designed to work seamlessly with the specific machine it accompanies, often providing a streamlined and user-friendly experience right out of the box.
Advantages:
- Optimized Compatibility: The primary benefit is perfect harmony between software and hardware. This minimizes compatibility issues, simplifies setup, and ensures that all machine features are fully accessible and controllable.
- Lower Learning Curve: These programs are typically designed with the beginner in mind, featuring intuitive interfaces and often simplifying complex settings into more manageable presets. They can feel like the best laser engraving software for beginners due to their guided approach.
- All-in-One Solution: Often, they provide basic design capabilities alongside the control functions, meaning you don’t necessarily need additional software to get started.
Disadvantages:
- Limited Features: While great for basic tasks, integrated software often lacks the advanced design tools, intricate parameter controls, or extensive file format support found in dedicated standalone solutions.
- Vendor Lock-in: You are typically tied to that specific brand and machine; the software won’t work with other engravers.
- Slower Updates: Updates can be less frequent and may prioritize machine compatibility over new feature development.
Examples: Software provided by brands like Glowforge, xTool, and Atomstack often falls into this category, designed specifically for their ecosystem.
Dedicated Standalone Software: Advanced Control and Design
For users seeking greater flexibility, advanced features, and compatibility across different machine brands, dedicated standalone software is the preferred choice. These programs are often more robust, offering extensive design capabilities and granular control over every aspect of the engraving process.
Advantages:
- Advanced Functionality: Offers a much deeper set of tools for design, image processing (e.g., dither patterns, image adjustments), and highly customizable parameter settings (complex layering, advanced etching strategies).
- Universal Compatibility: Many standalone solutions support a wide range of laser engravers, allowing you to use the same software even if you upgrade your machine in the future.
- Professional Results: The level of control provided enables users to push the boundaries of their machine’s capabilities and achieve professional-grade results.
- Community Support: These often have large, active user communities and extensive documentation.
Disadvantages:
- Steeper Learning Curve: The wealth of features and controls can be overwhelming for new users, requiring a significant time investment to master.
- Cost: Most dedicated standalone solutions are premium, paid software, though the investment often pays off in terms of capabilities and efficiency.
- System Requirements: May require more powerful computer hardware to run smoothly, especially with complex designs.
Examples: LightBurn is a prime example of dedicated standalone software, widely regarded for its powerful features, versatility, and broad machine compatibility. RDWorks is another common example, particularly for users of Ruida controllers.
Laser Engraving Software Free Options: Accessible Entry Points
For hobbyists and those just dipping their toes into laser engraving, laser engraving software free options provide a valuable entry point, allowing experimentation without a financial commitment. These can range from truly open-source projects to free versions of commercial software with limited features.
Advantages:
- No Cost: The most obvious benefit is accessibility. This allows users to experiment and learn without upfront expenditure.
- Community-Driven Development: Open-source options (though less common for direct laser control) sometimes benefit from active community development and rapid iteration.
- Basic Functionality: Many free options still provide the essential tools for basic design creation and machine control, making them suitable for simple projects.
Disadvantages:
- Limited Features and Support: Free software often lacks advanced features, priority technical support, and comprehensive documentation.
- Compatibility Issues: May have limited compatibility with various laser machines or require more manual configuration.
- Steeper Learning Curve (in a different way): While free, some open-source projects can have less polished interfaces or more complex setup procedures, making them challenging for absolute beginners despite their cost.
- Trial or Restricted Versions: Many “free” options are trial versions that expire or cripple key features, pushing users towards paid upgrades.
Examples: Some laser manufacturers offer basic laser engraving software free with their machines as a stripped-down version of a more comprehensive paid suite. Inkscape (while primarily a vector graphics editor, it can be used for design and sometimes exports directly to laser-compatible formats or used with plugins) is a powerful free alternative for design creation, which then needs to be paired with a machine control software. Some open-source projects or simple control interfaces also exist for specific hardware.
Choosing the right software is an individualized decision. Beginners might start with integrated software or a robust free option, while those seeking professional results or managing multiple machines will gravitate towards dedicated standalone solutions. Evaluating your needs against these categories will set you on the path to mastering your machine.
Optimizing Your Designs for Wood and Other Materials
While our previous discussions have explored the fundamental features and diverse types of laser engraving software, the true mastery of your machine comes from understanding how to adapt your designs and software settings to the unique properties of different materials. This chapter will delve into the nuances of material-specific optimization, with a particular focus on engraving software for wood, as it’s a common and versatile medium for laser etching. The goal is to achieve consistent, high-quality results, whether you’re aiming for deep cuts, crisp lines, subtle shading, or vibrant contrasts.
Understanding Material Properties and Software Adjustments
Every material reacts differently to laser energy. Factors such as density, composition, color, and thermal conductivity directly influence how much power and speed are needed for a desired effect. Your laser engraving software is the crucial interface for translating these material properties into precise laser parameters.
- Wood: Wood is perhaps the most common material for laser engraving due to its natural beauty and how well it takes to both cutting and engraving. Different types of wood (e.g., maple, birch, cherry, pine) will react differently. Softer woods might require lower power and higher speed to prevent charring, while denser hardwoods can handle more power for deeper engravings. The software allows you to fine-tune power, speed, and focus for specific wood types. When using engraving software for wood, experiment with test pieces to dial in settings for optimal contrast and detail without excessive burning.
- Acrylic: Acrylic engraves with a frosted, white appearance. Cast acrylic tends to engrave better than extruded acrylic, providing a clearer, sharper etch. Settings for acrylic usually involve higher power and slower speeds for engraving to create a smooth, melting effect, while for cutting, higher power and slower speed are essential to get a clean, polished edge.
- Leather: Leather can engrave beautifully, but it’s prone to charring. Lower power and higher speeds are often preferred to achieve a branding effect without cutting through or burning excessively. The type of leather (natural vs. synthetic) also plays a significant role.
- Anodized Aluminum: This material removes the anodized layer, revealing the silver aluminum underneath. It requires very low power and high speed, as the goal is to just ablate the surface coating.
- Glass: Glass engraving involves micro-fracturing the surface. Higher speed and lower power are generally advised to create a frosted look without cracking the material. Applying a thin layer of soap or a damp paper towel to the surface can sometimes improve the appearance of the etch.
Raster Engraving: DPI, Line Interval, and Dithering
For designs involving images, photographs, or complex shading, raster engraving is employed. Your software’s ability to manipulate these settings is critical for achieving photographic detail and smooth gradients.
- DPI (Dots Per Inch): This setting determines the resolution of your engraved image. Higher DPI means more laser pulses per inch, resulting in finer detail and smoother transitions. For wood, a higher DPI (e.g., 250-600 DPI) can capture intricate details and subtle shading. However, too high a DPI can lead to excessive burning or ‘muddy’ details due to overlapping laser dots. Conversely, a lower DPI might result in a pixelated or “dotty” appearance.
- Line Interval (or Line per Inch – LPI): Related to DPI, line interval dictates the spacing between successive passes of the laser head. A smaller line interval (more lines per inch) means the lines are closer together, creating a denser, darker, and smoother appearance. For engraving software for wood, adjusting line interval is key to controlling shading and the perceived depth of engraved images. Narrower intervals generally produce darker results, while wider intervals can create a lighter, more textured look.
- Dithering Methods: When engraving grayscale images, the software uses dithering algorithms to simulate shades by varying the density and pattern of laser dots. Different methods are available:
- Ordered Dither (e.g., Floyd-Steinberg, Atkinson): These methods arrange dots in a structured pattern, often resulting in a more predictable and sometimes crisper look, but can introduce noticeable patterns.
- Diffusion Dither: Randomly distributes dots to break up patterns, often leading to a more natural and less “dotty” appearance, especially for photographic engravings. For wood, diffusion dithering often yields excellent results for realistic images.
- Grayscale Mode: Some software offers a true grayscale mode where the laser’s power is modulated for each pixel, creating genuine shades of gray rather than just dot patterns. This requires a laser with power modulation capabilities (often a CO2 laser) and can produce exceptionally smooth and realistic photographic engravings on materials like wood.
Experimenting with different dithering methods in your engraving software for wood is crucial, as the optimal method can vary depending on the wood type and the specific image.
Tips for Design Preparation and Software Tool Selection:
- Material Test Grids: Before an important project, always run small test grids on scrap pieces of your target material. These grids vary power and speed settings, allowing you to visually assess optimal parameters for precise laser etching and desired effects. Many software packages have built-in “material test” features.
- Focus Calibration: Proper focus is paramount for crisp results. Ensure your software assists with precise focusing, whether through autofocus mechanisms or manual height adjustment tools.
- Vector vs. Raster for Detail: For sharp, clean lines and cuts, use vector designs. For photographs, complex gradients, or detailed textures, use raster images. Understand when to convert text to paths in your software to ensure consistent engraving, especially if scaling the text significantly.
- Material-Specific Profiles: Utilize your software’s ability to save and load material profiles. Once you’ve found optimal settings for a specific type of wood or acrylic, save it as a preset to streamline future projects.
- Image Pre-processing: Before importing raster images into your engraving software for wood, consider pre-processing them in external image editing software (like Photoshop or GIMP). Adjust contrast, brightness, and sharpness. Converting images to black and white or grayscale *before* import can also give you more control over the final laser output.
By diligently experimenting with settings and understanding how your software translates digital data into physical changes on various materials, you can unlock a vast array of creative possibilities and consistently achieve professional-grade laser engravings.
Conclusions
Choosing the right laser engraving software is crucial for unleashing your machine’s full potential. By understanding the various types, features, and your specific needs, you can elevate your creations and efficiently bring your laser engraving visions to life, ensuring optimal results for every project.
FAQ
Q: What are the most essential features to look for in laser engraving software?
A: Essential features include versatile file format support (SVG, DXF, JPG, PNG), basic design tools (text, shapes, lines), and precise parameter controls (power, speed, frequency, passes) to fine-tune the laser’s interaction with materials.
Q: What are the main differences between integrated, standalone, and free laser engraving software?
A: Integrated software is machine-specific, offering high compatibility and a lower learning curve but limited features. Dedicated standalone software provides advanced functionality and universal compatibility for professional results but has a steeper learning curve and cost. Free options offer accessibility for beginners but often lack advanced features, robust support, or broad compatibility.
Q: How do material properties affect laser engraving settings?
A: Material properties like density, composition, and color significantly influence the required laser power, speed, and focus. For instance, softer woods need lower power to prevent charring, while denser materials can handle more power for deeper engravings. Each material requires specific adjustments to achieve optimal results.
Q: Why is dithering important for raster engraving, especially on wood?
A: Dithering simulates shades in grayscale images by varying the density and pattern of laser dots, as lasers don’t reproduce color directly. For wood, different dithering methods (like diffusion dither) can create more natural and realistic photographic engravings, making it crucial for achieving detailed and nuanced shading.
Block "subscribe-popup" not found