Tutorials
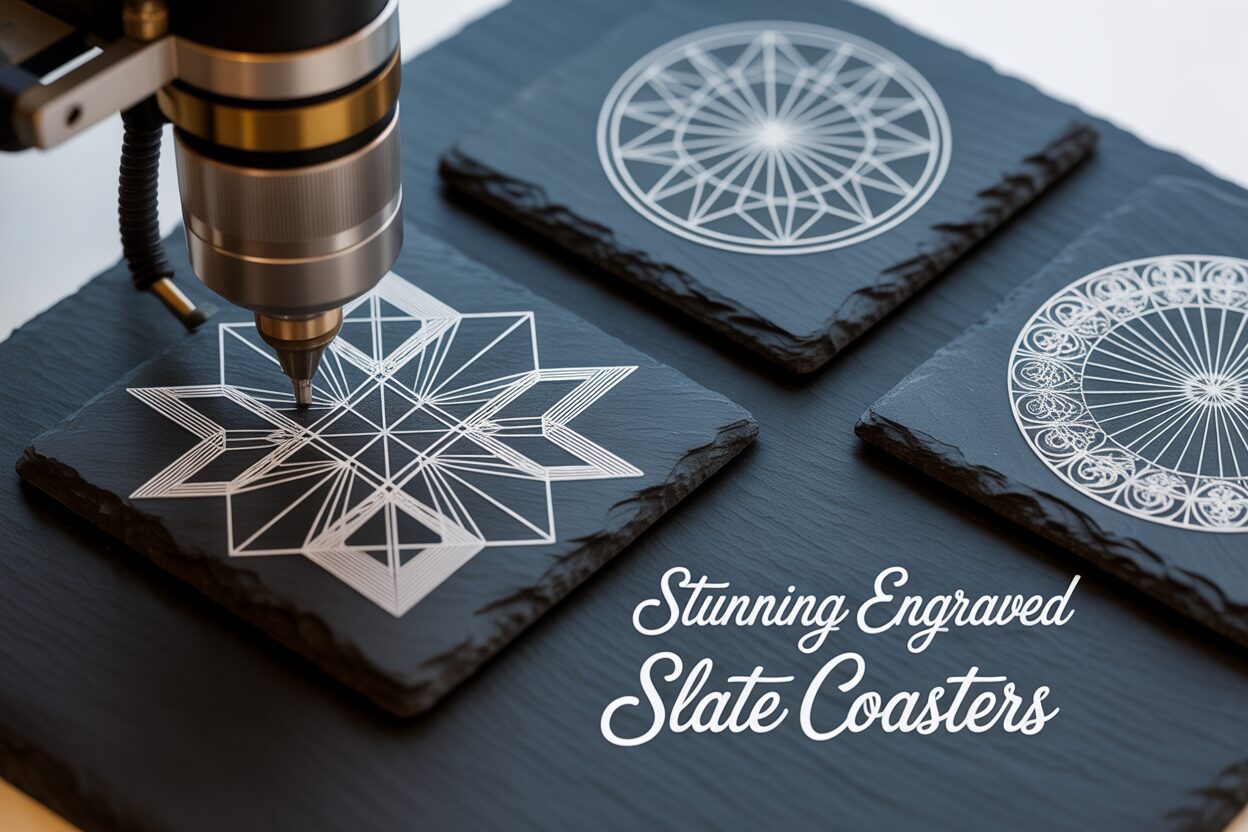
How to Create Stunning Engraved Slate Coasters
Oct
Estimated reading time: 8 minutes
Key Takeaways
- Slate selection and preparation are foundational; choose smooth, uniform coasters and always clean them thoroughly before engraving.
- High-contrast, black-and-white designs produce the most striking and professional results, as the laser creates a light mark on the dark stone.
- Master the “low power, high speed” principle for your laser settings to achieve a clean surface fracture rather than melting the slate.
- Always perform a material test grid on a spare piece of slate to pinpoint the perfect settings for your specific laser and material batch, saving time and preventing waste.
Table of Contents
Transform plain slate coasters into personalized works of art. This guide will walk you through everything you need to know, from selecting the right materials and design to mastering the laser engraving process. Whether you’re a hobbyist or a small business owner, learn how to produce high-quality, professional-looking engraved slate coasters that are sure to impress.
Choosing and Preparing Slate for Flawless Engraving
The quality of your raw material is the foundation of a stunning final product. Not all slate coasters are created equal, and making the right choice at the outset will save you time, frustration, and material. The goal is to find slate that is as consistent as possible, allowing your laser to perform its job without unpredictable variations.
What to Look For in a Quality Slate Coaster
When inspecting potential slate coasters, pay close attention to three key characteristics: surface texture, thickness, and edge quality. An ideal coaster has a relatively smooth, flat surface. While slate is a natural material with inherent texture, you should avoid pieces with deep grooves, flaking layers (delamination), or significant high and low spots. These inconsistencies can cause the laser to go in and out of focus across the design, resulting in an engraving with blurry or faint patches. Uniform thickness is equally critical. If one side of the coaster is significantly thicker than the other, it can be difficult to level it on the laser bed, again leading to focus issues. Use a caliper to measure a few spots if you can, or simply eyeball them by stacking a few together. Finally, examine the edges. Most commercially available slate coasters have hand-chipped, rustic edges, which add to their charm. Ensure these chips are not so severe that they compromise the coaster’s structural integrity or create large, unstable pieces that could break off.
Sourcing Your Slate
You can find blank slate coasters from a variety of suppliers, each with its own advantages. Large online marketplaces like Amazon or Etsy offer a wide selection from numerous vendors, often with customer reviews that can give you insight into the product’s quality and consistency. These are great starting points for small batches. For larger quantities, consider dedicated laser material suppliers or wholesale craft distributors. They often sell in bulk at a lower per-unit cost and tend to have more consistent product lines specifically vetted for laser engraving. Don’t overlook local home goods stores or even tile suppliers, as they sometimes carry slate products that can be repurposed as coasters. Regardless of your source, it’s wise to order a small test batch first to evaluate the quality before committing to a large purchase.
Once you have your slate, proper preparation is the final step to ensure a clean, crisp, and high-contrast engraving. This process removes contaminants that can interfere with the laser and can optionally enhance the final appearance of your design.
Step 1: The Essential Cleaning Process
Slate often arrives covered in a fine layer of dust from the cutting and shipping process. It also picks up oils from handling. Both can negatively impact the engraving quality.
- Begin by washing each coaster with warm water and a small amount of mild dish soap. Use a soft brush or cloth to gently scrub the surface and edges, removing any visible dust or grime.
- Rinse the coaster thoroughly under running water to ensure no soap residue remains.
- For a final-pass cleaning, wipe the surface with a lint-free cloth dampened with isopropyl alcohol. This will effectively remove any lingering oils or film.
- Allow the slate to air dry completely or gently pat it dry with a clean, lint-free cloth. Trapped moisture can interfere with the laser’s effectiveness, so be certain the slate is bone-dry before it goes into your machine.
Step 2: Enhancing Contrast for a Striking Finish (Optional but Recommended)
This step is the secret to making your engraved designs truly pop. Applying a thin coating to the slate before engraving darkens the surface, which dramatically increases the contrast with the light gray, almost white, mark made by the laser.
- Mineral Oil Method: Food-safe mineral oil is an excellent choice. Pour a small amount onto a lint-free cloth and wipe a very thin, even layer across the entire top surface of the clean, dry coaster. The slate will immediately darken. Use another clean cloth to buff the surface and wipe away any excess oil. You are aiming for a uniform, satin finish, not a greasy one.
- Clear Lacquer/Sealant Method: For a more permanent and protective finish, you can use a clear spray lacquer or sealant. In a well-ventilated area, place your coasters on a protected surface. Hold the can about 10-12 inches away and apply a very light, even coat. A single light pass is better than a thick, heavy one, which can pool and create an uneven surface for the laser. Allow the lacquer to cure completely according to the manufacturer’s instructions—this can take several hours. Engraving on uncured lacquer can produce harmful fumes and a gummy, messy result.
By taking the time to properly select and prepare your slate, you create the perfect canvas. Your laser will be able to work more effectively, resulting in a flawless, high-contrast engraving that showcases the beauty of both your design and the natural stone.
Creating the Perfect Slate Coaster Design
The meticulously prepared slate is your canvas, and the design you choose is the art that will bring it to life. Unlike printing in color, laser engraving on slate is a subtractive process based on a simple binary: the laser either fires or it doesn’t. When the laser beam hits the slate, it ablates or fractures the surface, revealing a lighter, grayish-white layer underneath. This fundamental principle dictates the most important rule of slate design: contrast is everything. The most striking and successful designs are high-contrast, black-and-white graphics. In your design file, the pure black areas are what the laser will engrave, while the white areas will be ignored, leaving the original dark slate untouched.
Why Black and White is King
While some advanced users experiment with dithering—a process where the software simulates shades of gray by using patterns of tiny dots—beginners should stick to pure black and white for predictable and clean results. Grayscale images can confuse the laser software, leading to patchy or muddled engravings. A design with fine lines, crisp text, and solid black shapes will always translate more effectively onto slate than one with subtle gradients or multiple shades. Think of your design as a stencil; you are creating a map that tells the laser precisely where to “burn” and where to leave alone. This stark contrast between the engraved light gray and the natural dark slate is what gives the final product its signature, elegant look.
Inspiration for Your Custom Slate Coasters
The beauty of a custom slate coaster lies in its personalization. The possibilities are endless, but here are some popular and effective ideas to get you started:
Interested in more Slate Coaster? Check out our Slate Coaster laser file designs: Click here!
- Monograms and Names: Classic and sophisticated. A single, ornate initial, a family name with an established date, or a couple’s monogram for a wedding gift are timeless choices.
- Logos and Branding: Perfect for corporate gifts or promotional items. Simple, bold logos with minimal fine detail reproduce exceptionally well. A QR code that links to a company website is also a clever and functional design.
- Quotes and Sayings: Choose a favorite quote, a witty saying, or a meaningful phrase. Pay close attention to font choice; bold, clear fonts are more legible than thin, script-like ones. “Home is where the WIFI connects automatically.” is a fun example for a modern home.
- Intricate Patterns: Geometric designs, mandalas, Celtic knots, or floral patterns can look absolutely stunning. Look for designs with good separation between lines to prevent them from blurring together during engraving.
- Maps and Skylines: A silhouette of a city skyline, a map of a favorite state or country, or even coordinates of a special place (like a first home or wedding venue) make for deeply personal and cherished gifts.
From Concept to Digital File: Creating Your Artwork
You don’t need to be a professional graphic designer to create a great file for your laser. For beginners, the tools built into your laser control software, such as LightBurn, are often sufficient. LightBurn has robust text and shape tools that allow you to easily create monograms, write quotes, and arrange simple design elements. It also features a powerful image trace function that can convert a simple black-and-white picture into a vector format that the laser can follow. If you want to create more complex designs, free vector software like Inkscape or raster programs like GIMP are excellent starting points. For those who prefer to use pre-made designs, websites like Etsy, Creative Fabrica, and various design marketplaces offer millions of files specifically created for laser engraving. When searching, use terms like “mandala SVG,” “laser engraving files,” or “monogram vector” to find high-quality artwork. Always ensure the file you purchase is in a suitable format (SVG, AI, DXF for vectors; high-resolution PNG or JPG for rasters) and check the license to ensure you can use it for your intended purpose. A thoughtful, well-prepared design is the most critical element in transforming a simple stone square into a personalized work of art.
Mastering Laser Settings for Crisp Results
With your design finalized and your slate prepared, you are now at the crucial interface between the digital and physical worlds: the laser itself. Mastering the correct laser settings for slate is less about brute force and more about finesse. Unlike wood which burns or acrylic which vaporizes, slate engraving is a process of thermal shock. The intense, focused energy of the laser beam causes micro-fractures on the surface of the stone. These tiny fractures scatter light differently than the smooth, dark surface, creating the characteristic light gray or white mark. The goal is to achieve this fracture cleanly and consistently without overheating the material.
The universal mantra for engraving slate is: low power and high speed. This combination delivers a quick, sharp burst of energy that is just enough to fracture the surface without lingering long enough to melt the surrounding material. Too much power or too slow a speed will introduce excessive heat, causing the silicates within the slate to melt or vitrify. This results in a messy, inconsistent engraving that can appear glassy, yellowish, or have a raised, bubbly texture. It completely ruins the desired high-contrast, elegant finish. A clean, bright white mark is the sign of a perfectly executed thermal fracture.
Starting Points for Diode and CO2 Lasers
Laser systems vary widely, but the principles remain the same. The following are general starting points. Your specific machine and the unique composition of your slate will require fine-tuning, but these will get you in the right ballpark.
- For Diode Lasers (5W-20W optical): These lasers are very capable of producing beautiful results on slate. Start with a speed between 3000 mm/min and 6000 mm/min. Set your power relatively low, in the range of 20% to 40%. A higher Line Interval or lower Lines Per Inch (LPI) setting, such as 0.1mm or 254 LPI, is often ideal to ensure solid fills without over-burning the lines.
- For CO2 Lasers (40W-100W+): CO2 lasers are much more powerful, so your settings will reflect this. Use a much higher speed, typically between 300 mm/s and 500 mm/s. The power required will be very low, often just 10% to 20% of your machine’s maximum. A high LPI, around 300-400, can yield very fine details, but always be mindful of heat buildup.
Remember to ensure your laser is perfectly focused. An out-of-focus beam will spread the energy too widely, resulting in a weak, blurry mark instead of a crisp, fractured line.
The Indispensable Material Test Grid
Before you even think about engraving one of your pristine, prepared coasters, you must run a test. Slate is a natural material with variations in density, moisture, and mineral content from batch to batch, and even from coaster to coaster. The only way to find the perfect settings for your specific material is to run a material test grid on a scrap piece or the back of a spare coaster. Most laser software, including LightBurn, has a built-in feature to generate this grid automatically. It creates a matrix of squares, each engraved with a different combination of power and speed. Once the test is complete, examine the grid closely. Look for the square that displays the brightest white color with the sharpest details and no signs of melting or discoloration. This winning combination is your “sweet spot.” Taking five minutes to run this test is the single most important step in avoiding wasted materials and achieving consistently flawless engraved slate coasters.
Conclusions
You now have the knowledge to create beautiful, custom slate coasters. By carefully preparing your slate, choosing the right design, and dialing in your laser settings, you can produce stunning results. Don’t be afraid to experiment with different techniques and slate engraving ideas to develop your unique style and create truly memorable and sellable products.
Frequently Asked Questions
Q: What is the best type of design for slate coasters?
A: High-contrast, black-and-white designs are ideal. Think bold text, simple logos, intricate patterns with clear lines, and silhouettes. Grayscale images or designs with subtle gradients do not translate well, as the laser engraving process on slate is essentially binary (engrave or don’t engrave).
Q: Why are my engraved slate coasters turning out yellow or glassy?
A: This is a classic sign of using too much power or too slow a speed. The excessive heat is melting the silicates in the slate instead of cleanly fracturing the surface. To fix this, increase your speed and lower your laser power, and always run a test grid to find the optimal settings.
Q: Can I use any slate for laser engraving?
A: While you can engrave most slate, the quality varies significantly. For the best results, look for coasters that are uniform in thickness and have a relatively smooth, flat surface. Avoid pieces with deep grooves or flaking layers, as these will cause focus issues and inconsistent engraving.
Q: Do I really need to clean the slate coasters before engraving?
A: Yes, absolutely. Slate often has a layer of dust and natural oils that can interfere with the laser, leading to a blurry or weak engraving. A simple wash with mild soap and water, followed by a wipe with isopropyl alcohol, ensures the laser can interact directly with a clean stone surface for a crisp, high-contrast mark.
Block "subscribe-popup" not found