Tutorials
How to Create Stunning 3D Illusion Lamps with Laser Engraving
Dec
Estimated reading time: 11 minutes
Key Takeaways
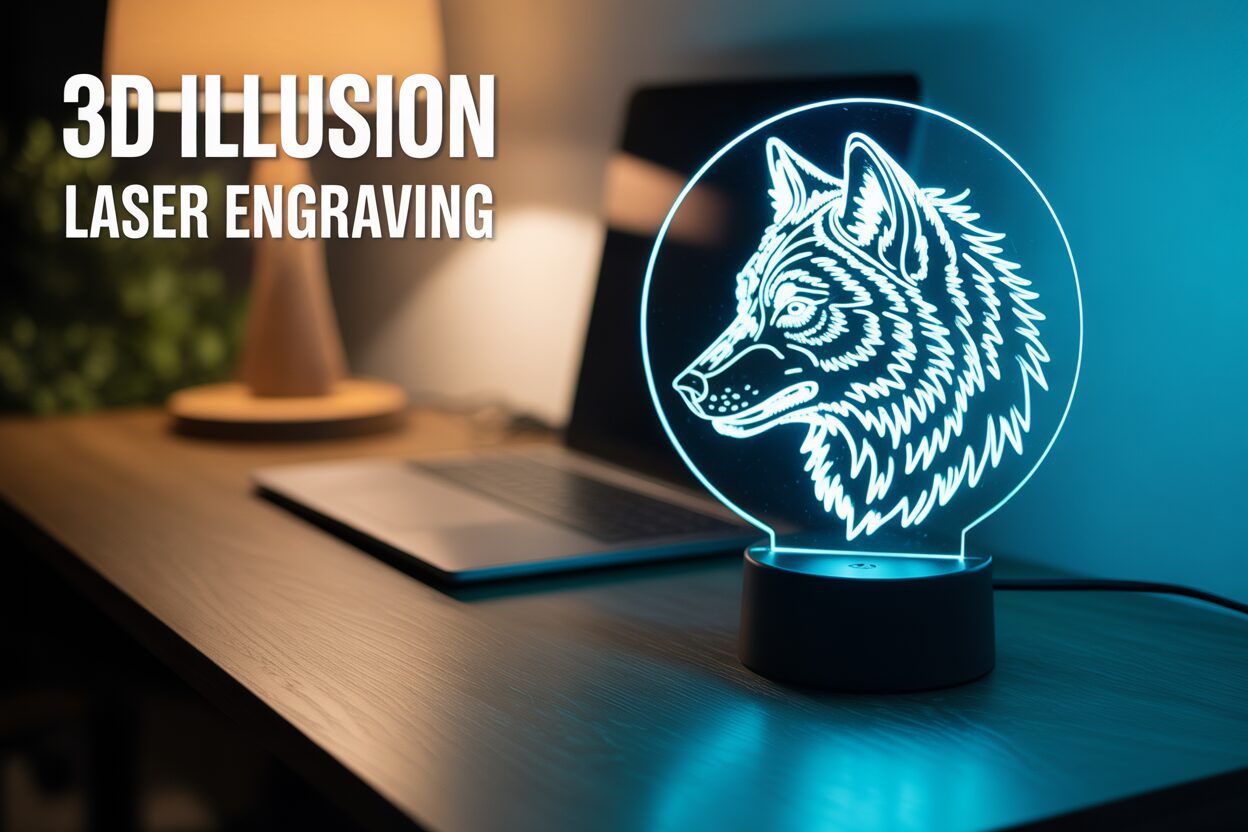
- The 3D illusion effect is created by laser-etching a 2D design onto clear cast acrylic, which scatters light from an LED base to make specific lines visible.
- The right materials are crucial for success: a CO2 or powerful diode laser, cast acrylic (not extruded), and a properly sized LED lamp base.
- Design file preparation is a critical step. Whether using a pre-made file or creating your own, you must accurately scale the design and its base tab to fit your acrylic and LED base.
- Laser settings must be separated into two processes: a high-speed, low-power setting for engraving the illusion and a low-speed, high-power setting for cutting the outline.
- Proper finishing, including careful cleaning with a microfiber cloth and isopropyl alcohol, is essential to achieve a crystal-clear, professional result without damaging the acrylic.
Table of Contents
- Understanding the Magic Behind 3D Illusion Lamps
- Gathering Your Tools and Materials
- Preparing Your Design for Engraving
- The Laser Engraving and Cutting Process
- Final Assembly and Finishing Touches
- Conclusions
- Frequently Asked Questions
Dive into the fascinating world of 3D illusion laser engraving. This guide offers a complete walkthrough for creating captivating LED lamps that appear three-dimensional. We will cover everything from selecting the right materials and design files to the final assembly, empowering you to start one of the most rewarding laser engraving projects you can undertake.
Interested in more 3D Illusion? Check out our 3D Illusion laser file designs: Click here!
Understanding the Magic Behind 3D Illusion Lamps
At first glance, a 3D illusion lamp seems like pure magic. A glowing, intricate object—be it a starship, a delicate flower, or a favorite character—appears to hover in the air, fully three-dimensional. How can a solid object float inside a thin sheet of glass or plastic? The secret isn’t sorcery, but a brilliant application of physics and optics. The entire stunning effect is an elaborate, yet beautifully simple, optical illusion. You are not creating a true 3D object, but rather tricking the human eye and brain into perceiving depth where there is none. The magic is born from the interplay between three key elements: a flat sheet of transparent acrylic, a precisely engraved design, and a light source.
The process of 3D illusion laser engraving hinges on how light travels through different media. The canvas for our illusion is a sheet of cast acrylic, chosen for its exceptional optical clarity. When the LED base is turned on, it shines light up into the edge of the acrylic sheet. In its polished, un-engraved state, the acrylic acts like a light pipe. The light travels through the material, bouncing off the internal surfaces with minimal loss, a principle known as total internal reflection. It remains largely trapped and invisible within the sheet. The magic happens when we introduce the laser-engraved design. The laser doesn’t cut through the acrylic; instead, it etches the surface, creating a frosted texture composed of thousands of microscopic pits and fractures. These engraved lines are no longer smooth and transparent. When the trapped light hits one of these rough, etched lines, its path is disrupted. The light is scattered and refracted outwards, away from the surface of the acrylic and towards your eyes. Suddenly, the invisible path of light becomes a brilliantly illuminated line.
From 2D Lines to a 3D World
This is where the artistry comes in. A random collection of glowing lines won’t create a convincing illusion. The design itself is a clever 2D vector drawing that uses artistic techniques to imply three dimensions. Think of it like a topographical map or the wireframe model used in computer graphics. The design incorporates:
- Contour Lines: Lines that follow the perceived shape and curves of the object, defining its form.
- Perspective: Lines are drawn to converge or shrink, giving a sense of distance and depth.
- Hatching and Shading: The density of the engraved lines can be varied. Densely packed lines create brighter areas that the brain interprets as highlights or surfaces closer to the viewer, while sparsely packed lines suggest shadows or surfaces receding into the background.
When these carefully planned lines are illuminated, your brain automatically processes these familiar visual cues. It connects the dots, fills in the gaps, and reconstructs the 2D pattern into a coherent, three-dimensional image. Because the un-etched acrylic remains perfectly clear and nearly invisible—especially in a dimly lit room—the glowing lines appear to be floating in mid-air, completely untethered. It’s a masterful deception, transforming a flat, etched plate into a luminous, holographic sculpture. Understanding this principle is the first step to mastering the craft and designing illusions that truly captivate.
Gathering Your Tools and Materials
With a solid understanding of the science behind the illusion, the next step is to assemble the right toolkit. The quality of your final lamp is directly tied to the quality of your materials and machinery. Investing in the right components from the start will save you time, prevent frustration, and ensure a professional, dazzling result. This isn’t just about owning a laser; it’s about choosing each element with the final, glowing product in mind.
The heart of this operation is, of course, the laser engraver. While many types of lasers can mark acrylic, for a crisp acrylic laser cut and engraving, a CO2 laser is generally preferred for its wavelength, which interacts cleanly with the material. However, modern diode lasers with sufficient power and a fine spot size can also produce excellent results. Key features to look for are precise power and speed control. You need to be able to dial in the settings to create a frosted etch without melting the surrounding acrylic. An effective air assist is also non-negotiable; it blows a steady stream of air at the engraving point, preventing flare-ups, clearing debris, and resulting in a much cleaner, sharper line that catches the light beautifully. Ensure your laser’s bed size can accommodate your desired lamp dimensions and that it can handle both raster engraving for the illusion and vector cutting to shape the acrylic panel.
Choosing Your Canvas and Light Source
The material you engrave on is just as crucial as the machine itself. You must use cast acrylic sheets, not extruded acrylic. This is the single most important material choice you will make. When a laser hits extruded acrylic, it tends to melt and create a gummy, clear engraving that won’t scatter light effectively. Cast acrylic, due to its manufacturing process, vaporizes cleanly under the laser, leaving a frosty, white, textured mark that is perfect for catching and diffusing light. A thickness of 3mm or 4mm (1/8″) is standard, as it fits most commercially available lamp bases. For the light source and stand, you’ll need specialized led lamps lasercut wooden bases. These bases serve two purposes: they hold the acrylic panel securely upright and house the strip of LEDs that illuminates the design from below. When selecting a base, ensure the slot width perfectly matches your acrylic’s thickness for a snug, stable fit. Consider the features you want, such as USB power, battery operation, or RGB color-changing capabilities with a remote control. Wooden bases are a popular choice as they add a natural, elegant touch and can even be engraved themselves for further customization.
Finally, you need the digital blueprint for your illusion. This comes in the form of a vector file. You can create your own designs from scratch using software like Adobe Illustrator, CorelDRAW, or the free and powerful Inkscape. This gives you ultimate creative freedom but requires design skill and an understanding of how to use contour lines and shading to create the illusion of depth. For those who want to jump straight to engraving, a vast market of premium 3d illusion laser files is available online on platforms like Etsy or specialized design websites. A high-quality, pre-made file is more than just a picture; it’s a design that has been meticulously optimized by an experienced artist. The line thickness, spacing, and overall flow are specifically engineered to maximize the 3D effect when engraved on acrylic, saving you hours of trial and error and guaranteeing a stunning outcome.
Preparing Your Design for Engraving
The digital design file is the soul of your 3D illusion lamp. It is the blueprint that tells the laser exactly where to etch the thousands of light-scattering lines that will bring your illusion to life. Proper preparation of this file is a non-negotiable step that separates a blurry, confusing final product from a crisp, stunning masterpiece. You have two primary paths to a finished design: using a professionally made, pre-existing file or embarking on the creative journey of designing your own. Both paths require careful attention to detail in your design software before you even think about turning on the laser.
Using Pre-Made Files: The Fast Track to Success
For those new to laser engraving or design, starting with professionally crafted 3d illusion laser files is highly recommended. These files, often in SVG, DXF, or AI format, have been optimized by experienced designers to produce the best possible 3D effect. The first step is to import the file into your laser control software, such as LightBurn, or a vector graphics program like Adobe Illustrator or Inkscape. The most critical task at this stage is scaling. Your design must be sized to fit the physical piece of acrylic you plan to use. More importantly, the tab at the bottom of the design—the part that slots into the LED base—must be scaled to the exact width of the slot in your base. Use digital calipers to measure the slot in your wooden base and resize the tab in your software to match, ensuring a snug and secure fit. While scaling the entire design, maintain the aspect ratio to avoid distorting the illusion. Once scaled, inspect the file to confirm it consists of two parts: a group of vector lines for engraving and a single, closed vector outline for cutting.
From Image to Engravable Art: The Creative Process
Creating a design from scratch is a rewarding challenge that offers complete artistic freedom. This process is the heart of any custom laser cut 3d craft. It typically begins with a photograph or a sketch that you want to transform into line art. You cannot simply engrave a standard image file like a JPG or PNG; it must be converted into a series of vector paths. Software like Illustrator and Inkscape have auto-tracing tools (like “Image Trace” or “Trace Bitmap”) that can provide a starting point, but for the best results, manual tracing with the pen tool is superior. This allows you to control the placement and flow of every line.
Here are key principles for creating a successful illusion design:
- Think in Lines, Not Fills: The laser only follows paths. Any “fill” colors in your design are ignored. The illusion of solid surfaces is created by the density of lines, a technique called hatching or cross-hatching.
- Vary Line Density for Depth: Areas with tightly packed parallel lines will catch more light, appearing brighter and closer to the viewer. Areas with fewer, more widely spaced lines will appear dimmer and farther away, creating shadows and depth.
- Contour Lines are Crucial: Your lines should follow the perceived contours of the object. If you are drawing a sphere, your lines should be curved, not straight, to enhance the illusion of roundness.
- Separate Cut and Engrave Layers: Always place your engraving lines on one layer and the final outline for cutting on a separate layer. This allows you to assign different laser settings—a low-power, high-speed setting for engraving and a high-power, low-speed setting for cutting—to each layer. Finally, just as with a pre-made file, you must design a tab at the base of your cut outline that perfectly matches the dimensions of your LED base slot.
The Laser Engraving and Cutting Process
This is the moment where digital design and physical reality converge. The hum of the laser, the bright flash of light, and the scent of vaporized acrylic are all part of the magic that transforms a simple, flat sheet into a work of art. Executing the engraving and cutting is arguably the most exciting stage, and with careful preparation, it’s a process that is both incredibly satisfying and straightforward. Illusion lamps are one of the most rewarding laser engraving projects because the result appears far more complex than the process itself, making it perfect for both beginners looking for a “wow” factor and experts seeking a polished product.
Pre-Job Checklist: Safety and Setup
Before you press the start button, a meticulous setup is essential for both safety and quality. First and foremost, safety. Acrylic fumes can be noxious, so ensure your laser’s exhaust fan is running and properly vented to the outside. Always wear your safety glasses specifically rated for your laser’s wavelength. Now, prepare your material. Your sheet of cast acrylic will likely have a protective paper or plastic film on both sides. Leave it on for now! This film prevents scratches during handling and, more importantly, drastically reduces smoke residue and flare-ups on the acrylic surface, leading to a much cleaner engraving. Place the sheet on your laser bed, ensuring it is perfectly flat. Use hold-down pins or magnets to secure the edges so it cannot shift during the job—even a millimeter of movement could ruin the alignment between the engraving and the final cut. The final setup step is setting the focal height. This is critical. An out-of-focus laser will produce a wide, blurry line that scatters light poorly. Use your machine’s focusing tool to set the perfect distance between the laser nozzle and the surface of the acrylic.
With your machine ready, it’s time to dial in the settings in your software. This will always be a two-part process with two distinct sets of settings: one for engraving the illusion and one for the acrylic laser cut outline. The exact numbers will vary depending on your laser’s wattage (CO2 vs. diode) and your specific machine, so always run a small test grid on a scrap piece of the same material first.
- For Engraving: The goal is to create a frosted white mark on the surface, not to dig a deep trench. This requires high speed and relatively low power. For a 40-60W CO2 laser, a good starting point might be a speed of 300-500 mm/s with a power of 12-20%. For a diode laser, the settings will be different, but the principle is the same: fast and light. Ensure your software is set to “Fill” or “Raster Engrave” for these lines.
- For Cutting: The goal is to slice cleanly through the material in a single pass, leaving a smooth, almost flame-polished edge. This requires low speed and high power. For 3mm acrylic with a 40-60W CO2 laser, you might start at 10-15 mm/s with 50-70% power. Set this layer to “Line” or “Vector Cut.”
Ensure your air assist is turned on for both operations. It will keep the engraving lines clean of debris and prevent flaming during the cut. In your software, make sure the engraving layer is set to run before the cutting layer. This ensures the intricate design is completed while the acrylic sheet is still fully stable. Now, with your settings confirmed, send the job to the laser, close the lid, and press start. Watch as the laser head methodically traces your design, and remember: NEVER leave a running laser unattended. Once the job is complete, let the exhaust fan run for a minute to clear the fumes before opening the lid to retrieve your creation.
Final Assembly and Finishing Touches
With the laser’s work complete, you are holding the tangible result of your design and preparation—a precisely etched acrylic panel. This final stage is all about presentation, transforming your component parts into a finished, professional-looking lamp. It’s a quiet, hands-on process that provides the satisfying conclusion to your project, moving from the high-tech world of lasers to the simple, tactile joy of assembly. The care you take in these last few steps will ensure the illusion is displayed at its absolute best.
The first step is a meticulous cleaning. The engraving and cutting process, even with a protective film, can leave a fine layer of acrylic dust and residue in the etched lines and along the cut edges. Start by carefully peeling off the protective film from both sides of the acrylic—this is the big reveal where you see the crispness of your work for the first time. To clean it, use a soft, lint-free microfiber cloth. This is crucial, as paper towels or rough cloths can easily leave fine scratches on the acrylic surface, which will be painfully obvious when the lamp is lit. For fingerprints or stubborn residue, lightly dampen the cloth with isopropyl alcohol (IPA) or just clean water. Gently wipe down the entire surface, paying special attention to the engraved areas to ensure all dust is removed. Do not use harsh chemicals like window cleaner (which often contains ammonia), acetone, or other solvents, as they can cause the acrylic to craze, developing a network of tiny cracks that will permanently ruin the optical clarity. The goal is a crystal-clear canvas where only the engraved lines stand out.
The Moment of Illumination
Once your acrylic piece is perfectly clean and dry, it’s time for the final assembly. Take your led lamps lasercut wooden base and your acrylic panel. Handle the acrylic by its edges to avoid leaving new fingerprints. Align the tab at the bottom of your acrylic design with the slot in the base. It should be a snug fit. Gently but firmly, push the acrylic into the slot until it is seated fully at the bottom. It should stand perfectly straight without wobbling. If the fit is too tight, do not force it, as this can crack the acrylic or the base. Instead, remove it and use a fine-grit sandpaper or a small file to lightly sand the sides of the tab until it slides in smoothly. If the fit is slightly loose, a small, strategically placed piece of clear tape on the tab can add the necessary thickness for a secure fit.
Now, plug the USB cable into the base and a power source. With the press of a button, the LEDs will flood the bottom edge of the acrylic with light, and your design will instantly spring to life. Your flat, clear panel is now a glowing, three-dimensional sculpture. This finished laser cut 3d craft is more than just a project; it’s a stunning piece of interactive art. As home decor, it serves as an excellent nightlight, a conversation-starting desk accessory, or a unique accent on a bookshelf. As a gift, it’s personal and impressive. Consider creating custom packaging or even lightly engraving the recipient’s name or a short message onto the wooden base itself to make it a truly one-of-a-kind present that showcases the magic you’ve learned to create.
Conclusions
You now have the knowledge to create your own incredible 3D illusion lamps. This project is a perfect way to blend technical skill with artistry, resulting in a beautiful and functional piece. Don’t hesitate to explore different designs and materials to make your creations truly unique. Start this exciting laser cut 3d craft today and light up your space.
Frequently Asked Questions
Q: Why is it so important to use cast acrylic instead of extruded acrylic?
A: Cast acrylic vaporizes under a laser, leaving a crisp, frosty-white mark that is perfect for scattering light and creating a bright illusion. Extruded acrylic tends to melt rather than vaporize, resulting in a clear, gummy engraving that doesn’t catch light effectively and will produce a very faint, poor-quality illusion.
Q: Can I make a 3D illusion lamp with a diode laser?
A: Yes, modern high-power diode lasers with a fine spot size can produce excellent results on acrylic. The key is precise power and speed control to achieve a clean etch without melting. A CO2 laser is often preferred for its wavelength’s interaction with acrylic, but a capable diode laser is a perfectly viable alternative.
Q: What is the single most critical measurement when preparing my design file?
A: The most critical measurement is the width of the tab at the bottom of your design. It must be scaled to the exact width of the slot in your LED lamp base. Use digital calipers to measure the physical base slot and adjust the tab in your software to ensure a snug, secure fit without being too tight.
Q: How can I clean the finished acrylic panel without scratching it?
A: Always use a soft, lint-free microfiber cloth. If water is not enough to remove fingerprints, lightly dampen the cloth with isopropyl alcohol (IPA). Never use paper towels, rough fabrics, or harsh chemical cleaners like Windex (which contains ammonia), as they can easily scratch the surface or cause the acrylic to develop tiny cracks (crazing).
Block "subscribe-popup" not found