-
×
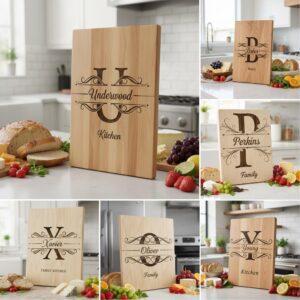 Monogram Family Name Designs for Charcuterie Boards, Personalized Surname Engraving Files
1 × Original price was: $5.00.$3.25Current price is: $3.25.
Monogram Family Name Designs for Charcuterie Boards, Personalized Surname Engraving Files
1 × Original price was: $5.00.$3.25Current price is: $3.25.(35% off)
Tutorials
How to Create a Personalized Laser Engraved Charcuterie Board
07
Aug
Aug
Estimated reading time: 9 minutes
Key Takeaways
- Choose the Right Wood: Opt for closed-grain hardwoods like maple, cherry, or walnut for durability, food safety, and superior engraving results.
- Perfect Your Design & Settings: Use high-contrast vector files (SVG) for clean lines and always run a test grid on scrap wood to dial in the perfect laser power and speed settings.
- Finish for Safety and Beauty: After engraving and cleaning, always apply a food-safe finish like mineral oil or a beeswax blend to protect the wood and make it safe for serving food.
Table of Contents
- Selecting the Perfect Wood for Your Charcuterie Board
- Pre-Made vs. Crafting Your Own Board
- Design Preparation for Laser Engraving
- Creating the Optimal Design File
- Beyond Engraving: Incorporating Laser Cutting
- The Engraving Process Step-by-Step
- Dialing in Your Settings with a Test Grid
- Applying a Food-Safe Finish
- The Step-by-Step Finishing Process
- Conclusions
- Frequently Asked Questions
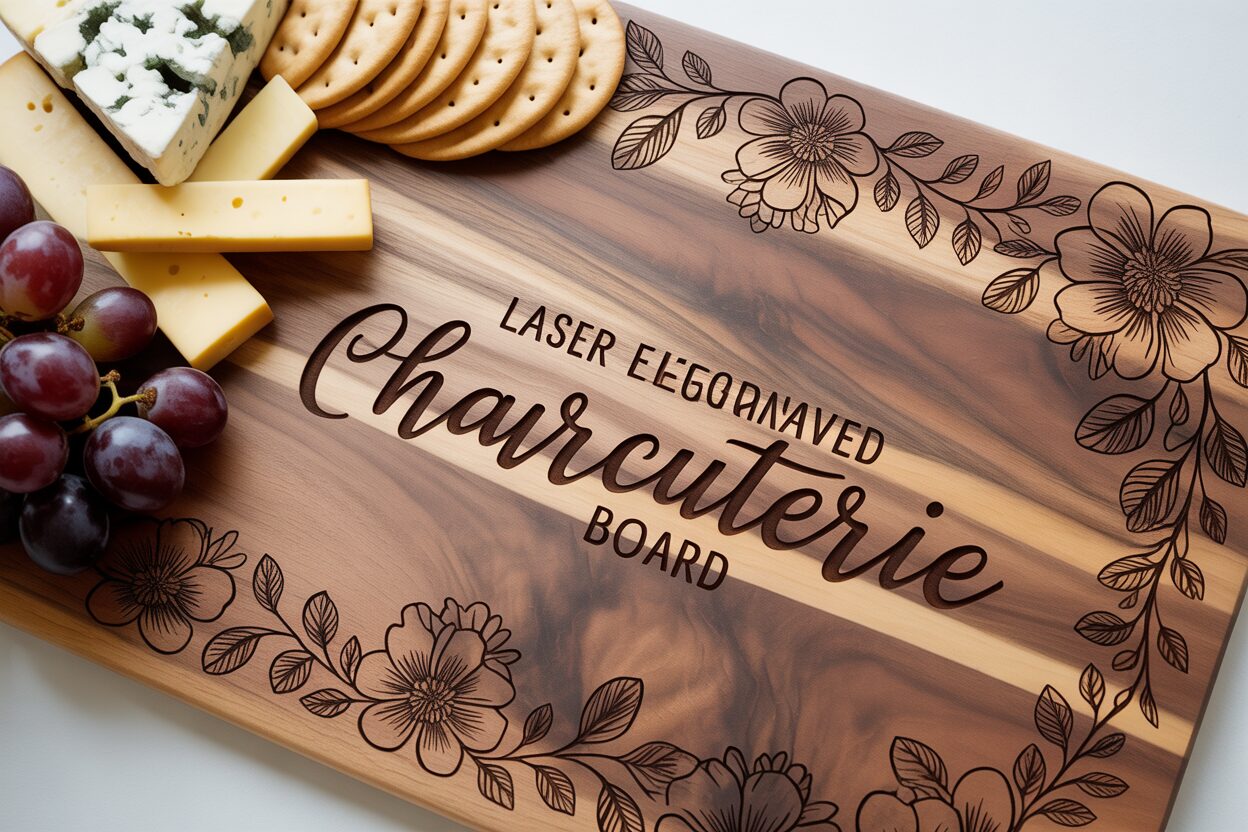
Transform a simple wooden board into a functional piece of art. A laser engraved charcuterie board makes a perfect personalized gift or a stunning addition to your own kitchen. This guide will walk you through every step, from choosing the right materials to applying a beautiful, food-safe finish, ensuring your project is both impressive and practical for everyday use.
Selecting the Perfect Wood for Your Charcuterie Board
The foundation of any stunning and durable laser engraved charcuterie board is the wood itself. The choice you make here will influence not only the board’s longevity and food safety but also the final appearance of your engraved design. Not all woods are created equal for this task, and understanding the key differences is crucial for a successful project. The single most important rule is to select a closed-grain hardwood. Woods like maple, cherry, and walnut are ideal because their dense structure and tiny pores prevent bacteria, moisture, and food particles from getting trapped deep within the wood. This makes them significantly more hygienic and easier to clean than open-grain woods like oak or ash, which have large, visible pores that can harbor germs. Furthermore, the tight, smooth surface of closed-grain hardwoods provides the perfect canvas for laser engraving, allowing for crisp lines, sharp details, and beautiful contrast.
Let’s explore the top contenders for your project:
- Maple: A very hard, dense, and light-colored wood, often with a subtle grain pattern. Its pale surface creates a dramatic, high-contrast effect when engraved, making your design pop. This is an excellent choice for intricate wood engraving designs with fine text or detailed logos. However, its hardness means you will likely need to use higher laser power or a slower speed to achieve a deep, dark burn.
- Cherry: Known for its rich, warm reddish-brown hue that deepens beautifully with age, cherry is a classic choice. It’s slightly softer than maple, making it a bit easier to engrave. The resulting burn is a rich, dark brown, offering a sophisticated and slightly more subtle contrast than maple. A personalized charcuterie board made from cherry has a timeless, premium feel.
- Walnut: A luxurious, dark brown hardwood that immediately conveys elegance. Because the wood itself is so dark, the laser engraving creates a subtle, tone-on-tone effect. This can be incredibly stylish for minimalist designs or monograms, resulting in a very high-end look. Walnut is similar in hardness to cherry and engraves very cleanly.
Pre-Made vs. Crafting Your Own Board
Once you’ve considered the type of wood, you must decide whether to purchase a pre-made board or create one from raw lumber. Buying a pre-made board is the most convenient option, saving you significant time and the need for woodworking tools. You can find a wide variety of shapes and sizes ready for engraving. The downside is a lack of control over the specific grain pattern and the potential for a generic shape. If you buy a board that is already finished with oil, you will need to sand the engraving area lightly to ensure the laser can properly burn the wood. Conversely, crafting the board yourself offers complete creative freedom. You can select the exact piece of lumber, highlighting a unique grain pattern, and cut it to any custom shape you desire. This path allows you to create a truly one-of-a-kind personalized charcuterie board from start to finish. However, it requires access to woodworking equipment like a planer, jointer, sander, and router, as well as the skills to use them safely and effectively. Your choice depends on your timeline, budget, and access to a workshop.
Design Preparation for Laser Engraving
With your perfect piece of wood selected, the next step is to create or prepare the artwork that will transform it into a unique custom cheese board. A well-considered design does more than just add a decorative element; it complements the wood’s natural beauty and the board’s function. The first step is to accurately measure your board’s surface area. In your design software, create a digital rectangle matching these dimensions. This virtual canvas allows you to experiment with placement without risking your workpiece. Common placements include a corner, along one of the long edges, or a small, centered design. Avoid placing large engravings in the middle where the majority of food will be served, as this can make the board harder to clean and the design will be obscured. Pay close attention to the wood’s grain. Position your design to work with the grain, not against it. A beautiful, flowing grain can act as a natural frame for your artwork. For instance, a long, horizontal design might look best following a strong grain line, while a circular monogram could be placed in an area with a subtler, swirling grain pattern.
Creating the Optimal Design File
The quality of your digital file directly dictates the quality of the engraving. For the best results, you should work with vector graphics whenever possible. Vector files (common formats include SVG, AI, DXF, and PDF) are made of mathematical paths and can be scaled to any size without losing sharpness. This makes them perfect for logos, text, and line art, which are popular choices for wood engraving designs. If you are engraving a photograph or a design with complex shading, you will use a raster image (like a JPEG, PNG, or BMP). For these, it is critical to use a high-resolution file—at least 300 DPI (dots per inch) at the final engraving size—to avoid a blurry or pixelated result. Regardless of file type, high-contrast designs work best. For a beginner, a pure black-and-white image is ideal, as the laser software will interpret black areas to burn and white areas to leave untouched. While grayscale can be used to achieve shading effects, it requires more advanced material testing to get the power settings just right.
Software like Adobe Illustrator is excellent for creating vector designs from scratch or converting existing images into vectors using its Image Trace feature. When your design is ready, you’ll import it into your laser control software, such as LightBurn. Here, you can precisely position the design on your virtual board. A crucial best practice is to use the “Frame” function in your laser software. This will trace the outer boundary of your design on the board with a very low-power, non-burning laser beam, allowing you to check the final size and placement before you commit to the full-power engraving.
Beyond Engraving: Incorporating Laser Cutting
To create a truly bespoke piece, consider incorporating laser cutting techniques. This is where laser cutting ideas for wood can elevate your project from a simple board to a functional work of art.
- Decorative Inlays: Use the laser to engrave a shallow pocket in your board, then use it again to cut a perfectly matching shape from a thin piece of contrasting wood veneer (like a light maple inlay in a dark walnut board). This piece is then glued into the pocket for a stunning, high-end effect.
- Custom Handles: Instead of a standard board shape, design and laser cut a unique handle shape or a hole for adding a decorative leather strap.
- Juice Grooves: While traditionally done with a router, a laser can engrave a clean, precise groove around the edge of the board to catch juices from meats or fruits.
These advanced techniques require more planning and precision but are fantastic ways to make your personalized charcuterie board stand out.
The Engraving Process Step-by-Step
With your design finalized, it is time for the most exciting step: bringing it to life on the wood. This stage requires precision and attention to detail to ensure your laser engraved charcuterie board turns out flawless. First, place your charcuterie board inside the laser cutter on the machine’s bed. It is critically important that the board lies completely flat. Even a minor warp can cause parts of your design to be out of focus, resulting in an inconsistent engraving. Check for any rocking by gently pressing on the corners. If it’s not perfectly stable, use small shims or hold-down pins to secure it firmly to the bed. Once the board is secure, you must set the correct focal height. This distance between the laser lens and the surface of the wood is arguably the most critical setting for achieving a sharp, clean engraving. Use the focal gauge or automatic sensor that came with your laser to precisely set this distance. An incorrect focal height will result in blurry lines and a low-quality finish.
Dialing in Your Settings with a Test Grid
Before you ever fire the laser at your final workpiece, you must find the optimal power and speed settings. Every piece of wood is unique in its density and resin content, meaning that settings that worked for one piece of cherry wood might not be perfect for another. This is where a test grid comes in. Take a small, scrap piece of the exact same wood from your project and use it for testing. In your laser software, like LightBurn, you can easily create a material test grid that engraves a matrix of small squares, each with a different combination of power and speed. Run this test on your scrap wood. Afterwards, examine the results closely. You are looking for the “sweet spot”—a setting that produces a deep, dark, and rich burn without excessive charring or scorching on the surrounding wood. Too much power or too slow a speed will create a messy, burnt look. Too little power or too fast a speed will result in a faint mark that lacks permanence. Selecting the right settings from this test is the key to achieving a professional-quality custom cheese board.
Once you have identified your ideal settings and entered them into your software, the final check is to frame the job. Use the “Frame” function in your software, which will make the laser head move and trace the outer boundary of your design on the board using a harmless, low-power red dot. This is your chance to visually confirm that the placement and size are exactly where you want them. If it’s off by even a millimeter, adjust the design’s position in the software and frame it again. Repeat this until it is perfect. Now, with everything in place, it is time to engrave. Before you press start, double-check your safety precautions:
- Ensure you are wearing the appropriate laser safety glasses.
- Verify that your fume extraction system is on and working effectively.
- Most importantly, never leave the laser running unattended. Wood is a combustible material, and you must be present to monitor for any potential flare-ups. Keep a fire extinguisher readily accessible.
Press start and watch as the laser meticulously etches your design into the wood. Once complete, you will have a beautifully engraved board, ready for the final cleaning and finishing steps.
Applying a Food-Safe Finish
The engraving process is complete, but the most critical step for both beauty and safety is still ahead: applying a finish. This final stage is non-negotiable, as it protects the wood from drying and cracking, creates a barrier against moisture and bacteria, and transforms the raw wood into a food-safe surface. An unfinished board will absorb stains, odors, and germs, rendering it unsanitary for serving food. A proper finish deeply conditions the wood, enhances its natural color and grain, and makes the engraved details stand out with rich contrast. Importantly, you must use a product specifically designated as a food-safe wood finish. Never use cooking oils like olive or vegetable oil, as they can go rancid over time, creating a foul smell and sticky surface. The best choices are non-drying oils that penetrate the wood fibers and waxes that create a protective surface layer. The most popular and effective options are pure mineral oil or a blend of mineral oil and beeswax, often sold as “cutting board cream” or “board butter.” Mineral oil is inert and tasteless, and it excels at soaking deep into the wood. The addition of beeswax provides an extra layer of water resistance and helps fill in microscopic pores on the surface, leaving a silky-smooth feel and a beautiful, low-gloss sheen.
The Step-by-Step Finishing Process
Follow these steps carefully to ensure your personalized charcuterie board is not only stunning but also durable and completely safe for you and your guests. This process should be repeated whenever the board starts to look dry or faded to maintain its protection and beauty.
- Clean the Engraved Surface Thoroughly. After engraving, there will be a fine layer of soot and resin residue on the surface and especially within the engraved lines. Gently wipe the entire board with a cloth slightly dampened with isopropyl alcohol or water. For the detailed engraved areas, use a soft-bristled brush, like a clean toothbrush, to gently scrub away any remaining debris. Allow the board to dry completely before proceeding. This step is vital for ensuring the oil can penetrate evenly without trapping any residue.
- Apply a Generous Coat of Oil. Using a clean, lint-free cloth, apply a liberal amount of your food-safe mineral oil or board conditioner. Don’t be shy; you want the surface to look wet. Pay special attention to the engraved areas and the end-grain on the sides of the board, as these parts will absorb the most oil. Make sure you coat the entire board—front, back, and all edges.
- Let it Soak In. This is a game of patience. Place the board on a non-absorbent surface and let the oil soak in for at least 30 minutes. For the very first application on new wood, letting it sit for several hours, or even overnight, is ideal. You will literally see the wood drink up the oil as it conditions the dry fibers.
- Wipe Off the Excess. Once the wood is fully saturated and won’t absorb any more oil, there will be a residual film on the surface. Take another clean, dry, lint-free cloth and thoroughly wipe off all the excess oil. The goal is a board that feels nourished, not greasy or sticky.
- Buff to a Beautiful Sheen. With a final clean cloth, vigorously buff the entire surface of the board in a circular motion. This final step removes the last traces of excess oil and polishes the wax (if you used a blend), bringing out a deep, rich color and a beautiful, professional-looking satin sheen that highlights every detail of your custom engraving.
Conclusions
You now have the skills to create a beautiful and personalized charcuterie board. By carefully selecting your wood, preparing your design, and applying a food-safe wood finish, you’ve crafted a durable and stylish item. This project not only enhances your home but also serves as a fantastic example of what you can achieve with your laser engraver.
Frequently Asked Questions
Q: What is the best wood for a laser engraved charcuterie board?
A: The best choices are closed-grain hardwoods. Maple provides high contrast, cherry offers a classic warm look, and walnut gives a luxurious, subtle engraving. All are durable and food-safe when finished properly.
Q: Can I use cooking oil like olive or vegetable oil to finish my board?
A: No, you should never use standard cooking oils. They can go rancid over time, creating a sticky surface and a bad smell. Always use a non-drying, food-safe product like pure mineral oil or a blend of mineral oil and beeswax.
Q: Is it really necessary to do a test engrave on scrap wood?
A: Yes, this step is critical. Every piece of wood is slightly different. A test grid allows you to find the optimal power and speed settings to get a clean, dark burn without scorching, ensuring a professional result on your final board.
Q: What is the best file format for my laser engraving design?
A: For designs with text, logos, or line art, a vector file (like SVG, AI, or DXF) is ideal because it can be scaled without losing quality. For photographs, use a high-resolution raster image (JPEG or PNG) of at least 300 DPI at the final print size.
Block "subscribe-popup" not found