Tutorials
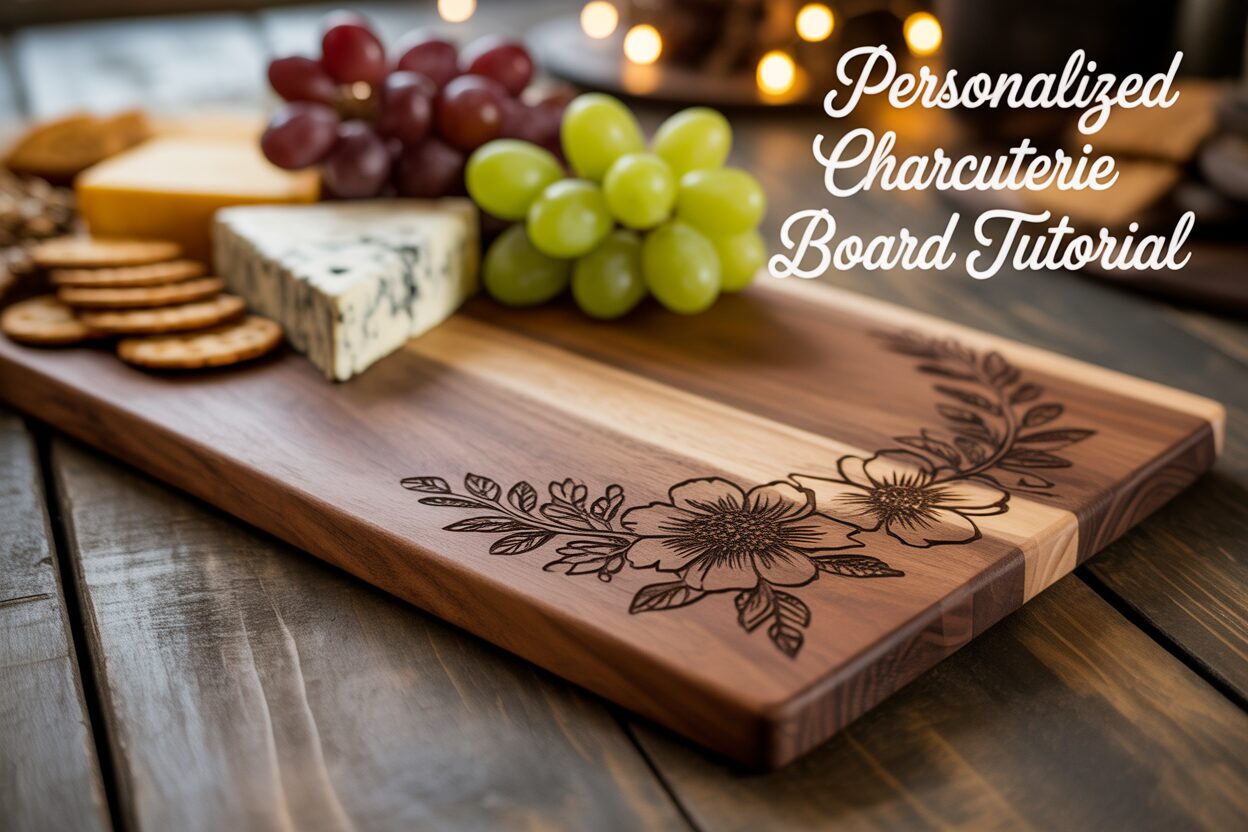
Creating the Perfect Personalized Charcuterie Board with a Laser Engraver
Mar
Estimated reading time: 7 minutes
Key Takeaways
- Choose the Right Wood: Select closed-grain hardwoods like Maple, Cherry, or Walnut for food safety, durability, and a high-quality engraving finish.
- Use Vector Designs: For crisp, clean results, always use Scalable Vector Graphic (SVG) files for your designs, as they can be resized without losing quality.
- Preparation is Paramount: Proper preparation, including sanding the board, applying masking tape, and performing a test engraving on scrap wood, is crucial for a flawless, professional result.
- Finish with a Food-Safe Sealant: Protect your creation and ensure it’s safe for serving by sealing it with a food-grade finish like mineral oil, beeswax, or a specialized board butter.
Table of Contents
- Choosing the Best Wood and Design for Your Board
- The Laser Engraving Process Step-by-Step
- Sanding, Sealing, and Finishing with a Food-Safe Sealant
- Conclusions
- Frequently Asked Questions
Learn how to transform a simple piece of wood into a beautiful personalized charcuterie board. This guide will walk you through the entire process, from choosing the best materials and digital designs to the final touches of sealing your creation. Perfect for DIY enthusiasts and small business owners alike, this project is a fantastic way to create a unique and memorable item.
Interested in more Charcuterie Board? Check out our Charcuterie Board laser file designs: Click here!
Choosing the Best Wood and Design for Your Board
The foundation of a truly exceptional personalized charcuterie board is the wood itself. The material you choose not only dictates the board’s appearance and durability but also profoundly affects the final quality of your laser engraving. Selecting the right canvas for your art is the first critical step toward creating a masterpiece.
Selecting the Ideal Wood
When it comes to laser engraving wood for a food-surface item, not all hardwoods are created equal. The best choices are closed-grain hardwoods, which are less porous and therefore more resistant to bacteria, making them safer for contact with food. They also provide a smoother surface, which allows the laser to create crisp, clean lines. Here are the top three contenders for your project:
- Maple: Often considered the gold standard for cutting boards, Maple is a very hard, dense wood with a fine, uniform grain. Its light, creamy color creates a high-contrast background that makes intricate engravings pop. The laser produces a rich, dark burn on maple, resulting in sharp, highly detailed designs. Its durability ensures it can withstand years of use.
- Cherry: Known for its warm, reddish-brown hue that deepens beautifully with age, Cherry is slightly softer than maple but still an excellent choice. It engraves with a consistently dark and clean finish, providing good contrast without being as stark as maple. The smooth grain of cherry wood is perfect for both detailed text and elegant imagery.
- Walnut: For a more luxurious and dramatic look, Walnut is an outstanding option. Its deep, rich brown color and complex grain patterns make each board unique. Engraving on walnut results in a more subtle, tonal effect, where the design is a few shades darker than the surrounding wood. This creates a sophisticated, high-end appearance. Bold, simple designs often work best to avoid getting lost in Walnut’s prominent grain.
Choosing or Creating Your Engraving Design
With your wood selected, the next step is to choose the design that will bring it to life. For laser engraving, you’ll need a vector file, and the most common format is the charcuterie board svg (Scalable Vector Graphic). Unlike pixel-based images (like JPG or PNG), SVGs are made of lines and curves, which means they can be scaled to any size without losing quality—a crucial feature for ensuring your design is perfectly crisp. You can find pre-made SVG files on marketplaces like Etsy or create your own using software like Adobe Illustrator or the free alternative, Inkscape. When selecting a design, consider its complexity in relation to your chosen wood. An incredibly detailed floral pattern might look stunning on a light, clear piece of Maple, but its fine lines could be obscured by the heavy grain of a Walnut board. Conversely, a simple monogram or bold geometric pattern can make a powerful statement on any wood type.
Balancing Aesthetics with Functionality
Finally, consider the board’s overall size and shape. Are you creating a large, rectangular board for hosting parties, or a smaller, round one for intimate gatherings? The shape of your board will influence where you can place your design. A board with a handle, for instance, naturally creates a perfect spot for a logo or monogram. The intended use also matters. While it’s a beautiful piece, remember it’s also a functional custom cutting board. Most people choose to engrave on one side for presentation and use the reverse side for chopping to preserve the integrity of the design. Consider the placement of your engraving to maximize serving space while making your personalization the stunning focal point of the piece.
The Laser Engraving Process Step-by-Step
With your chosen wood and design ready, it’s time to bring your vision to life. The process of laser engraving wood is where precision meets artistry, transforming a simple piece of hardwood into a personalized treasure. This step-by-step guide will walk you through the entire engraving process, ensuring a clean, professional finish for your engraved charcuterie board.
Preparing the Board and Machine
Proper preparation is the key to a flawless result. Begin by ensuring your charcuterie board’s surface is perfectly smooth. Even if the board feels smooth to the touch, it’s best to sand it with a fine-grit sandpaper (220 grit or higher) to remove any microscopic imperfections. After sanding, wipe the surface clean with a tack cloth or a lint-free cloth lightly dampened with isopropyl alcohol to remove all dust particles. For an exceptionally clean engraving with minimal smoke staining, apply a layer of wide masking tape or paper transfer tape over the entire engraving area. This acts as a protective barrier, catching the smoke residue and leaving the surrounding wood pristine. Once prepared, place the board inside your laser engraver. Ensure it lies completely flat on the machine’s bed—any warping will affect the focus. Use honeycomb pins or small weights on the edges if necessary to secure it. The most critical machine setup step is focusing the laser. An incorrect focal distance will result in a blurry, weak engraving. Use your machine’s focusing tool or auto-focus feature to set the perfect height between the laser lens and the surface of the wood.
Calibrating Your Laser Settings
Next, it’s time to work with your software. Open your laser control program (like LightBurn) and import your charcuterie board svg file. Position and scale the design precisely where you want it on the board. Use the machine’s ‘Frame’ function to trace the outline of your design with the laser’s red dot pointer, allowing you to visually confirm its placement before you begin. Now, for the most important part: the power and speed settings. These will vary based on your specific laser machine and the type of wood. However, here are some excellent starting points:
- For Maple: Being very hard, it requires more power and a slower speed to get a deep, dark mark. Try starting with 60% power and a speed of 150-200mm/s.
- For Cherry: This wood engraves beautifully with a bit less power. A good starting point is 50% power at 200-250mm/s.
- For Walnut: Since it’s a darker wood, you don’t need as much power to achieve contrast. Over-burning it can obscure the detail. Start with a lower power setting, around 40%, and a faster speed of 250-300mm/s.
Crucial Tip: Before engraving your final board, always perform a test cut on a scrap piece of the same wood. This allows you to dial in your settings perfectly to achieve the desired depth and contrast.
Engraving and Final Cleanup
With your settings dialed in, double-check your safety measures: ensure your ventilation system is on, the machine’s lid is closed, and you are wearing your safety glasses. Start the engraving process and monitor the machine while it works. Once the engraving is complete, let the board cool for a moment before removing it. Carefully peel off the masking tape, which will lift away almost all the smoke and resin residue, revealing a crisp, clean design. If you didn’t use masking tape, you can clean any remaining residue using a soft brush and a bit of isopropyl alcohol on a cloth. With your design now permanently etched into the wood, you are ready for the final, protective finishing touches.
Sanding, Sealing, and Finishing with a Food-Safe Sealant
Your design is now beautifully etched into the wood, but the process isn’t complete. The final steps of sanding and sealing are what transform your project from a simple engraved object into a durable, lustrous, and functional piece of kitchen art. This stage is critical for both the longevity of the board and the safety of those who will enjoy its offerings.
The first step in the finishing process is a final, light sanding. After engraving and cleaning, the wood grain may have been slightly raised. To achieve a silky-smooth surface, hand-sand the entire engraved charcuterie board, including the back and sides, with an ultra-fine grit sandpaper, such as 320 or 400 grit. The key here is finesse. Use gentle pressure and sand with the direction of the wood grain. Be especially careful around the engraved area. The goal is to smooth the surrounding surface, not to sand the engraving itself, which could soften its crisp edges. Once you are satisfied with the feel, thoroughly wipe away all sanding dust with a clean, dry microfiber cloth. Your board is now a pristine canvas, ready to be sealed.
Choosing and Applying a Food-Safe Wood Finish
Applying a finish is not just for looks; it’s an essential step to protect the wood from moisture, prevent it from drying out and cracking, and create a barrier that is safe for direct contact with food. Never use finishes like polyurethane, lacquer, or stains, as they are not food-safe. Instead, you must use a penetrating food safe wood finish that nourishes the wood from within. Here are the best options:
- Food-Grade Mineral Oil: This is the most common and straightforward choice. It’s an inert, non-toxic oil that is colorless and odorless. It penetrates deep into the wood fibers, hydrating them and bringing out the wood’s natural color and depth. Its main drawback is that it doesn’t provide a hard protective surface and needs to be reapplied regularly.
- Beeswax: Often used in combination with mineral oil, beeswax provides a water-resistant topcoat. It helps to seal the pores of the wood more effectively than oil alone, offering better protection against spills and stains. It also gives the board a subtle, attractive sheen.
- Specialized Board Creams or “Board Butters”: These products offer the best of both worlds by blending food-grade mineral oil with beeswax (and sometimes other waxes like carnauba). The oil penetrates and conditions the wood, while the wax creates a durable, moisture-repellent seal on the surface. These creams are often the preferred choice for a premium, long-lasting finish on a personalized charcuterie board.
To apply your chosen finish, use a clean, lint-free cloth and apply a generous amount to all surfaces of the board—front, back, and all the edges. It is crucial to coat every surface to ensure even moisture absorption and prevent the board from warping over time. Use the cloth to work the finish into the wood in a circular motion. Let the board sit and absorb the oil for at least 30 minutes, or preferably, overnight for the first application. The wood will soak up the finish like a sponge. Afterwards, take another clean cloth and buff off any excess, revealing a rich and vibrant surface. For a new board, it’s best to repeat this process two or three times to ensure it is fully seasoned. To maintain your board, simply reapply a coat of your finish whenever the wood starts to look dry or light in color, typically once a month with regular use.
Conclusions
You’ve now mastered the art of making a custom, engraved charcuterie board. This project not only enhances your laser engraving skills but also leaves you with a functional piece of art. By following these steps, you can confidently create stunning boards for gifts, personal use, or to sell, ensuring each one is both beautiful and safe for serving food.
Frequently Asked Questions
Q: What is the best type of wood to use for a personalized charcuterie board?
A: The best woods are closed-grain hardwoods because they are durable and less porous, making them safer for food contact. The top recommendations are Maple for its high contrast and durability, Cherry for its warm color and smooth finish, and Walnut for a luxurious, high-end look.
Q: What file format should I use for my engraving design?
A: You should always use a vector file, with SVG (Scalable Vector Graphic) being the most common and ideal format. Unlike pixel-based images, SVGs can be scaled to any size without losing quality, which ensures your engraved design will be perfectly crisp and clean.
Q: Can I cut on the engraved side of my charcuterie board?
A: While the board is functional, it is recommended to use the non-engraved side for chopping and cutting. This preserves the beauty and integrity of your personalized design on the presentation side.
Q: How do I make my engraved charcuterie board food-safe?
A: To make your board food-safe, you must seal it with a non-toxic, food-grade finish. The best options are food-grade mineral oil, a mixture of mineral oil and beeswax, or a specialized “board butter.” Never use finishes like polyurethane or stain.
Block "subscribe-popup" not found