Projects
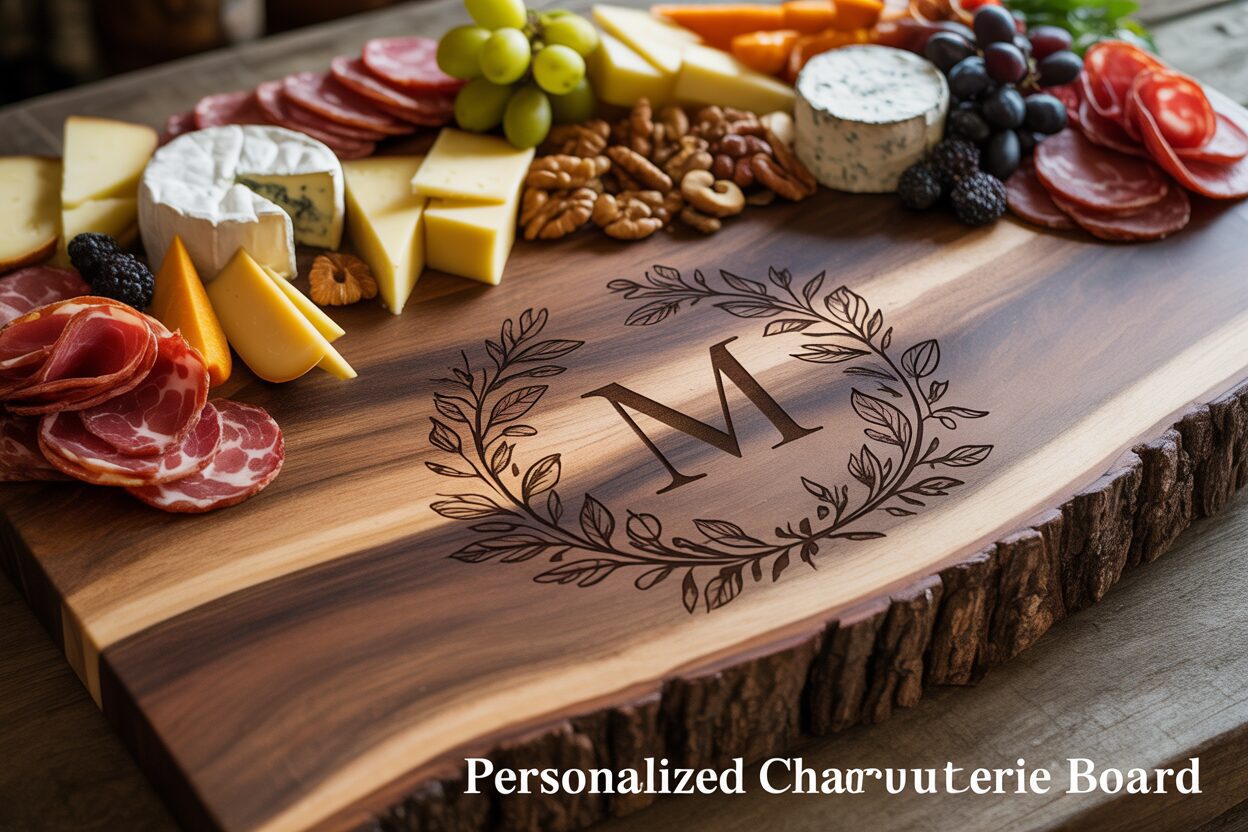
Crafting the Perfect Personalized Charcuterie Board
Jan
Estimated reading time: 7 minutes
Key Takeaways
- Wood Selection is Paramount: For a food-safe and beautiful result, always choose a dense, closed-grain hardwood. Maple, cherry, and walnut are top choices due to their durability and how well they render engraved details. Avoid open-grained woods like red oak.
- Vector Graphics are Essential: Use a vector file format like SVG for your design. This ensures the laser engraves crisp, clean lines that can be scaled to any size without losing quality, unlike pixel-based images (JPEGs).
- Design with Purpose: Personalize your board to make it a meaningful gift or keepsake. Popular designs include family names, monograms, important dates, meaningful quotes, or even a cherished family recipe in actual handwriting.
- Finishing is a Crucial Final Step: After engraving and cleaning, always apply a food-safe finish, such as mineral oil or a butcher block conditioner. This protects the wood, enhances its natural color, and makes the engraved design pop.
Table of Contents
- Selecting the Ideal Wood for Your Charcuterie Board
- Designing Your Custom Engraving
- Laser Engraving Process Step-by-Step
- Conclusions
- Frequently Asked Questions
Discover the art of creating a personalized charcuterie board, a perfect blend of culinary presentation and custom craftsmanship. This guide will walk you through the process of selecting the right materials and designs to laser engrave a stunning and functional piece. Ideal for gifts, special occasions, or simply elevating your home entertainment, a custom board is a project that impresses.
Selecting the Ideal Wood for Your Charcuterie Board
The foundation of any exceptional personalized charcuterie board is, quite literally, the wood itself. Your choice will influence not only the board’s appearance and longevity but also its food safety and how beautifully your laser-engraved design is rendered. The single most important factor is selecting a hardwood with a dense, closed-grain structure. Hardwoods are less porous than softwoods, meaning they are more resistant to knife marks and staining. A closed grain, characterized by very small, non-visible pores, is crucial for hygiene. This tight grain prevents bacteria, cheese oils, and fruit juices from penetrating the surface, making the board easier to clean and safer for serving food. Open-grained woods, like red oak or ash, have large pores that can trap food particles and moisture, creating a breeding ground for bacteria, and should therefore be avoided for serving raw foods.
Popular Wood Choices for Engraving
When selecting the perfect canvas for your charcuterie creation and laser-engraved design, a few hardwoods consistently stand out for their superior qualities. Each offers a unique blend of durability, beauty, and engraving compatibility.
- Maple: Often considered the gold standard, hard maple (or sugar maple) is a top-tier choice. Its main advantages are its extreme durability and a very fine, closed grain, making it one of the most food-safe options available. For laser engraving, maple is a dream to work with. Its light, creamy color provides a high-contrast background, allowing the dark burn of the laser to create a sharp, clear, and highly visible design. The primary drawback is aesthetic; its uniform appearance might be seen as too plain for those desiring a more rustic look.
- Cherry: For a warmer, richer aesthetic, cherry is an excellent option. This hardwood is prized for its smooth, closed-grain texture and its stunning reddish-brown hue that deepens and develops a beautiful patina with age and exposure to light. It is durable enough for serving purposes and engraves wonderfully, producing a deep, rich tone that contrasts beautifully with the wood’s natural color. Its main consideration is that it’s slightly softer than maple, making it more prone to dents if handled roughly.
- Walnut: If you are aiming for a luxurious and dramatic presentation, black walnut is unmatched. Its deep, chocolate-brown colors and complex grain patterns create an elegant and sophisticated base for your charcuterie spread. Walnut is a durable, closed-grain wood, ensuring it is both food-safe and long-lasting. Laser engraving on walnut results in a subtle, tone-on-tone effect. The design is less starkly contrasted than on maple, offering a more understated and refined personalization that many find appealing. However, it is typically one of the more expensive options.
- Oak: While oak is a very hard and durable wood, it requires careful selection. Red Oak must be avoided due to its highly porous, open-grain structure. White Oak, on the other hand, has a more closed-grain cell structure and can be a suitable choice. However, oak’s prominent and coarse grain pattern can sometimes interfere with the clarity of intricate laser-engraved designs, making finer details appear less crisp.
For those seeking a truly unique and organic aesthetic, a live edge wood charcuterie board is an exceptional choice. A live edge board retains the natural, un-sanded edge of the tree trunk from which it was cut, complete with the original contours and bark line. This feature ensures that no two boards are ever alike, infusing a rustic, earthy charm into your presentation. Woods like walnut and cherry are particularly stunning in live edge form, as their natural lines and coloration create a functional piece of art that serves as a powerful conversation starter.
Designing Your Custom Engraving
With the ideal wood selected, your charcuterie board is a blank canvas awaiting its unique identity. The design phase is where you transform a simple piece of wood into a deeply personal keepsake or a perfectly tailored gift. The possibilities for an engraved charcuterie board are limited only by your imagination, ranging from timelessly elegant to playfully whimsical. Begin by brainstorming the purpose and recipient of the board. For personal use, consider a family name (“The Andersons”), an established date (“Est. 2023”), or a meaningful quote that resonates with your home’s spirit, like “The fondest memories are made when gathered around the table.” Monograms are a classic choice, offering a touch of sophistication, whether it’s a single initial or an intricate three-letter design. You can also engrave practical elements like a kitchen conversions chart or even a beloved family recipe in a grandparent’s actual handwriting, adding a priceless layer of sentiment.
From Idea to Digital File: The Importance of Vector Graphics
Before the laser can work its magic, your design must be translated into a digital format the machine can understand. For laser engraving, the gold standard is a vector graphic, most commonly found in an SVG (Scalable Vector Graphic) file. Unlike pixel-based images (like JPEGs or PNGs) that lose quality when enlarged, vectors are created using mathematical equations to define lines and curves. This means a vector design can be scaled to any size—from a tiny detail to the full surface of the board—without ever becoming blurry or pixelated. This scalability is critical for ensuring the laser engraves crisp, clean, and perfectly defined lines. When you provide a design for engraving, always aim for a vector format. If you’re designing it yourself in software like Adobe Illustrator or Inkscape, ensure you save or export your final file as an SVG.
For those who aren’t graphic designers, a vast world of pre-made designs is readily available. Searching online for a charcuterie board svg will yield thousands of professional-quality options, from witty food puns (“Life is Gouda”) to intricate floral wreaths designed to frame a central initial or name. These files are an excellent and affordable way to achieve a polished look. When creating a gift, this approach is particularly useful. For a housewarming, a design with the new home’s GPS coordinates is a creative touch. For a holiday-themed board, you might find festive patterns or seasonal greetings.
When the occasion is a wedding, the design carries even more weight. A wedding gift charcuterie board svg should aim to be both celebratory and timeless, creating an heirloom the couple will cherish. Popular choices include:
- Couples’ Names and Date: The most classic option, featuring the couple’s first names and their wedding date in an elegant script or a clean, modern font (e.g., “Eleanor & James | 09.21.2025”).
- Interlocking Monograms: A sophisticated design where the couple’s first initials are artfully intertwined, often with their shared last initial.
- Meaningful Quotes: A short quote about love, partnership, or the joy of sharing a meal can add a romantic touch.
- Symbolic Imagery: Consider a design that reflects the couple’s story, such as a mountain range for avid hikers or the skyline of the city where they met.
Ultimately, the best design is one that reflects the personality and story of its owner, turning the functional serving board into a meaningful piece of art.
Laser Engraving Process Step-by-Step
Once your design is finalized and your beautiful slab of wood is ready, it’s time to bring your vision to life with the precision of a laser. The engraving process for a custom charcuterie board is a blend of digital setup and hands-on finishing that requires attention to detail at every stage. The first step is preparing the wood surface. Even a brand-new board can benefit from a final check. Ensure it is perfectly smooth and free of any dust or debris. If needed, a light sanding with a high-grit sandpaper (220-grit or finer) can remove any minor imperfections. Afterwards, wipe the surface thoroughly with a tack cloth or a lint-free cloth to remove all sanding dust. For an extra clean result and to minimize scorching on the wood surface, you can apply a layer of transfer tape or painter’s masking tape over the area to be engraved. The laser will cut through the tape and engrave the wood, and the tape will protect the surrounding area from smoke residue, making cleanup much simpler.
Machine Setup and Calibration
With the board prepped, the next phase takes place at the laser cutter. Place the board flat on the machine’s bed, ensuring it is level and secure. The most critical step in this setup is focusing the laser. The laser’s focal point must be set precisely to the top surface of the wood. An incorrectly focused laser will result in a blurry, inconsistent engraving with a lack of crisp detail. Next, you must calibrate the laser’s settings—specifically the power and speed. These two variables work in tandem to determine the final look of your engraving.
- Power: This setting controls the intensity of the laser beam. Higher power results in a deeper and darker burn.
- Speed: This setting controls how fast the laser head moves across the wood. Slower speeds allow the laser to dwell on one spot for longer, also resulting in a deeper and darker burn.
To achieve a rich, dark engraving for text or a bold logo, you would typically use a combination of high power and moderate to slow speed. For creating lighter shades or delicate, intricate patterns, you would use lower power or a much faster speed. It is highly recommended to perform a test run on a scrap piece of the exact same wood. Engraving a small test grid with various power and speed combinations will allow you to see the results firsthand and choose the perfect settings for your desired effect before you commit to your final piece.
Engraving and Final Finishing
Once your settings are dialed in, load your vector design file into the laser’s control software. Carefully position the digital design onto the exact location on the board where you want it engraved. Use the laser’s positioning tools, often a red dot pointer, to frame the area and ensure perfect alignment. Double-check everything, engage the machine’s ventilation system, and begin the engraving. After the machine completes its work, let the board cool for a few minutes before removing it. The engraved area will be filled with soot and wood resin residue. If you used masking tape, carefully peel it away. Use a soft-bristled brush, like an old toothbrush, along with a bit of isopropyl alcohol to gently scrub the residue out of the engraved crevices. Wipe it clean with a cloth and let it dry completely. The final, crucial step is to apply a food-safe finish. This not only protects the wood but also deeply enriches its color and makes the engraved design pop. Generously apply a food-grade mineral oil or a specialized butcher block conditioner. Let the oil soak into the wood for at least a few hours, or preferably overnight, then wipe away any excess with a clean, lint-free cloth. Your custom charcuterie board is now beautifully engraved, protected, and ready to serve.
Conclusions
You now have the knowledge to create a beautiful and personalized charcuterie board that will be the centerpiece of any gathering. By choosing the right wood, a compelling design, and applying the laser engraving techniques discussed, you can produce a high-quality, memorable item for personal use or as a cherished gift. Experiment with different styles and make your mark.
Frequently Asked Questions
Q: What is the best type of wood for a laser-engraved charcuterie board?
Interested in more Charcuterie Board? Check out our Charcuterie Board laser file designs: Click here!
A: The best woods are dense, closed-grain hardwoods. Maple is excellent for high-contrast, sharp engravings. Cherry offers a warmer, richer color, and walnut provides a luxurious, dark background for a more subtle, tone-on-tone effect. All are food-safe and durable.
Q: Why is a vector file (SVG) recommended for engraving?
A: A vector file uses mathematical paths to create an image, which means it can be scaled to any size without losing quality, becoming blurry, or pixelating. This is crucial for ensuring the laser engraves perfectly crisp and clean lines for your design, regardless of its size.
Q: Is a laser-engraved board still food-safe?
A: Yes, it is food-safe provided you use a suitable closed-grain wood and treat the entire board (including the engraved area) with a food-grade finish like mineral oil or butcher block conditioner. This seals the wood and prevents bacteria from getting into the grain.
Q: What woods should I absolutely avoid for a charcuterie board?
A: You should avoid any open-grained woods, with Red Oak being the most common example. The large pores in these woods can easily trap food particles and bacteria, making them unhygienic for serving food directly. Also, avoid softwoods as they are not durable enough and will be easily damaged by knives.
Block "subscribe-popup" not found