Tutorials
A Tutorial to Creating 3D Effects on Slate with a Laser Engraver
Aug
Estimated reading time: 6 minutes
Key Takeaways
- The 3D effect on slate is an optical illusion created by engraving a precise map of highlights and shadows, not by physical carving.
- Slate is the perfect material due to the high contrast between its dark, natural surface and the light, engraved marks produced by the laser.
- Proper image preparation is critical: use high-resolution, grayscale images that are inverted and dithered (e.g., Jarvis or Stucki) for the best results.
- Calibrating laser settings (power, speed, DPI) using a test grid on a scrap piece of slate is essential to achieve a full dynamic range and a stunning final product.
Table of Contents
Explore the fascinating intersection of technology and natural materials as we delve into creating 3D effects on slate. This tutorial provides a complete walkthrough for transforming a simple piece of slate into a stunning photo engraved slate work of art. Learn the specific techniques and settings required to produce a captivating 3D illusion that seems to pop right off the surface.
How the 3D Illusion Works on Slate
The incredible three-dimensional effect you can achieve with a laser on slate is not the result of physically carving a deep relief into the stone. Instead, it is a masterclass in optical illusion, a clever trick played on the human eye. Our brains are hardwired to interpret light and shadow as cues for depth and form. On any real-world 3D object, surfaces facing a light source are bright, while those angled away are cast in shadow. This interplay, known as chiaroscuro, is what gives objects their sense of volume. The entire goal of creating a 3D effect on a flat surface is to precisely replicate this pattern of highlights, mid-tones, and shadows. By controlling where the laser engraves brightly and where it leaves the slate dark, you are essentially “painting with light” to fool the brain into perceiving a three-dimensional shape that isn’t physically there. The final slate engraving is a 2D map of light and shadow that our perception reconstructs into a 3D image.
The magic lies in how laser software translates a digital grayscale image into instructions for the laser. When creating a photo engraved slate, the software analyzes the image pixel by pixel. Each pixel’s shade, from pure black to pure white, is converted into a corresponding laser power setting.
- Pure white pixels in the image tell the laser to fire at a high power level, intensely engraving the slate to produce the brightest possible mark. These become the highlights of your 3D illusion, the areas that seem to pop forward.
- Pure black pixels instruct the laser to fire at a very low power, or not at all, leaving the slate’s natural dark surface untouched. These form the deepest shadows, the parts of the image that appear to recede.
- Shades of gray are the most crucial element. The software meticulously scales the laser power to match the gray value of each pixel. A light gray pixel gets a moderately high power setting, while a dark gray pixel gets a much lower one.
This variable power application creates a smooth gradient of tones on the slate, perfectly mimicking the way light falls across a contoured surface. For lasers that struggle with fine power modulation, an alternative technique called dithering is used. Instead of changing power, the laser creates patterns of tiny dots. Dense dot patterns are perceived by the eye as light tones, while sparse patterns appear as dark tones, achieving the same illusory effect.
Why Slate is the Perfect Canvas
Slate is not just a convenient material; it is the ideal medium for this technique due to its unique physical properties. The primary reason is its exceptional contrast. Natural slate possesses a deep, uniform, dark gray or charcoal color. When the laser’s focused energy strikes the surface, it doesn’t simply burn it; it causes a micro-fracturing of the stone, revealing a lighter, often near-white layer beneath. This dramatic shift from dark to light provides a massive dynamic range for your illusion. The darkest darks (untouched slate) and the brightest brights (fully engraved slate) are far apart on the value scale, making the resulting 3D effect incredibly pronounced and visually striking. Furthermore, the uniformity of slate’s color and texture ensures that the laser’s effect is consistent and predictable across the entire workpiece. This reliability is essential for creating the smooth, believable gradients that are the hallmark of a successful 3D slate engraving. It is this perfect marriage of precise laser control and the inherent high-contrast nature of the stone that makes such a stunning optical illusion possible.
Design Preparation and Material Selection
The success of a 3D slate laser project is determined long before the beam ever touches the stone. It begins with the careful selection and preparation of both your digital design and your physical material. Not every image will translate into a compelling 3D illusion; choosing the right one is the most critical step in the entire process. Look for images with strong, clear contrast and a well-defined light source. The best candidates have distinct areas of bright highlights and deep shadows, as this is what creates the illusion of depth. An image that is uniformly gray or has very subtle tonal shifts will appear flat when engraved. A clear focal point is also essential; a single subject, like an animal’s face or a central geometric shape, tends to work much better than a busy, cluttered scene. High-resolution images are non-negotiable, as they provide the fine detail necessary for the software to create convincing gradients and dither patterns.
Once you have selected a suitable image, the digital preparation begins. The first step in your laser software is to convert the image to grayscale. This strips away all color information, leaving only the brightness values that the laser will use to modulate its power. Next, and this is a crucial step for slate, you will likely need to invert the image. Most 3D heightmaps use white for high points and black for low points. However, on slate, the laser creates a light mark. Therefore, by inverting the image, the bright areas of your design become black (telling the laser to use low power) and the shadows become white (telling the laser to use high power). This ensures the highlights of your image are what get engraved brightly onto the slate. Finally, you must select a dithering algorithm. Dithering converts the smooth grayscale gradients into patterns of dots that the laser can engrave. Algorithms like Jarvis or Stucki are excellent choices for slate as they produce a smooth, organic look that is ideal for photorealistic textures and flowing shapes.
Material Selection and Creative Ideas
With your digital file ready, your focus shifts to the physical canvas. The best slate for engraving is natural, unsealed roofing or coaster slate. It should have a relatively smooth, flat surface and a consistent dark color. Avoid slate that has been coated with a clear sealant, as this will interfere with the engraving process, often producing a sticky, melted mess instead of a clean, bright mark. Before engraving, preparation is key. First, clean the slate thoroughly with isopropyl alcohol and a lint-free cloth. This removes any dust, oils from your hands, or residues from manufacturing that could cause inconsistencies in the final engraving. Ensure the slate is completely dry before placing it in your laser. Your choice of design is limitless, but here are some popular laser engraving ideas for slate that work exceptionally well with the 3D effect:
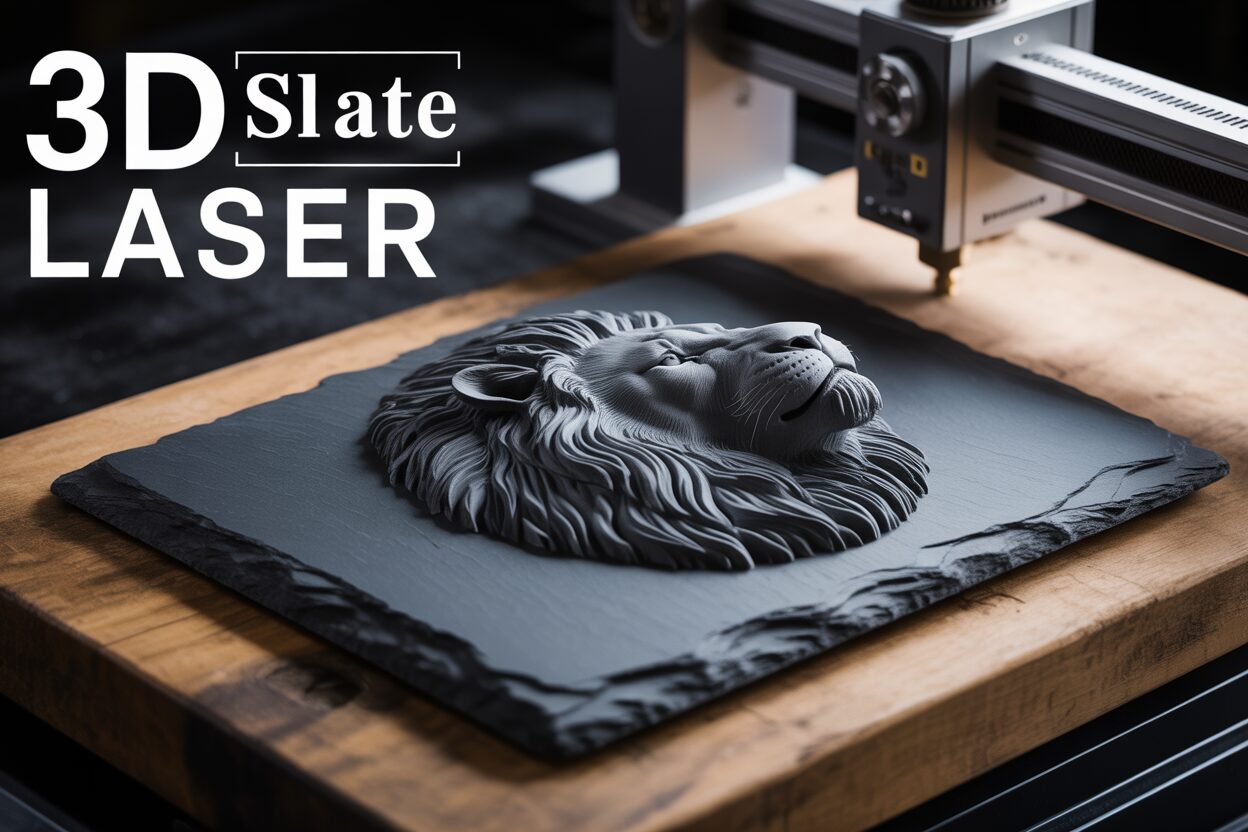
- Wildlife Portraits: The texture of fur, feathers, and scales on animals like lions, eagles, or reptiles creates a stunning tactile illusion.
- Mythological Creatures: Dragons with detailed scales or classic relief sculptures of gods and goddesses are perennial favorites.
- Geometric and Abstract Patterns: Interlocking shapes, fractal designs, or Celtic knots can appear to lift right off the surface of the slate.
- Mechanical and Steampunk Designs: The hard edges and metallic sheen of gears, cogs, and intricate machinery translate beautifully into the high-contrast medium of slate.
By pairing a carefully processed, high-contrast image with a clean, high-quality piece of slate, you set the stage for a truly mind-bending and professional-looking final product.
Mastering Your Laser Settings for Optimal Depth
With a perfectly prepared design and a clean piece of slate, the final variable that stands between you and a stunning 3D illusion is your machine’s settings. Dialing in the correct laser engraving slate settings is less about finding a single “magic number” and more about understanding the dynamic relationship between power, speed, and resolution. This delicate balance is what transforms a flat grayscale image into a tactile-looking relief. Each parameter plays a specific role in controlling how much energy is delivered to the stone’s surface, which directly dictates the brightness of the resulting mark and the smoothness of the final image.
The core principle is to establish a full dynamic range, from the darkest black (untouched slate) to the brightest white (fully engraved). This is achieved by manipulating three key settings:
- Power (%): This is the most direct control over the intensity of the engraving. For a 3D effect, you will set a Max Power value in your software. This percentage will be used for the purest white areas of your design. The software will then automatically scale the power down for darker shades of gray. Finding a Max Power that produces a bright, clean white without causing the slate to flake or become chalky is paramount.
- Speed (mm/s): Speed works in tandem with power. A slower speed allows the laser beam to dwell on each point for longer, depositing more energy and creating a brighter mark. A faster speed results in a lighter mark. The goal is to find a speed that is slow enough to achieve a brilliant white at your chosen Max Power, but fast enough to be efficient and prevent excessive heat buildup.
- DPI (Dots Per Inch) / Line Interval: This setting controls the resolution of your engraving by defining how close together the engraved lines are. A higher DPI (or a smaller line interval) means the lines are packed tightly, creating a smoother, more photographic finish that is essential for a believable 3D illusion. A lower DPI may leave visible lines, which can shatter the effect. For high-quality 3D slate work, a DPI of 300 or higher is typically recommended.
The Crucial Step: Performing a Test Grid
There are no universal settings that work for every laser and every piece of slate. The only reliable method for perfecting your parameters is to run a material test grid on a scrap piece of slate from the same batch as your final project. Most advanced laser software has a built-in feature to easily generate a grid of squares, where each square is engraved with a different combination of speed and power. When analyzing your test grid, you are looking for two things: the setting that produces the brightest, cleanest white, and the setting that produces the absolute darkest black (which is simply the untouched slate at very low power/high speed). This range from black to white is your working palette. The principle is identical to creating a 3D illusion lamp on acrylic; in that process, you seek the setting that creates the brightest light-catching line. Here, you are finding the setting that creates the brightest light-reflecting mark on an opaque surface.
Below is a table with suggested starting points. You must perform a test grid to fine-tune these for your specific machine.
| Laser Type | Speed (mm/s) | Max Power (%) | DPI |
| 10W Diode Laser | 20 – 50 mm/s | 80% – 100% | 300 – 350 |
| 40-60W CO2 Laser | 150 – 300 mm/s | 15% – 25% | 300 – 400 |
By investing the time to run a thorough test grid, you are not wasting material; you are ensuring the success of your final piece. This calibration is the most important hands-on step in mastering your laser engraving slate settings and bringing your 3D design to life with breathtaking clarity and depth.
Conclusions
You now possess the knowledge to create your own incredible 3D slate laser engravings. By carefully preparing your design and dialing in the correct laser engraving slate settings, you can produce breathtaking pieces for home decor, gifts, or even to sell. Don’t be afraid to experiment with different images and techniques to push the boundaries of your creativity and master the art of slate engraving.
Frequently Asked Questions
Q: Is the 3D effect on slate actually carved deep into the stone?
A: No, the 3D effect is purely an optical illusion. It works by precisely engraving a pattern of light and dark areas that tricks the brain into perceiving depth. The actual engraving is very shallow; the effect comes from the high contrast between the untouched dark slate and the bright, laser-etched areas.
Q: Why do I need to invert my image before engraving on slate?
A: You need to invert the image because of how the laser interacts with slate. A laser creates a light mark on the dark stone. In a standard 3D heightmap, white represents high points and black represents low points. To make the “high points” of your image appear bright, you must invert the image so that those areas become the white pixels in the file, which tells the laser to engrave them with high power.
Q: What is the most important step for getting the laser settings right?
A: The single most important step is to run a material test grid. There are no universal settings that work for every laser or every piece of slate. A test grid allows you to find the exact combination of speed and power that produces the brightest white and darkest black for your specific setup, ensuring a full dynamic range for a convincing 3D effect.
Block "subscribe-popup" not found