Tutorials
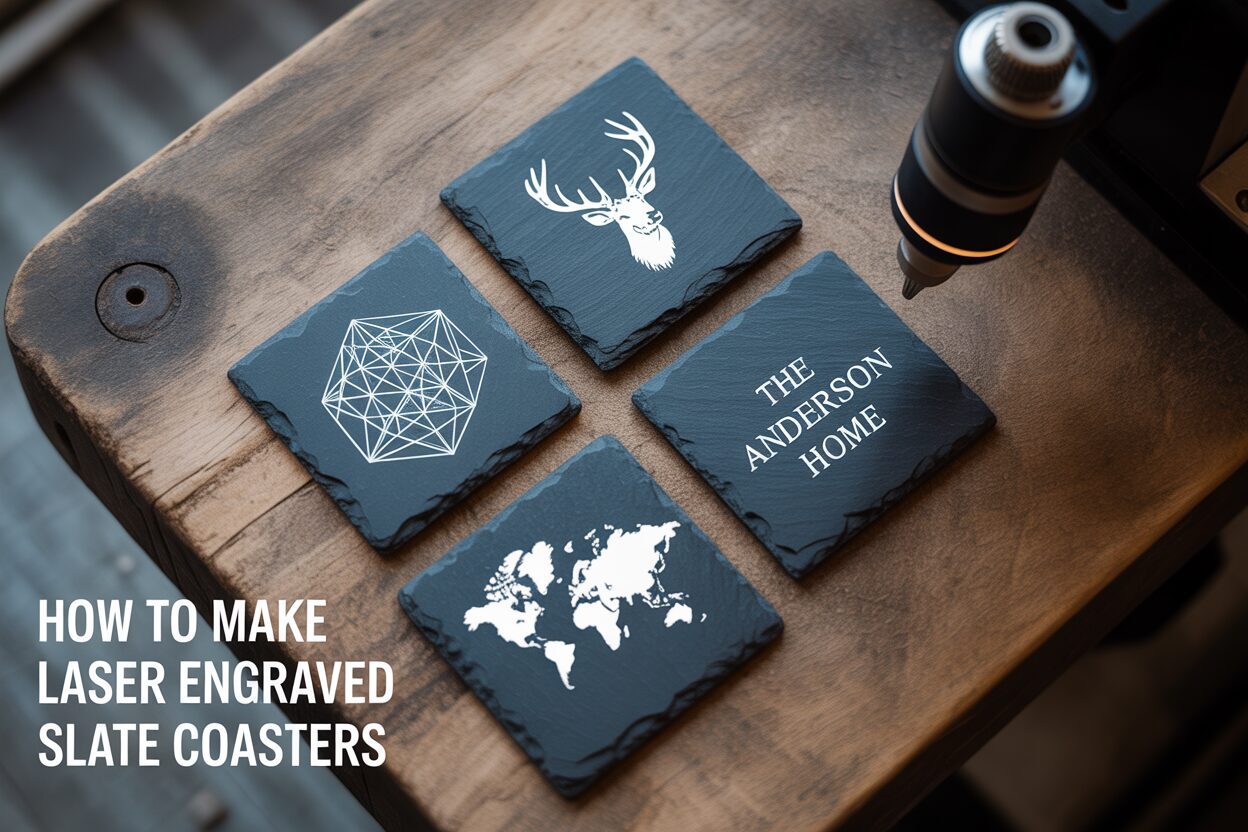
A Step-by-Step Guide to Making Laser Engraved Slate Coasters
Aug
Estimated reading time: 6 minutes
Key Takeaways
- Meticulous Preparation is Key: Always clean slate coasters with isopropyl alcohol to remove dust and oils, and choose smooth, uniform pieces for the best results. This ensures a clean canvas for the laser.
- Test Your Settings: Use a material test grid to find the optimal balance of low power and moderate speed for your specific laser and slate batch. This prevents melting and ensures a crisp, high-contrast mark.
- High-Contrast Designs Win: Simple, bold designs like monograms, logos, and quotes work best on slate’s natural texture. Always convert text to paths to avoid font substitution issues during engraving.
- Finish for a Professional Look: After cleaning away engraving dust, apply a finish like food-safe mineral oil or a clear acrylic spray to protect the coaster and dramatically enhance the contrast between the dark slate and the light engraving.
Table of Contents
Discover the art of creating custom laser engraved slate coasters. This popular and profitable project is perfect for beginners and seasoned makers alike. In this guide, we’ll walk you through the entire process, providing tips and tricks to help you achieve crisp, high-contrast engravings every time, perfect for personalized gifts or for selling in your own store.
Preparing Your Slate and Design File
The foundation of a stunning laser engraved coaster lies in meticulous preparation, both of the physical slate and the digital design. Skipping these initial steps can lead to disappointing results, so dedicating time here is crucial for achieving a professional finish. The first task is selecting the right slate. You can find blank slate coasters at most craft stores, home goods stores, or online marketplaces. Look for coasters that are approximately 4 to 6 millimeters thick. This thickness provides durability without being so cumbersome that it might cause focusing issues with your laser. More importantly, inspect the surface. While the natural, rustic texture of slate is part of its appeal, for engraving, you want a surface that is as smooth and uniform as possible. Avoid pieces with deep ridges, large chips, or significant flaking, as these imperfections can interfere with the laser and create inconsistencies in the final design. Once you have your coasters, the most critical physical preparation step is cleaning. Slate often comes with a layer of dust and natural oils that can deflect or absorb the laser’s energy unevenly. To ensure a clean, crisp engraving, thoroughly wipe down the surface of each coaster with a lint-free cloth dampened with isopropyl alcohol (90% or higher is ideal). This removes any residue, providing a perfect canvas for the laser.
With your slate coasters clean and ready, it’s time to prepare your artwork. Understanding the type of file you’re working with is essential. For laser engraved slate coasters, you will primarily be working with raster images, although they may originate from vector designs.
- Raster files (like JPEG, PNG, BMP, TIFF) are made of pixels. They are ideal for engraving photographs or complex, shaded images. For slate, high-contrast, black and white raster images work best. The laser interprets pure black in your design as the areas to fire at full power, creating the light gray/white mark on the slate.
- Vector files (like SVG, AI, DXF) are made of mathematical paths. They are perfect for creating logos, text, and sharp geometric shapes because they can be scaled infinitely without losing quality. While you will design in a vector format, your laser software will ultimately rasterize the design for the engraving process.
When developing your slate coaster design ideas, think in high contrast. Simple, bold designs often have the most impact. Consider monograms, geometric patterns, witty quotes, or simplified logos. Intricate details and very thin lines can sometimes get lost in the slate’s natural texture. A great practice is to measure your coaster precisely (e.g., 100mm x 100mm) and create a digital artboard or template of that exact size. This allows you to position your design perfectly. Before finalizing your file, one of the most important steps for any design involving text is to convert it to paths or outlines. This function, found in all major design software, turns the font into a fixed vector shape. If you don’t do this, and the computer connected to the laser doesn’t have your specific font installed, it will substitute it with a default font, altering your design. This entire preparation process is fundamental for all DIY slate coasters and sets the stage for a flawless engraving.
Optimal Laser Settings for Engraving Slate
Once your slate coasters are clean and your design is ready, the next step is dialing in your laser settings. This is arguably the most critical stage in the process, as the quality of the final engraving depends entirely on the delicate balance of power, speed, and resolution. Unlike wood which burns away, laser engraving on slate works by heating the material to the point of creating micro-fractures, which results in the characteristic light gray or white mark. This requires a different approach than you might use for other materials. The three core settings you will manipulate are power, speed, and interval (also known as Lines Per Inch or LPI).
- Power: This setting controls the energy output of your laser. For slate, less is often more. Too much power will not create a better mark; instead, it can melt the surface, creating a glassy, uneven texture or even fracturing the slate and chipping away pieces. A good starting point for a typical 10-20W diode laser or a 40-50W CO2 laser is in the low range, typically between 15% and 25% power.
- Speed: This dictates how quickly the laser head moves over the slate. You need a speed that is fast enough to prevent excessive heat buildup but slow enough to allow the laser to effectively mark the material. A moderate speed is usually best. A good starting range is between 1500 mm/min and 3000 mm/min.
- Interval (LPI/DPI): This setting determines the density of the engraved lines. A higher LPI value means the lines are closer together, creating a more solid-filled appearance. For slate, an LPI between 254 and 300 often yields excellent, high-contrast results without overworking the material.
The Crucial Test Grid
The settings mentioned above are only starting points. Every laser machine is slightly different, and even the composition of slate can vary from one batch to another. Therefore, it is absolutely essential to perform a material test on a scrap piece of slate or on the back of one of your coasters before running your final design. Most laser software, like LightBurn, has a built-in feature to create a material test grid. This tool automatically creates a grid of squares, with each square engraved at a different combination of power and speed. After running the test, examine the grid closely. You are looking for the square that produced the brightest, most consistent light-colored mark with crisp, sharp edges and no signs of melting or chipping. This combination of power and speed is your sweet spot. This testing process is the single most important part of learning how to laser engrave coasters professionally. Additionally, ensure your laser is perfectly focused. An improperly focused laser will result in a wider beam, leading to fuzzy details and a less intense mark. Use your machine’s focusing block or auto-focus feature precisely on the surface of the slate to ensure the beam is as small and concentrated as possible for maximum detail and clarity.
The Engraving Process and Professional Finishing
With your coaster perfectly positioned and your optimal settings locked in, it’s time for the magic to happen. Double-check that your ventilation system is running, put on your safety glasses, and start the engraving job. As the laser begins its work, you should observe the process closely. You’ll hear the distinct sound of the laser firing and see the laser beam tracing your design onto the slate. A small amount of fine dust will be generated as the laser ablates the surface; this is normal. The engraved area will begin to appear as a light gray or off-white mark. The key is to ensure the mark is consistent and that the laser isn’t causing any large chips or fractures in the material. If you see this happening, you may need to stop the job and revisit your power settings, as they are likely too high. A properly calibrated engraving should proceed smoothly, leaving a clean, light-colored impression with each pass.
Once the machine has finished, your coaster will emerge covered in a fine layer of gray dust, which can obscure the true quality of the engraving. The first post-processing step is a thorough cleaning. Carefully remove the coaster from the laser bed. Using a soft-bristled brush, like an old toothbrush or a mushroom brush, gently scrub the engraved area. You can do this dry at first to remove the bulk of the loose dust. For a truly pristine finish, lightly dampen the brush with water or isopropyl alcohol and continue to scrub the design gently. This will lift all the residual dust from the micro-fractures, revealing the crisp, bright white design underneath. Pat the coaster dry with a lint-free cloth and let it air dry completely. At this stage, your coaster already looks great, but to elevate it from a simple craft to a premium product, a final finishing step is recommended.
Applying a Protective Finish
Finishing the coaster serves two purposes: it protects the slate from moisture and stains, and it dramatically enhances the visual contrast of the engraving. Applying a sealant darkens the natural gray of the slate, making the light-colored engraving “pop” with incredible clarity. This final touch transforms simple laser cutter projects for slate into professional-quality items. Here are a few popular options:
- Food-Safe Mineral Oil: This is an excellent choice for a natural, matte finish. Apply a small amount of oil to a cloth and wipe it evenly over the entire surface of the coaster. The slate will immediately darken, highlighting the engraving. The main advantage is that it’s completely food-safe and easy to apply. The downside is that it may need to be reapplied periodically as it wears off with use and washing.
- Clear Acrylic Spray: For maximum durability, a clear acrylic sealant is a great option. Available in matte, satin, or gloss finishes, it creates a hard, protective layer over the coaster. A matte finish will preserve a more natural look. Be sure to apply it in thin, even coats in a well-ventilated area. The main benefit is its durability and water resistance. However, it does create a noticeable film on the surface which may detract from the natural feel of the slate.
- Shellac: A natural resin, shellac can also provide a durable, semi-gloss finish that enhances contrast. It is generally considered food-safe once fully cured. Like spray acrylics, it should be applied in thin coats. It can sometimes yellow over time, but it offers a good balance between a natural product and a durable coating.
After applying your chosen finish and allowing it to cure completely according to the manufacturer’s instructions, you can add small felt or cork feet to the bottom to prevent scratching furniture. Your stunning, personalized slate coasters are now complete.
Conclusions
You now have the knowledge to create your own beautiful laser engraved slate coasters. This project is a fantastic way to practice your skills and produce high-quality, sellable items. By following these steps and experimenting with your own slate coaster design ideas, you can consistently produce stunning results that are sure to impress your friends, family, or customers.
Frequently Asked Questions
Q: What’s the best way to clean slate coasters before engraving?
A: The best method is to thoroughly wipe down the surface of each coaster with a lint-free cloth dampened with isopropyl alcohol (90% or higher is ideal). This removes any dust and natural oils that could interfere with the laser and ensures a crisp result.
Q: Why is my slate engraving not very bright or white?
A: This is usually caused by incorrect settings or an out-of-focus laser. Perform a material test grid to find the best combination of power and speed. Too much power can melt the slate, and too little won’t create a strong mark. Also, ensure your laser is perfectly focused on the slate’s surface for a concentrated beam.
Q: Do I really need to apply a finish to the coasters?
A: While not strictly necessary, applying a finish like mineral oil or a clear acrylic spray is highly recommended. It protects the coaster from stains and moisture and, more importantly, darkens the slate to dramatically increase the contrast, making your engraved design “pop.”
Q: Why did my text design get messed up during engraving?
A: This commonly happens when text is not converted to paths or outlines in your design software. If the font you used is not installed on the computer connected to the laser, the system will substitute a default font. Converting text to paths turns it into a fixed shape, preventing this issue.
Block "subscribe-popup" not found