Projects
A Guide to Creating a Personalized Charcuterie Board with Laser Engraving
Feb
Estimated reading time: 7 minutes
Key Takeaways
- Choose the Right Wood: Opt for closed-grain hardwoods like Maple, Cherry, or Walnut for their food safety, durability, and excellent engraving results.
- Use Vector Graphics: Prepare your design as a vector file (e.g., SVG) to ensure your engraved lines are sharp, crisp, and scalable without losing quality.
- Always Test First: Before engraving your final piece, run a test on a scrap piece of the same wood to perfectly calibrate your laser’s power and speed settings, preventing costly mistakes.
- Apply a Food-Safe Finish: After engraving and cleaning, seal the board with a food-grade mineral oil or a beeswax blend to protect the wood and ensure it is safe for serving food.
Table of Contents
- Selecting the Ideal Wood for Your Charcuterie Board
- Preparing Your Design for Engraving
- Optimizing Laser Engraver Settings for Wood
- Engraving Process and Applying a Food-Safe Finish
- Conclusions
- Frequently Asked Questions
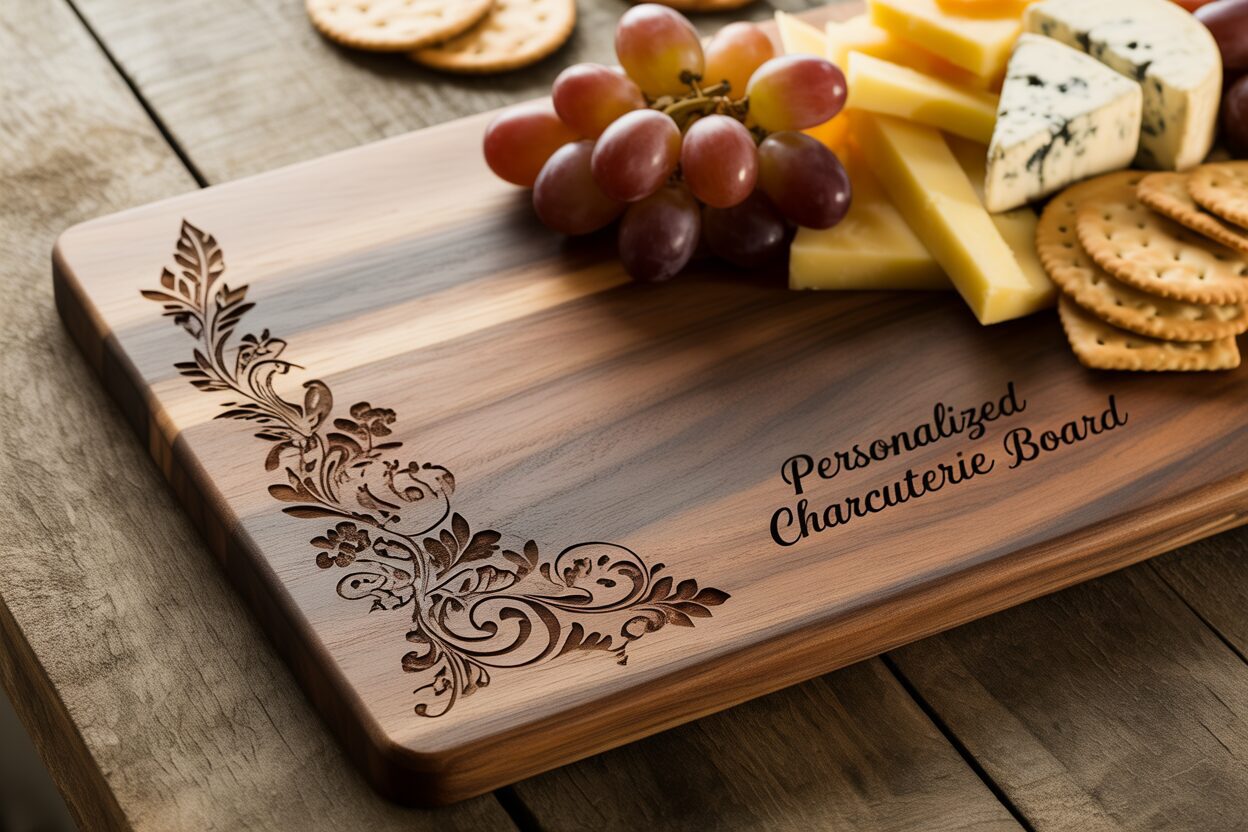
Transform a simple piece of wood into a functional work of art. This guide provides a comprehensive walkthrough for creating a personalized charcuterie board using laser engraving. From choosing the best materials to applying the final touches, we’ll cover every step to help you craft a beautiful and lasting piece for your home or as a perfect gift.
Selecting the Ideal Wood for Your Charcuterie Board
The foundation of a truly exceptional engraved charcuterie board is the wood itself. Your choice will dictate not only the board’s final appearance and durability but also its safety for serving food and the quality of the laser engraving. The most critical factor is selecting a closed-grain hardwood. Woods are categorized as either closed-grain or open-grain based on the size of their pores. Closed-grain woods, like maple, cherry, and walnut, have very small, dense pores that are invisible to the naked eye. This dense structure prevents food particles, bacteria, and moisture from penetrating the surface, making the board hygienic and easy to clean. Conversely, open-grain woods like Red Oak and Ash have large, porous structures that can trap food and become a breeding ground for germs, making them unsuitable for direct food contact surfaces like charcuterie boards.
Popular Wood Choices for Engraving and Food Safety
Once you’ve committed to using a closed-grain hardwood, you can choose a species based on color, grain, and how it interacts with the laser. Each wood offers a unique canvas for your personalized design.
- Maple (Hard Maple): Often considered the gold standard for cutting boards and butcher blocks, Hard Maple is prized for its extreme durability and density. Its creamy, light color and subtle, uniform grain create the perfect high-contrast background for laser engraving. The laser burn produces a rich, dark brown mark that stands out sharply, making it ideal for intricate designs, detailed logos, and fine text. If clarity and a classic, bright look are your priorities, maple is an unbeatable choice.
- Cherry: Known for its warm, reddish-brown hue, Cherry adds a touch of elegance and richness. It’s slightly softer than maple but still perfectly durable for a serving board. What makes Cherry special is its beautiful aging process; it develops a deeper, darker patina over time with exposure to light. Laser engraving on cherry produces a sophisticated, tone-on-tone effect. The engraved area becomes a darker shade of the wood’s natural color, resulting in a more subtle and refined look compared to the high contrast of maple.
- Walnut: For a dramatic and luxurious aesthetic, Walnut is the premier choice. Its deep, chocolate-brown colors, often highlighted with complex and beautiful grain patterns, make a statement on their own. As a dark wood, the laser engraving effect is very different. Instead of a high-contrast mark, you get a subtle, dark-on-dark branding. This creates an understated, premium feel that is perfect for bold monograms or simple, elegant graphics. The engraving becomes an integrated texture rather than a stark visual element.
Matching Wood Characteristics to Your Design
Beyond the species, consider the specific characteristics of the wood piece in front of you. The hardness, often measured on the Janka scale, indicates its resistance to scratches and knife marks. While you shouldn’t use your engraved board as a heavy-duty cutting board, a harder wood like Maple will better withstand the occasional slicing of cheese or charcuterie. The grain pattern also plays a significant role. A board with a wild, figured grain can be stunning but may distract from or obscure a detailed engraving. For complex designs, seek out wood with a straighter, more uniform grain. Conversely, a simple monogram might be beautifully enhanced by a dynamic grain. Ultimately, matching the wood’s color and character to the style of your engraving is key to creating a cohesive and breathtaking personalized piece.
Preparing Your Design for Engraving
With your perfect piece of wood selected, the next step is to create or prepare the digital design that will bring your vision to life. The quality of your artwork is just as important as the quality of the wood for achieving a professional-looking engraved charcuterie board. The most crucial consideration is the file format. For laser engraving, vector graphics are vastly superior to raster images (like JPEGs or PNGs). Vector files, most commonly in the SVG (Scalable Vector Graphic) format, define images using mathematical paths and lines instead of pixels. This means you can scale a charcuterie board svg file to any size without any loss of quality, ensuring the laser follows a perfectly crisp and clean path. Raster images, on the other hand, can become pixelated or blurry when resized, resulting in jagged or fuzzy engraved edges. You can find thousands of pre-made SVG files on websites like Etsy or design marketplaces, often specifically created for kitchen and home decor projects. Alternatively, you can create your own unique design using vector software like Adobe Illustrator, CorelDRAW, or the free and powerful Inkscape.
Tailoring Your Artwork for Wood Engraving
Once you have a base design, personalization is what makes the board truly special. This is the time to add family names, a wedding date, a meaningful quote, or a custom monogram. When arranging these elements, think about the overall composition and placement on the board. A common practice is to place the design in a corner or along one edge to leave ample space for food presentation. Keep the characteristics of your chosen wood in mind.
- Contrast and Detail: On a light-colored wood like Maple, intricate details and fine lines will stand out beautifully. For a dark wood like Walnut, where the engraving is more subtle, it’s best to use bolder fonts and thicker lines to ensure the design is legible. Avoid overly complex or “busy” designs with many thin, overlapping lines, as these can become muddy when engraved on wood grain.
- Simplicity is Key: Your design should be purely black and white. The laser interprets black areas as places to engrave and white areas as places to leave untouched. Grayscale shading can be achieved with advanced techniques, but for a classic engraved look, a high-contrast, two-tone image will yield the cleanest results.
- The Test Engraving: Before committing your final design to your beautiful charcuterie board, always perform a test engraving. Use a scrap piece of the same wood or an inconspicuous spot on the back of the board. This critical step allows you to verify your laser’s power and speed settings. You can test a small section of your design to see how deep the burn is, how dark the color is, and how well the fine details are rendered. Making adjustments based on a test run is the single best way to prevent mistakes and ensure your final product is flawless.
Optimizing Laser Engraver Settings for Wood
Having finalized your design, the next critical phase is translating that digital file into a physical engraving. This involves dialing in the correct laser engraving wood settings for your specific machine and material. Achieving a crisp, clean, and beautifully contrasted mark is a balancing act between three core parameters: power, speed, and focus. Understanding how these variables interact is the key to mastering the craft of wood engraving and creating a stunning personalized charcuterie board.
- Power: This setting, usually expressed as a percentage, controls the intensity of the laser beam. Higher power results in a deeper and darker burn. However, too much power can lead to excessive charring, creating a heavy, sooty appearance and potentially damaging fine details.
- Speed: This dictates how quickly the laser head moves across the wood’s surface. A slower speed allows the laser to dwell on one spot for longer, delivering more energy and creating a darker, deeper mark, similar to increasing power. A faster speed results in a lighter engraving.
- Focus and Resolution (LPI/DPI): Before you even consider power and speed, ensuring your laser is perfectly focused is paramount. An out-of-focus beam will be wider and less powerful, resulting in a blurry, faint engraving. Additionally, the resolution, measured in Lines Per Inch (LPI) or Dots Per Inch (DPI), determines the density of the engraved lines. A higher LPI (e.g., 300-600) will create a more filled-in, darker appearance, while a lower LPI will be faster and lighter.
Calibrating Settings for Different Wood Species
No two woods engrave the same. Their unique density, grain, and resin content mean that settings that work perfectly for one species will produce poor results on another. Hard, dense woods like Maple require more energy (higher power or slower speed) to achieve a dark mark. Softer woods or those with more resin can char easily, requiring less power or a faster speed to prevent a burnt look. To get you started, here are some very general starting points for a common 40-50W CO2 laser. Always treat these as a starting point and test them on your machine.
- Hard Maple: Speed: 150 mm/s, Power: 25-30%. Maple’s density allows it to handle higher power without excessive burning, producing a clean, high-contrast dark brown mark.
- Cherry: Speed: 200 mm/s, Power: 20-25%. Cherry is less dense than maple and engraves to a rich, dark color with less power.
- Walnut: Speed: 200 mm/s, Power: 18-22%. Walnut engraves very easily. The goal here is often to create a clean, textural difference rather than a dramatic color change, so slightly less power is often preferred to avoid a deep, charred look.
The single most important practice for achieving perfect results is running a test grid on a scrap piece of the exact same wood you’ll be using for your final board. A test grid is a file that runs a series of engravings, typically small squares, each with a unique combination of power and speed settings. This allows you to visually compare the results and find the “sweet spot” for your desired look—whether it’s a light branding or a deep, rich engraving. This methodical process removes all guesswork, prevents costly mistakes on your final workpiece, and is the true secret to consistently producing professional-quality results.
Engraving Process and Applying a Food-Safe Finish
With your settings perfected from the test grid, you are ready for the final step in the laser process. Securely place your charcuterie board onto the laser bed, ensuring it is perfectly flat and cannot shift during engraving. Use jigs, weights, or hold-down pins if necessary to keep it immobile. Double-check that your laser is precisely focused on the surface of the wood, as this is critical for a sharp result. Once everything is in place, send your design file to the machine, activate your ventilation system to handle the smoke and fumes, and run the job. After the engraving is complete, you’ll notice a layer of resin and wood dust or “soot” on and around the engraved area. Cleaning this residue is essential for a professional finish. The best method is to first use a soft brush to gently remove any loose particles. For any remaining stubborn residue, lightly dampen a clean, lint-free cloth with isopropyl alcohol and carefully wipe the engraved area. The alcohol helps break down the resin without smearing it into the wood grain. Be gentle to avoid damaging the fine details.
Choosing and Applying a Food-Safe Finish
The final and most crucial step is to apply a finish that both protects the wood and makes it safe for serving food. This is non-negotiable for any item that will have direct contact with consumables. Never use standard woodworking finishes like polyurethane, varnish, or lacquer, as these are not food-safe. The best choice is a penetrating, non-toxic oil or wax blend specifically designed for butcher blocks and cutting boards. This will make your engraved charcuterie board pop, bringing out the wood’s natural color and grain, while also protecting it from moisture and drying out.
- Food-Grade Mineral Oil: This is the most common and accessible option. It’s an inert, non-drying oil that soaks deep into the wood fibers, hydrating them and preventing cracking. It is colorless, odorless, and completely safe for consumption.
- Beeswax and Mineral Oil Blends: Often sold as “board butter” or “cutting board conditioner,” these products offer superior protection. The mineral oil penetrates and moisturizes the wood, while the beeswax creates a water-resistant barrier on the surface, helping to prevent stains and keep moisture out.
To apply the finish, ensure your board is completely clean and dry. Pour a generous amount of your chosen food safe wood finish onto the surface. Using a clean, soft cloth, work the oil or conditioner into the wood, moving with the grain. Pay special attention to the engraved area, ensuring the finish gets into all the nooks and crannies to seal the exposed wood. Let the board sit for several hours, or preferably overnight, to allow the oil to fully penetrate. The next day, use another clean cloth to wipe off any excess oil that hasn’t been absorbed and buff the surface to a soft, satin sheen. For long-term care, advise the user to hand wash the board only (never put it in a dishwasher), dry it immediately, and reapply a coat of mineral oil or board butter every month or whenever the wood starts to look dry or dull. This simple maintenance will keep the board looking beautiful and functional for years to come.
Conclusions
You now have the knowledge to create a stunning engraved charcuterie board that is both beautiful and functional. By carefully selecting your wood, perfecting your design and laser settings, and applying a food safe wood finish, you can produce a high-quality, personalized item. Experiment with different designs and woods to continue honing your custom wood engraving skills.
Frequently Asked Questions
Q: What is the best type of wood for an engraved charcuterie board? A: The best woods are closed-grain hardwoods like Maple, Cherry, and Walnut. They are dense, durable, and don’t trap food particles, making them hygienic and safe for serving food. Maple offers high contrast, Cherry provides a warm, rich tone, and Walnut gives a luxurious, subtle look.
Interested in more Charcuterie Board? Check out our Charcuterie Board laser file designs: Click here!
Q: Why are vector files (SVG) better than JPEGs for laser engraving? A: Vector files (SVG) use mathematical paths instead of pixels, so they can be scaled to any size without losing quality. This ensures the laser follows a perfectly crisp and clean line, resulting in a sharp, professional engraving, whereas pixel-based images like JPEGs can become blurry or jagged.
Q: What is the most important step before engraving my final board? A: The most critical step is to perform a test engraving on a scrap piece of the same wood. This allows you to calibrate your laser’s power, speed, and focus settings to achieve the desired look and prevents mistakes on your final, valuable workpiece.
Q: How do I make my engraved charcuterie board food-safe? A: After engraving and cleaning, you must apply a food-safe, non-toxic finish. The best options are food-grade mineral oil or a blend of mineral oil and beeswax (often sold as “board butter”). These finishes protect the wood and create a safe surface for direct food contact.
Block "subscribe-popup" not found