Projects
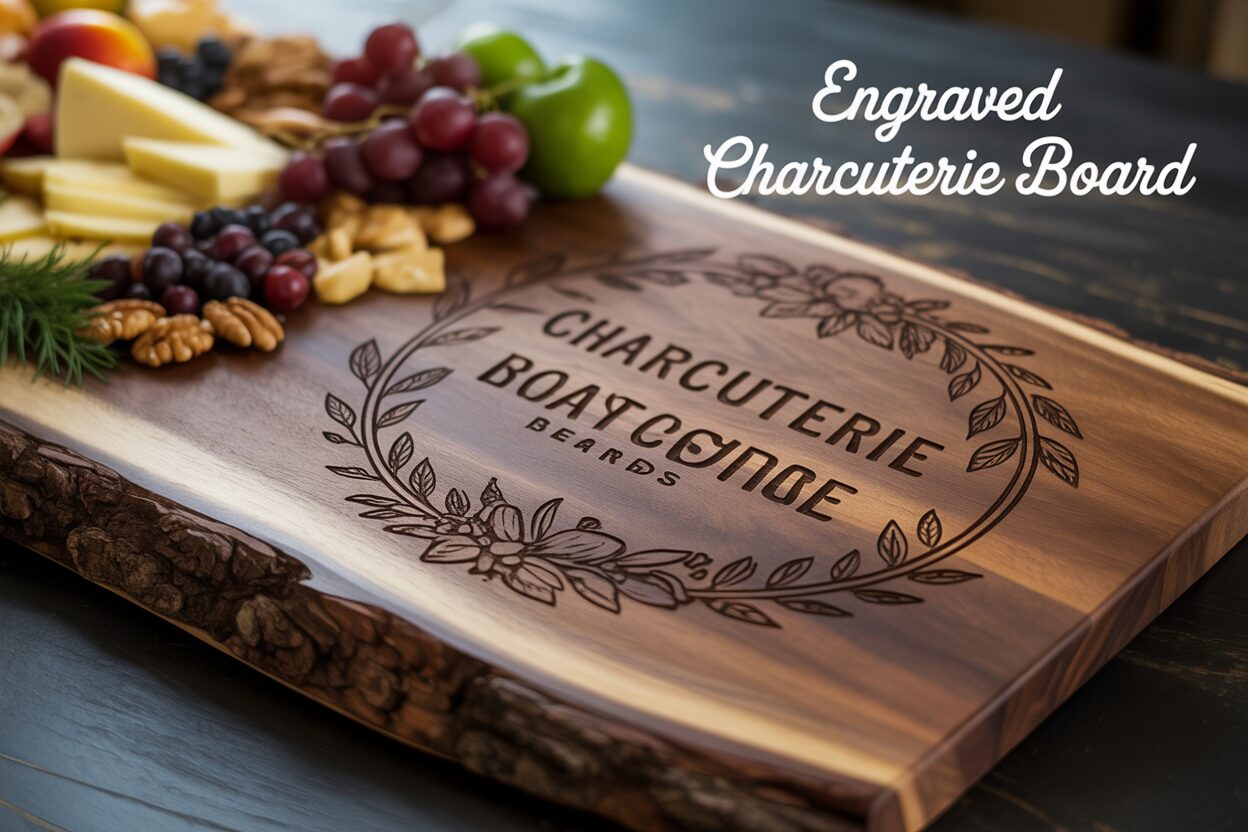
A Guide to Crafting a Personalized Engraved Charcuterie Board
Mar
Estimated reading time: 7 minutes
Key Takeaways
- Choose the Right Wood: Select closed-grain hardwoods like maple, walnut, or cherry for food safety, durability, and a beautiful engraving contrast.
- Test Your Laser Settings: Always perform a test on a scrap piece of the same wood to dial in the perfect power and speed, as settings vary significantly between wood types.
- Optimize Your Artwork: Use vector files (SVG, AI) for your designs and convert text to outlines to ensure a sharp, high-quality engraving that complements the wood’s natural grain.
- Apply a Food-Safe Finish: Never use varnish or polyurethane. Protect your board and ensure it’s safe for serving by applying a food-grade finish like mineral oil or a beeswax blend.
Table of Contents
- Selecting the Ideal Wood for Your Charcuterie Board
- Designing Your Custom Engraving
- The Laser Engraving Process Step-by-Step
- Applying a Food-Safe Finish and Final Touches
- Conclusions
- Frequently Asked Questions
Discover the art of creating a stunning engraved charcuterie board. This guide will walk you through every step, from selecting the perfect piece of wood to applying a beautiful, food-safe finish. Whether you’re making a gift or a piece for your own home, you’ll learn the essential wood engraving tips to craft a truly personalized charcuterie board.
Selecting the Ideal Wood for Your Charcuterie Board
The foundation of any truly exceptional personalized charcuterie board is the wood itself. Your choice will influence not only the board’s final appearance and durability but also its safety for serving food and the quality of your laser engraving. For a piece that will come into direct contact with food, the most critical factor is selecting a hardwood with a closed-grain structure. This means the wood has very small, dense pores, creating a non-porous surface that is less likely to harbor bacteria and is significantly easier to clean. Woods like red oak or ash, while beautiful, have large, open pores that can trap food particles and moisture, making them unsuitable for this application. Instead, let’s focus on three popular closed-grain hardwoods that are perfect for creating a stunning and safe custom cheese board.
Popular Wood Choices for Engraving
Each wood offers a unique canvas for your design, with distinct characteristics in color, grain, and response to laser engraving.
- Maple: Known for its incredible hardness and durability, Hard Maple is a classic choice for cutting boards and charcuterie boards. Its light, creamy color and subtle, uniform grain provide the perfect high-contrast background for laser engraving. The laser creates a rich, dark burn that stands out sharply, making intricate text and detailed logos pop. Due to its density, maple is highly resistant to scratches and knife marks, ensuring your board remains beautiful through years of use.
- Walnut: If you desire a darker, more luxurious aesthetic, Walnut is an excellent option. Its rich, chocolate-brown tones, often complemented by complex and swirling grain patterns, create a sophisticated and elegant base. Engraving on walnut is typically more subtle and tonal than on maple. Instead of a stark black mark, the laser produces a slightly darker shade of brown, creating a refined, burnished effect where the texture of the engraving is as prominent as the color. A personalized charcuterie board made from walnut exudes a timeless, premium quality.
- Cherry: Offering a beautiful middle ground, Cherry is prized for its warm, reddish-brown hue and smooth, straight grain. One of cherry’s most beloved qualities is its patina; over time and with exposure to light, its color will gracefully darken and deepen into a richer red. It is slightly softer than maple but still durable enough for a serving board. Cherry engraves exceptionally well, producing a consistently dark and crisp mark that contrasts beautifully against its warm undertones. It’s a fantastic choice for designs that need clarity without the starkness of maple.
Wood Engraving Tips: Adjusting Laser Settings for Wood Density
The density and resin content of your chosen wood directly impact how you should configure your laser engraver. There is no single setting that works for all woods; successful engraving requires thoughtful adjustment. Harder, denser woods require more energy to mark, while softer woods need a lighter touch.
Always begin by running a small test grid or a piece of your design on a scrap of the same wood, or on the back of the board if possible. This allows you to dial in your settings perfectly. For dense Maple, you will likely need to increase your laser power or decrease the speed to achieve a deep, dark burn. Insufficient energy will result in a faint, light-brown mark. For medium-density Walnut, moderate settings often work best. The goal is to achieve a clean engraving without excessive charring, so you may find a slightly faster speed than on maple yields a more elegant result. Cherry is a bit softer and engraves very easily. You can often use lower power or a faster speed to get a beautiful, rich mark. Applying too much power to cherry can cause the engraving to be deeper than intended or create excess residue. By testing first, you can ensure the final engraving on your engraved charcuterie board is exactly what you envision.
Designing Your Custom Engraving
With the perfect piece of wood selected, your next step is to create the artwork that will transform it into a one-of-a-kind treasure. The design phase is where your vision for a personalized charcuterie board truly comes to life. The possibilities are endless, ranging from simple and elegant to complex and artistic. For a classic and personal touch, consider monograms or family names. A beautifully rendered initial, a couple’s names with a wedding date, or a family name established with a “Est.” date makes for a timeless gift. For a more modern or corporate look, a clean logo or custom branding can be highly effective. Beyond text and logos, consider creating unique charcuterie board designs with intricate patterns, such as geometric shapes, elegant floral borders, or even a detailed drawing that holds personal significance, like a mountain range from a favorite vacation spot or the outline of a family home. You can also incorporate functional elements into the design, such as designated areas for different types of cheese or a witty quote about food and friendship. The key is to choose a design that reflects the board’s intended purpose and the personality of its owner.
Optimizing Your Artwork for Wood
Once you have a concept, preparing the digital file correctly is crucial for achieving a crisp, clean engraving on your custom cheese board. Laser engravers work best with vector file formats, such as SVG, AI, or DXF. Unlike pixel-based files like JPEGs or PNGs, vectors are made of mathematical paths, which means they can be scaled to any size without losing quality. This ensures your lines remain sharp and precise. When creating your vector design, it’s essential to convert all text to outlines or paths. This turns the letters into shapes, so the laser software doesn’t need the original font file to interpret the design correctly. Pay close attention to the thickness of your lines and the spacing between elements. Extremely thin lines may get lost in the wood grain or not engrave deeply enough, while design elements that are too close together can cause the wood to over-burn, resulting in a blurry or charred mess. A good rule of thumb is to keep some “breathing room” in your design. Finally, take a moment to consider the board itself. The best designs work in harmony with the wood’s natural shape and grain. Position your engraving to avoid knots or areas with exceptionally busy grain that might distract from the artwork. A long, horizontal design might look best following the grain on a rectangular board, while a circular monogram could perfectly complement the organic feel of a round or live-edge slab. By thoughtfully integrating your design with the natural beauty of the wood, you elevate your project from a simple engraved object to a truly cohesive piece of functional art.
The Laser Engraving Process Step-by-Step
With your design finalized and your wood chosen, it’s time to bring your vision to life with the laser engraver. This process requires precision and patience, but by following a clear series of steps, you can achieve a professional-quality result. The first and most important step is preparing the wood’s surface. Your board should be completely clean, dry, and free of any dust or debris. If the surface isn’t perfectly smooth, sand it with a fine-grit sandpaper (220-grit is usually sufficient) and wipe it clean with a tack cloth. For an exceptionally clean engraving with minimal smoke staining, apply a layer of low-tack, wide-format masking tape over the area you plan to engrave. The laser will cut cleanly through the tape, and after the job is complete, you can simply peel it off to reveal a crisp design with no residue on the surrounding wood.
Setting Up and Calibrating the Laser
Once the board is prepped, place it inside the laser cutter. It is absolutely critical that the board lies perfectly flat and is securely positioned. Any warping or movement will ruin the engraving. Use shims to level an uneven board and clamps or heavy weights to hold it firmly in place. Next, you must focus the laser. The laser’s focal point must be set precisely to the top surface of the wood. An incorrect focus will result in a blurry, weak, or inconsistent engraving. Use your machine’s auto-focus function or manual focus tool to calibrate the lens height accurately. After focusing, position the laser head over the exact spot on the board where you want the top-left corner (or other designated origin point) of your design to begin and set this as the origin in your software. This ensures your artwork is placed exactly where you intended.
One of the most essential wood engraving tips is to never run your final job without performing a test first. Use a small, inconspicuous area on the back of the board or, ideally, a scrap piece of the very same wood. Engrave a small test pattern—a small square or a single letter—using various combinations of power and speed settings.
- Power: This setting controls the intensity of the laser beam. Higher power creates a deeper and darker burn.
- Speed: This setting controls how fast the laser head moves. Slower speeds allow the laser to dwell on the wood longer, also resulting in a deeper, darker mark.
Your goal is to find the perfect balance that creates the desired darkness and depth without excessive charring or “bleeding” into the wood grain. For a dense wood like maple, you’ll likely need higher power or slower speed, whereas a softer wood like cherry will require less energy. Once you are satisfied with your test results, input those optimal settings into your software for the final design file. Double-check that your design is positioned correctly, turn on the machine’s ventilation system, and begin the engraving. Stay with the machine and monitor the process to ensure everything proceeds as planned. Your engraved charcuterie board is now just one step away from completion.
Applying a Food-Safe Finish and Final Touches
After the laser has worked its magic, your engraved charcuterie board is nearly complete, but the most crucial step for both safety and beauty remains: applying a protective finish. This is not the place for standard wood finishes like polyurethane, varnish, or stain, as they can contain chemicals that are toxic if ingested. You must use a food safe wood finish that is non-toxic and will not go rancid. The right finish will not only protect the wood from moisture and bacteria but will also make the grain “pop,” deepening the colors and enriching the contrast of your engraving, transforming a nice piece of wood into a stunning centerpiece.
Choosing Your Food-Safe Finish
There are several excellent options available, each with slightly different properties. Your choice will depend on the desired look and the level of protection you want.
- Food-Grade Mineral Oil: This is the most common and accessible choice. It is an inert, non-drying oil that penetrates deep into the wood fibers, hydrating them and preventing cracking. It’s easy to apply and gives the wood a rich, saturated look. It is important to use only food-grade mineral oil, which is colorless, odorless, and tasteless. Its main drawback is that it needs to be reapplied regularly, typically once a month, to keep the board conditioned.
- Beeswax: Often blended with mineral oil, beeswax adds an extra layer of protection. While mineral oil soaks in, beeswax creates a thin, water-resistant barrier on the surface. This helps repel moisture and food stains more effectively. A finish containing beeswax will give your custom cheese board a soft, silky sheen rather than a high gloss.
- Fractionated Coconut Oil: A great plant-based alternative, fractionated coconut oil has had the long-chain triglycerides removed, so it remains liquid and will not go rancid like regular cooking oils. It functions similarly to mineral oil, soaking into the wood to season it.
- Specialized Board Creams: These products are typically a pre-made blend of mineral oil and waxes (like beeswax or carnauba wax). They offer the best of both worlds: deep conditioning from the oil and a protective, moisture-resistant topcoat from the wax. They are easy to apply and provide long-lasting protection.
Application and Long-Term Care
Before applying any finish, make sure your board is perfectly clean. Use a stiff brush or compressed air to gently remove any char or residue from the engraved areas. Wipe the entire board with a clean, lint-free cloth. To apply the finish, pour a generous amount of oil or a scoop of cream onto the surface. Using another clean cloth, work the finish into the wood in a circular motion, ensuring you cover every surface, including the edges and the engraved details. Don’t be shy with the first coat; the wood will be thirsty. Let the board sit for at least a few hours, or preferably overnight, to allow the finish to fully penetrate the wood fibers. Afterwards, use a fresh cloth to buff off any excess. The wood should feel smooth and hydrated, not greasy. For continued care, instruct the user to hand wash the board with mild soap and warm water—never put it in the dishwasher or let it soak. After washing, dry it immediately with a towel and let it air dry standing on its edge. Reapply a coat of your chosen finish whenever the wood starts to look dry or dull to keep your masterpiece beautiful and safe for years of enjoyment.
Conclusions
You now have the knowledge to create a beautiful engraved charcuterie board that is both personal and functional. By choosing the right materials and following these steps, you can craft a unique custom cheese board that will be cherished for years. Remember to prioritize safety by using a food safe wood finish to protect your masterpiece and your guests.
Frequently Asked Questions
Q: What is the best wood for an engraved charcuterie board?
A: The best woods are closed-grain hardwoods like Maple, Walnut, and Cherry. They are non-porous, making them food-safe and easy to clean, and they provide an excellent surface for detailed laser engraving.Interested in more Charcuterie Board? Check out our Charcuterie Board laser file designs: Click here!
Q: Can I use regular wood stain or varnish on my board?
A: No. Standard wood finishes like varnish, polyurethane, or stain are not food-safe and can be toxic. You must use a dedicated food-safe finish, such as food-grade mineral oil, a beeswax blend, or fractionated coconut oil.
Q: Why is my engraving coming out faint or blurry?
A: A faint engraving is typically caused by insufficient laser power or the speed being set too high. A blurry result is often due to an improperly focused laser. Always run a test on a scrap piece to calibrate your settings and focus perfectly before engraving your final piece.
Q: How should I clean and maintain my personalized charcuterie board?
A: Hand wash the board with mild soap and warm water, then dry it immediately with a towel. Never put it in the dishwasher or let it soak. Reapply a food-safe oil or board cream monthly, or whenever the wood looks dry, to keep it conditioned and protected.
Block "subscribe-popup" not found