Tutorials
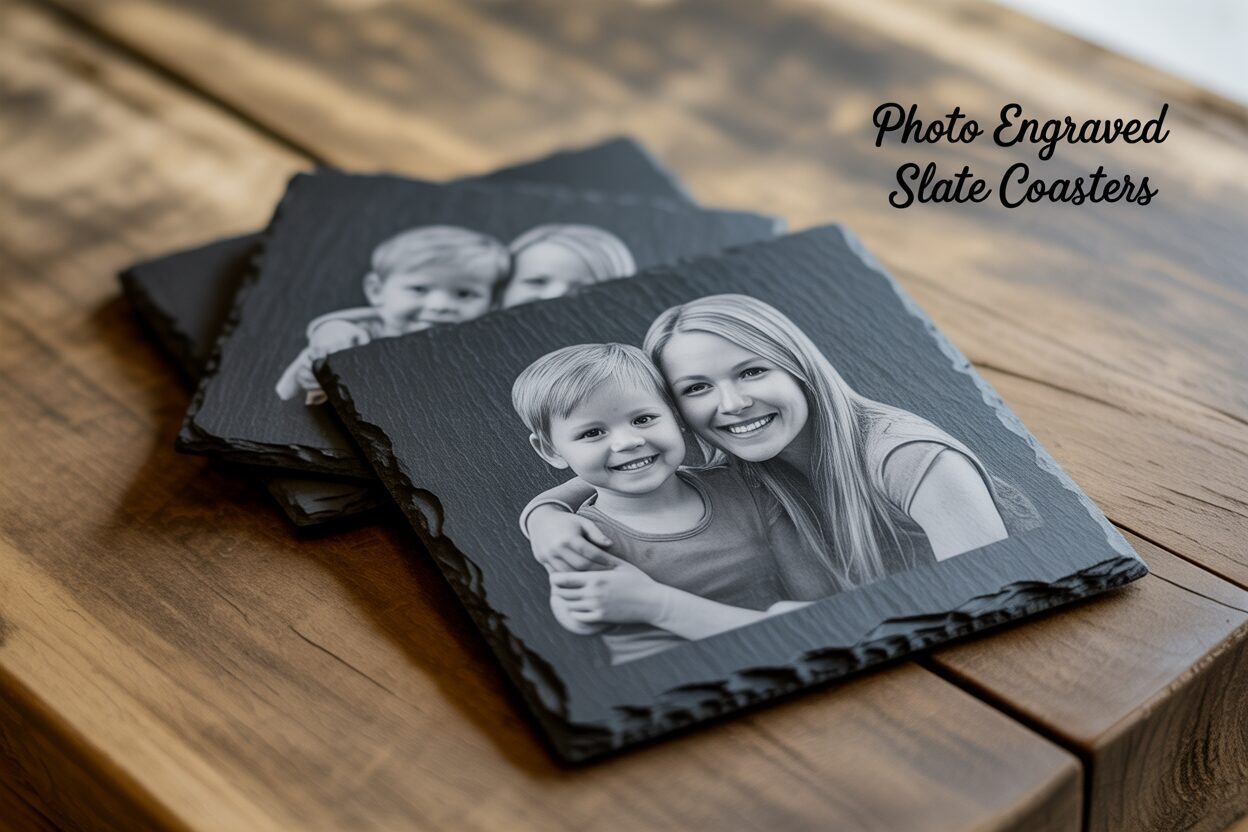
A Detailed Guide to Making Photo Engraved Slate Coasters
Nov
Estimated reading time: 8 minutes
Key Takeaways
- Image Selection is Key: Start with high-contrast photos that have a clear subject and a simple background. This provides the best foundation for a sharp, detailed engraving.
- Digital Preparation is Crucial: Before engraving, convert your image to grayscale, significantly boost the contrast using ‘Levels’ or ‘Curves’, sharpen details slightly, and ensure the resolution is at least 300 DPI at the final size.
- Test Your Settings: Always run a material test grid on a spare piece of slate to find the optimal balance of laser power, speed, and LPI (Lines Per Inch) for your specific machine. This single step prevents wasted materials and guarantees better results.
- Use Proper Dithering: For photo-realistic results, select an error-diffusion dithering algorithm like Jarvis or Stucki in your laser software. This method is superior to standard grayscale for reproducing tones on slate.
- Finish for Durability: After engraving, thoroughly clean the slate coaster with water and a soft brush. Apply a sealant, such as food-safe mineral oil or a clear matte spray, to protect the engraving and dramatically enhance its contrast and appearance.
Table of Contents
- Selecting and Preparing Your Photos for Slate Engraving
- A Step-by-Step Guide to Preparing Your Image
- Optimal Laser Engraver Settings for Perfect Results
- Starting Points and Recommended Settings
- The Critical Role of Dithering
- The Engraving and Finishing Touches
- Cleaning and Post-Engraving Care
- Sealing for Durability and Enhanced Appearance
- Conclusions
- Frequently Asked Questions
Transform your cherished memories into lasting keepsakes with photo engraved slate coasters. This guide provides everything you need to know, from preparing your images to dialing in the perfect laser settings. Whether you’re a hobbyist or a pro, you’ll learn how to create stunning, high-quality custom slate coasters that are sure to impress and make for excellent personalized photo gifts.
Selecting and Preparing Your Photos for Slate Engraving
The success of your engraved slate coaster hinges on the quality and preparation of your chosen photograph. While the laser does the physical work, your digital preparation is what truly brings the image to life on the stone. Not all photos are created equal for this process; selecting the right one from the start will save you time and frustration, leading to a far superior result. The best images for laser engraving photos on slate are those with high contrast, a clearly defined subject, and a simple, uncluttered background. Because the laser creates a grayscale image by ablating the dark surface of the slate to reveal a lighter layer underneath, photos with strong distinctions between light and dark areas translate most effectively. A photo with too many mid-tones or subtle gradients will often appear muddy and lack detail once engraved. Think of portraits with good lighting, pets against a plain wall, or bold logos and text. These types of images provide the clean lines and tonal separation that slate engraving thrives on.
Interested in more Slate Coaster? Check out our Slate Coaster laser file designs: Click here!
A Step-by-Step Guide to Preparing Your Image
Once you’ve selected a suitable photo, it’s time to optimize it for the laser. This digital preparation is crucial for translating the image from your screen to the stone surface. We’ll use steps common to software like Adobe Photoshop or the free alternative, GIMP.
- Convert to Grayscale: Your first step is to remove all color information. The laser engraver only works in monochrome, so converting your image to grayscale (also known as desaturation) allows you to accurately see the tones the laser will be working with. In Photoshop, this can be done via Image > Mode > Grayscale.
- Adjust Brightness and Contrast: This is the most critical stage. Your goal is to boost the contrast significantly. You want your bright areas to be close to white and your dark areas to be deep black. The ‘Levels’ or ‘Curves’ adjustment tools are perfect for this. Drag the input sliders for black and white inwards to “crush” the mid-tones, making the image more dynamic. Don’t be afraid to make it look overly contrasty on screen; this exaggerated separation is what creates a clear and impactful engraving on the slate.
- Sharpen Key Details: A subtle sharpening pass can help define the edges of your subject, which helps the laser create a crisper result. Use an ‘Unsharp Mask’ filter with a small radius. Be careful not to over-sharpen, as this can create a grainy “halo” effect around objects that will be noticeable in the final product.
- Consider Resolution (DPI): The resolution of your image, measured in Dots Per Inch (DPI), directly impacts the engraving quality. For detailed photo engraving, you should aim for a resolution of at least 300 DPI at the final size of your coaster (e.g., a 4×4 inch image at 300 DPI). Starting with a high-resolution source photo is essential. Simply increasing the DPI of a low-resolution image in your software won’t add any real detail and will result in a blurry, pixelated engraving. Following these preparation steps is fundamental to exploring creative slate coaster design ideas and achieving professional-looking results every time.
Optimal Laser Engraver Settings for Perfect Results
With your photo perfectly prepared, the next step is to translate that digital file into a physical engraving. This is done by dialing in the correct laser parameters. The three core variables you will control are power, speed, and resolution (measured in LPI or Lines Per Inch). Achieving a crisp, detailed image is all about the delicate balance between these three settings. Power dictates the intensity of the laser beam; too low, and it won’t mark the slate, too high, and you’ll get a blown-out, chalky-white image that lacks detail. Speed controls how fast the laser head moves across the slate; slower speeds apply more energy to a given area, similar to increasing power. LPI determines how many lines the laser will engrave within one inch; a higher LPI creates a more detailed image but increases engraving time and the risk of over-burning the material. Finding the perfect slate coaster engraving settings for your specific machine and material is the key to producing professional-grade results. Because every laser is slightly different and every piece of slate has minor variations, you must always run a material test grid on a spare coaster or the back of one before committing to your final project. This single step will save you from wasting materials and will quickly reveal the optimal settings.
Starting Points and Recommended Settings
While testing is mandatory, here are some widely accepted starting points for both common types of lasers. These are meant to get you in the right ballpark for your initial test grid.
- For Diode Lasers (10W-20W optical): These lasers are very capable but require a slower approach. Start with a speed around 2000 mm/min, a power setting between 25-40%, and an LPI of 254-300.
- For CO2 Lasers (40W-60W): These more powerful machines work much faster. A good initial setting would be a speed of 250 mm/s, a power level of 12-18%, and an LPI of 300-400.
Remember to focus your laser precisely onto the surface of the slate for the sharpest possible result. An out-of-focus laser will produce a soft, blurry engraving, regardless of how well you prepared your image or settings.
The Critical Role of Dithering
When engraving a photo, the laser software needs a way to translate the various shades of gray into something the laser, which only has ‘on’ and ‘off’ states at a fixed power, can produce. This process is called dithering. Instead of varying the laser’s power (which is what a ‘Grayscale’ setting does and can produce inconsistent results on slate), dithering uses patterns of tiny black dots to simulate shades of gray. For reproducing photographic detail on slate, error-diffusion dithering algorithms like Jarvis or Stucki are vastly superior. These methods create a more natural, photo-realistic look by arranging dots in a way that avoids repetitive patterns and smoothly transitions between light and dark areas. This level of detail and tonal accuracy is essential when you want to create high-quality custom slate coasters that truly capture the essence of the original photograph. When setting up your job, always select Jarvis or a similar algorithm over a standard grayscale or halftone pattern for the best possible outcome.
The Engraving and Finishing Touches
After meticulous digital preparation and dialing in the optimal laser settings, you have reached the most exciting stage: bringing your image to life on stone. The physical engraving process requires precision and careful setup to ensure the final product matches your digital design. First, place your slate coaster onto the laser bed. For consistency across multiple coasters, creating a simple corner jig from wood or acrylic can be incredibly helpful. Next, you must focus the laser beam precisely onto the top surface of the slate. An inaccurate focus, even by a millimeter, will result in a soft, blurry engraving, negating all your careful photo preparation. Use your machine’s specific focusing tool or method to get this perfect. Before you press start, use your software’s ‘Frame’ function. This will trace the outer boundary of your design with a low-power laser pointer, allowing you to see exactly where the image will be engraved on the coaster. Adjust the coaster’s position until the frame is perfectly centered. With everything aligned, ensure your ventilation system is running, put on your safety glasses, and run the job.
Cleaning and Post-Engraving Care
Once the laser has finished its work, the coaster will be covered in a fine layer of gray stone dust. Your beautifully detailed image will be hidden underneath this residue. The first cleaning step is crucial for revealing the engraving’s true contrast and clarity.
- Initial Dust Removal: Start by using a soft-bristled brush, like an old toothbrush or a small paintbrush, to gently sweep away the loose dust from the engraved surface.
- Washing the Coaster: Next, take the coaster to a sink and rinse it under cool running water. Use your fingers or a very soft cloth to gently rub the surface while rinsing. This will lift the remaining fine particles from the tiny crevices of the engraving. For stubborn residue, a small amount of mild dish soap can be used, but be sure to rinse it off completely.
- Drying: Pat the coaster dry with a soft, lint-free towel and let it air dry completely. You will immediately notice a dramatic difference. The dark gray of the wet slate will provide a stunning preview of how the coaster will look once sealed, with the light engraved areas popping in sharp contrast.
Sealing for Durability and Enhanced Appearance
This final, optional step is highly recommended as it elevates your project from a simple engraving to a finished, durable product. Sealing not only protects the engraving from moisture and stains but also significantly enhances the appearance by deepening the natural dark color of the slate. This makes the engraved image stand out even more. You have two excellent options for sealing. For a natural, satin finish, apply a thin coat of food-safe mineral oil with a soft cloth. Let it soak into the stone for 10-15 minutes, then buff off any excess with a clean cloth. For maximum durability and a waterproof finish, use a clear matte or satin acrylic spray sealant. In a well-ventilated area, apply one or two light, even coats, allowing the coaster to dry completely between applications. This finishing touch is what transforms your work into lasting, high-quality personalized photo gifts that are both beautiful and functional.
Conclusions
Creating photo engraved slate coasters is a rewarding project that combines technology with heartfelt memories. By carefully preparing your images, mastering your laser’s settings, and applying a clean finish, you can produce professional-quality results. These unique items not only serve as functional decor but also as deeply personal gifts that will be treasured for years to come.
Frequently Asked Questions
Q: What type of photo works best for slate engraving?
A: High-contrast images with a clear subject and a simple, uncluttered background work best. The strong distinction between light and dark areas translates most effectively on slate.
Q: Why do I need to run a material test grid?
A: Every laser engraver and piece of slate is slightly different. A test grid allows you to find the perfect balance of power, speed, and LPI for your specific setup, preventing wasted materials and ensuring a crisp, detailed engraving.
Q: What is dithering and why is it important for slate?
A: Dithering is a process that uses patterns of tiny dots to simulate shades of gray. For slate, error-diffusion dithering (like Jarvis or Stucki) is crucial because it creates a more natural, photo-realistic result compared to standard grayscale methods.
Q: Should I seal my engraved slate coasters?
A: Yes, sealing is highly recommended. It protects the engraving from moisture and stains, and significantly enhances the appearance by deepening the slate’s dark color, which makes the engraved image pop with contrast.
Block "subscribe-popup" not found