Tutorials
A Comprehensive Guide to Laser Engraving Slate
Oct
Estimated reading time: 8 minutes
Key Takeaways
- Preparation is Paramount: The quality of your engraving depends on proper preparation. Always start by selecting smooth, honed slate and cleaning it thoroughly with isopropyl alcohol to remove dust and oils for a high-contrast mark.
- Test for a “Sweet Spot”: Never use default settings. Run a test grid on a scrap piece to find the optimal balance of low power (15-30%) and high speed (3000-6000 mm/min). The goal is a bright white mark, not a deep or melted one.
- Master Photo Engraving: To engrave photos, first edit the image to be grayscale, high-contrast, and slightly sharpened. Use a dithering algorithm like Jarvis or Stucki in your laser software to translate shades of gray into a pattern of fine dots.
- Seal for Protection and Finish: Protect your finished work and enhance its appearance by sealing it. Use food-safe mineral oil for a dramatic, high-contrast “wet look,” or an acrylic spray sealant (matte or gloss) for durable, permanent protection.
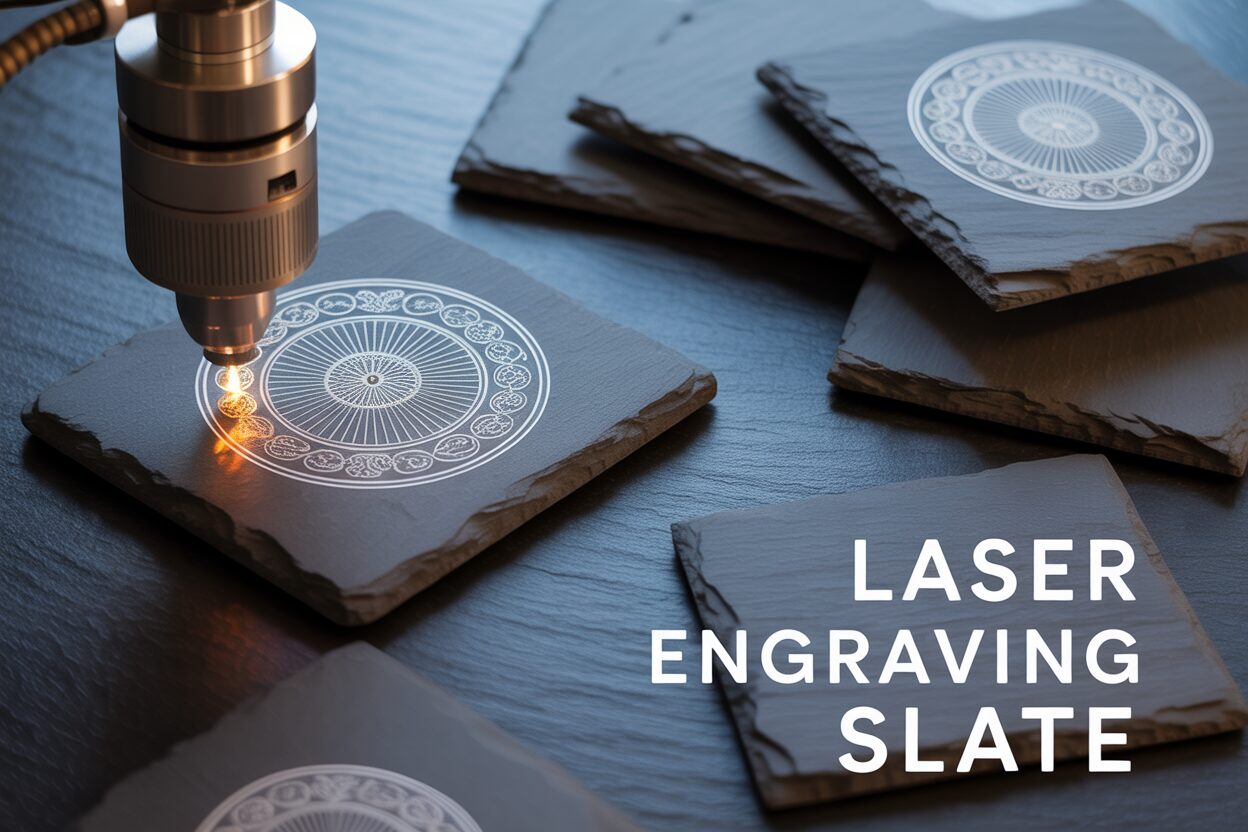
Discover the potential of slate as a canvas for your laser engraver. This article provides a complete walkthrough for your next project, from initial preparation to the final sealing process. We’ll delve into the essential techniques and settings you need to produce professional, high-contrast designs on slate, perfect for coasters, plaques, and personalized gifts.
Preparing Your Slate for Perfect Engraving
The journey to a stunningly engraved slate piece begins long before the laser fires. Just as a chef selects the finest ingredients for a gourmet meal, your choice of slate and its preparation are the foundational steps that dictate the quality of the final product. Skipping or rushing this stage is the most common reason for inconsistent, low-contrast, or flawed engravings. This chapter will guide you through selecting the best raw material and preparing its surface to create the perfect canvas for your laser.
Not All Slate Is Created Equal: Selecting Your Canvas
While it might seem like a simple, uniform rock, slate is a natural material with significant variations in color, density, and texture. When purchasing slate for projects like engraved slate coasters or plaques, the surface finish is paramount. You will generally encounter two types: natural riven slate and honed slate. Riven slate has a more textured, uneven surface that reflects its natural layers. While this rustic look is appealing, the varying heights can cause focus issues for the laser, leading to inconsistent line widths and engraving depth. For highly detailed work, especially photos, a smoother, honed slate is preferable as it provides a flat, uniform plane for the laser beam to work on. Look for pieces with minimal flaking or chipping at the edges. It’s always a wise practice to purchase more pieces than you need for your project; having spares for testing and for the occasional unexpected flaw in a piece will save you a great deal of frustration.
The Critical Cleaning Step: A Pristine Surface for a Perfect Mark
The slate you purchase, whether from a craft store or a tile supplier, will invariably be covered in a layer of fine dust, natural oils, and residues from the cutting and handling process. Even fingerprints from your own hands can leave oils on the surface. These contaminants act as a barrier, interfering with how the laser energy interacts with the slate. This can result in a hazy, low-contrast engraving rather than the crisp, bright white mark you desire. The solution is simple but non-negotiable: cleaning with isopropyl alcohol (IPA).
To properly clean your slate, apply a generous amount of 90% or higher IPA to a clean, lint-free microfiber cloth. Vigorously wipe the entire surface you intend to engrave, ensuring you cover every inch. You will likely see the grey slate dust transfer onto the cloth. Flip the cloth to a clean section and wipe it again. The high alcohol content ensures that the IPA will evaporate quickly without leaving any residue of its own. Allow the slate to air dry completely for a few minutes before placing it in the laser bed. This simple act of cleaning ensures that the laser is ablating the slate itself, not a layer of grime, which is the secret to achieving that coveted high-contrast, permanent mark.
Finding the Sweet Spot: The Importance of a Test Grid
Every laser is different, and every batch of slate can have slight variations in its composition. For this reason, you should never engrave your final workpiece without first determining the ideal slate engraving settings for your specific machine and material. The most efficient way to do this is by running a test grid on a scrap piece of the exact same slate you plan to use. A test grid is a matrix of shapes, typically small squares, engraved at varying combinations of power and speed. Software like LightBurn has built-in tools to generate these material tests automatically.
Set up a grid that tests a range of speeds and power levels. For a diode laser, a good starting point might be speeds from 1000mm/min to 5000mm/min and power levels from 20% to 80%. After running the test, examine the results closely. You are not looking for the darkest mark, but the brightest and cleanest one.
- Too slow or too much power: The slate may overheat, resulting in a melted or yellowish appearance and potential chipping or flaking.
- Too fast or too little power: The mark will be faint, grey, and lack contrast.
- The sweet spot: The ideal square will be a bright, almost white color with sharp, crisp edges. It should feel smooth to the touch, not rough or flaky.
Once you identify the square with the best result, you have found your optimal settings. This methodical testing removes all guesswork and is the single most important step to guaranteeing a beautiful, professional-quality engraving every time.
Optimal Laser Settings for Engraving Slate
Having prepared a perfectly clean slate and identified a baseline from your test grid, it’s time to understand the nuances of the settings themselves. Unlike wood or acrylic where the laser burns away material, engraving slate is a process of thermal alteration. The focused heat from the laser beam changes the mineral composition on the surface, causing it to lighten in color. This is why the goal isn’t to carve deeply but to apply just enough energy to achieve a bright, high-contrast mark. Mastering the interplay between power, speed, and focus is the key to unlocking consistent, professional results. For diode laser slate engraving, the principle is almost always “fast and light.”
Core Settings for Crisp Slate Engraving
Your test grid gave you a visual reference, but let’s break down the core parameters. While the exact numbers will vary based on your laser’s wattage and the specific slate, these principles and starting points are universally applicable. Remember, the goal is to “bleach” the surface, not to melt or vaporize it.
- Power: Slate requires surprisingly little power. Overpowering the material is the most common mistake, leading to a melted, yellowish, or even glassy finish that lacks the desired bright white contrast. For most 10-20W diode lasers, a good starting range is 15% to 30% power. You want just enough energy to cause the color change without overheating the surrounding area.
- Speed: To compensate for the low power, you will use high speeds. Moving the laser head quickly prevents heat from building up in one spot, ensuring a clean, crisp mark. A typical starting range is 3000 mm/min to 6000 mm/min. Slower speeds risk overheating and melting the slate, even at low power.
- Focus: As with any detailed engraving, a precise focus is non-negotiable. The goal is to achieve the smallest possible laser dot size on the slate’s surface. A blurry or unfocused beam will spread the energy out, resulting in soft edges, poor detail, and a less intense color change. Use your laser’s focusing tool carefully before every job.
- Line Interval (DPI): This setting determines how close together the engraved lines are. For a solid, filled appearance without visible scan lines, you need a fine line interval. A setting of 0.08mm to 0.1mm (approximately 254-317 DPI) is an excellent starting point. A setting that is too tight can over-expose the slate, while one that is too loose will leave dark gaps in your fill.
Adjusting for Detail and Shading
The settings above are perfect for creating bold text and simple vector graphics. However, when you venture into more complex designs or photographs, you need to think about creating shades of gray. Since the laser can only mark “white” or leave the slate “black,” shading is an illusion created by varying the density of engraved dots, a process known as dithering. The quality of your dithered photo engraving relies entirely on your ability to produce a tiny, perfect white dot. Your base slate engraving settings found via the test grid are the foundation for this. To improve photo engraving, you can slightly adjust the Max Power setting in your software. If your photo looks washed out, it means the darkest parts of the image are still getting engraved. By lowering the maximum power percentage, you tell the laser to leave the darker grays and blacks completely untouched, which dramatically increases the overall contrast and detail of the final image.
Bringing Photos to Life with Laser Engraving on Slate
Engraving a photograph onto slate is a truly magical process, transforming a dark, flat stone into a permanent, detailed memory. Unlike engraving text or simple vector art, which involves creating solid, uniform marks, laser engraving photos on slate is an exercise in nuance and illusion. A laser beam is either on or off; it cannot natively produce shades of gray. Therefore, success hinges not just on the laser but on how you prepare the digital image beforehand, translating its continuous tones into a pattern the laser can intelligently reproduce. This requires a different approach, blending digital image manipulation with the precise laser settings you’ve already mastered.
The Digital Darkroom: Prepping Your Image for Success
The journey from a digital photo to a stunning slate engraving begins on your computer. A high-quality source image is important, but even the best photo needs to be optimized for the unique canvas of slate. Slate has a very low dynamic range—it can only be its natural dark gray or the bright white mark made by the laser. Your job is to make the image work within these limitations.
The first step is to convert your image to grayscale. This removes all color information, allowing you to focus purely on the light and shadow that the laser will interpret. Next, you must dramatically increase the image’s contrast. In a photo editor like GIMP, Photoshop, or even directly within your laser software, use the brightness and contrast controls to make the bright areas brighter and the dark areas darker. The goal is to create clear separation between the different elements of the photo. Don’t be afraid to push the contrast further than you would for a screen or print image; what looks overly harsh on a monitor often translates perfectly to slate. Finally, apply a subtle sharpening filter. This enhances the edges and fine details, which helps the dithering process create a crisper, more defined final result.
The Art of the Dot: Understanding Dithering
With your high-contrast grayscale image ready, you need to tell the laser how to replicate its tones. This is done through a process called ‘dithering’. Dithering converts the shades of gray in your photo into a pattern of tiny black and white dots. Where the image is dark, the dots are spaced far apart or are non-existent. Where the image is bright, the dots are packed closely together. When viewed from a distance, the human eye blends these dot patterns back into a grayscale image.
Most laser control software offers several dithering algorithms, and the choice has a significant impact on the final look. For a natural material like slate, the Jarvis or Stucki algorithms are highly recommended. They produce a fine, slightly scattered dot pattern that creates smooth tonal transitions and avoids the rigid, grid-like appearance of simpler algorithms. The process is straightforward:
- Import your prepared grayscale photo into your laser software.
- Set the layer to ‘Image’ mode, which will enable the dithering options.
- Select your preferred dithering algorithm (start with Jarvis).
- Apply your ideal slate engraving settings for speed and line interval. Crucially, the ‘Power’ setting you found in your test grid now becomes your ‘Max Power’ setting for the image. By setting the ‘Min Power’ to 0%, you ensure that the pure black areas of your image receive no laser energy, which is essential for creating deep contrast.
Engraving photos requires patience. Always run a small test version on a scrap piece of slate first. This allows you to see how your image preparation and dithering choices translate to the real material, giving you a chance to make final adjustments before committing to your masterpiece.
Sealing and Finishing Your Engraved Slate
Your laser has finished its work, leaving behind a beautifully detailed design. While the engraving itself is permanent, the slate is still in its raw, natural state, susceptible to fingerprints, moisture, and stains. The final step, sealing, is what elevates your project from a finished engraving to a durable, professional-quality product. This is especially critical for functional items like engraved slate coasters, which will constantly be exposed to condensation and spills. The choice of sealant not only protects your work but also dramatically influences the final aesthetic, allowing you to control the contrast and finish of your piece.
Choosing Your Finish: A Comparison of Sealant Options
The central question of how to seal engraved slate comes down to balancing protection with appearance. Different sealants interact with the porous stone and the engraved surface in unique ways. Your choice will determine whether the slate retains its natural matte gray color or takes on a deep, rich, semi-gloss black.
- Food-Safe Mineral Oil: This is a popular choice for items that may come into contact with food, such as serving platters or coasters. Mineral oil is a penetrating finish, meaning it soaks into the slate. Its primary effect is aesthetic: it dramatically darkens the slate to a deep, rich black, creating a striking “wet look.” This provides the highest possible contrast, making the bright white engraved areas truly ‘pop’.
Application: Apply a generous coat of food-safe mineral oil with a clean, lint-free cloth. Let it sit and soak into the stone for 15-20 minutes, then use another clean cloth to thoroughly wipe away all excess oil from the surface. The finish is ready to use almost immediately, but it is not a permanent sealant and will need to be reapplied periodically, especially if the item is frequently washed. - Clear Acrylic Spray Sealant: For a more permanent, film-forming layer of protection, clear acrylic spray is an excellent and easy-to-use option. It comes in various finishes, with matte and gloss being the most common.
Matte Finish: This is the ideal choice if you want to protect the slate without altering its natural appearance. A matte sealant provides a protective barrier against moisture and oils while preserving the slate’s original color and non-reflective surface.
Gloss Finish: This option will slightly darken the slate and add a noticeable sheen. It enhances contrast more than a matte spray but not as dramatically as mineral oil. It provides excellent water resistance, making it a great choice for coasters.
Application: In a well-ventilated area, hold the can 10-12 inches from the slate and apply a very light, even coat. It is far better to apply two or three thin coats than one heavy coat, which can lead to drips and an uneven finish. Allow each coat to dry for about 15-20 minutes before applying the next. Full cure time is typically 24 hours. - Specialized Stone Sealant: For the ultimate in durable, invisible protection, an impregnating stone sealant is the professional’s choice. These products are designed to penetrate the stone’s pores and cure within, creating a barrier against water and oil from the inside out. They typically do not form a film on the surface and cause minimal change to the slate’s natural color and texture, offering protection similar to a matte spray but with superior durability.
Application: Application methods vary by brand, but it usually involves wiping the sealant on, letting it penetrate for the recommended time (often 5-15 minutes), and then buffing off any excess from the surface. Be sure to follow the manufacturer’s instructions for application and curing times.
Ultimately, the best sealant depends on your project’s function and your desired look. For purely decorative pieces where you love the natural stone color, a matte spray or stone sealant is perfect. For coasters or signs where you want maximum contrast and a deep black finish, mineral oil or a gloss spray will deliver that stunning visual impact.
Interested in more Signs? Check out our Signs laser file designs: Click here!
Conclusions
You now have the knowledge to confidently tackle laser engraving slate. By preparing your material, dialing in the correct settings, and applying a quality sealant, you can create stunning and durable products. Experiment with these techniques on your engraved slate coasters and photo projects to master this versatile and rewarding application of laser technology.
Frequently Asked Questions
Q: What are the best starting laser settings for slate?
A: A great starting point for a 10-20W diode laser is low power (15-30%) and high speed (3000-6000 mm/min) with a fine line interval (around 0.1mm or 254 DPI). However, you must always run a test grid on your specific material to find the perfect settings for a bright, clean mark.
Q: Why is my slate engraving yellow or faded?
A: A yellowish or melted appearance is caused by too much power or moving too slowly, which overheats the slate. A faded, gray mark is a result of too little power or moving too fast. The goal is a bright white mark achieved by finding the “sweet spot” with a test grid.
Q: How do I seal engraved slate coasters for durability?
A: For coasters, you need a sealant that protects against moisture. For maximum contrast, use food-safe mineral oil, but it requires reapplication. For a permanent, durable finish, use a clear acrylic spray sealant. A gloss finish will enhance contrast, while a matte finish will preserve the natural look of the slate while providing excellent protection.
Q: Can I engrave detailed photos on slate?
A: Yes, slate is excellent for photos. The key is image preparation. Convert the photo to grayscale, significantly increase the contrast, and apply a subtle sharpening filter. Then, in your laser software, use a dithering algorithm like Jarvis or Stucki to create the illusion of shading with fine dots.
Block "subscribe-popup" not found