Tutorials
A Comprehensive Guide to Laser Engraving Slate
Aug
Estimated reading time: 7 minutes
Key Takeaways
- Material is Key: For consistent, high-quality results, choose commercially prepared craft slate over natural roofing slate. Always inspect pieces for a smooth surface, uniform thickness, and the absence of cracks or pyrite (fool’s gold).
- Settings are Counterintuitive: With slate, less power is more. Use low-to-moderate power and high speeds to cleanly fracture the surface, creating a bright white mark. Too much power will overheat the stone, resulting in a rough, melted, and less detailed finish.
- Testing is Mandatory: The single most important step is to run a power and speed test grid on a scrap piece of slate from the same batch as your project. This eliminates guesswork and is the only way to find the perfect settings for your specific machine.
- Finishing Creates Contrast: The “wow” factor comes after engraving. Thoroughly clean the dust off the slate with water and a soft brush, then apply a contrast-enhancing agent like food-safe mineral oil (for coasters/boards) or a matte acrylic sealant (for decor) to make the design pop.
Table of Contents
- Selecting and Preparing Slate for Flawless Engraving
- Dialing in the Perfect Laser Settings for Slate
- Post-Engraving Finishing and Care
- Conclusions
- Frequently Asked Questions
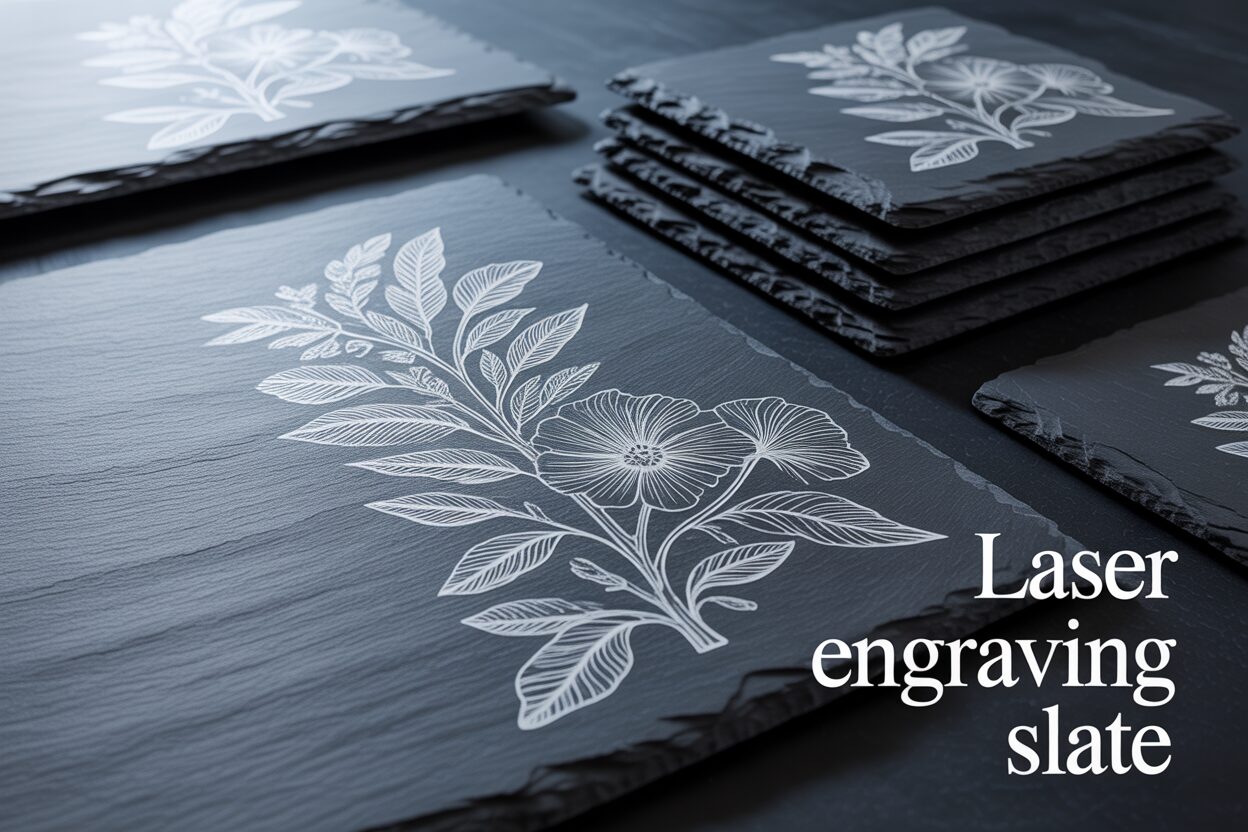
Laser engraving slate has become incredibly popular for creating personalized gifts, home decor, and products like coasters and cheese boards. This durable, natural material offers a unique canvas for intricate designs. This guide provides an in-depth tutorial on the entire process, covering material preparation, precise laser settings, and professional finishing techniques to make your projects stand out.
Selecting and Preparing Slate for Flawless Engraving
The final quality of your laser-engraved slate project is determined long before the beam ever touches the stone. It begins with careful selection and meticulous preparation. The type of slate you choose and the condition of its surface are the foundation upon which a sharp, high-contrast design is built. Skipping these initial steps is a common mistake that often leads to inconsistent, low-quality results.
There are two primary categories of slate you will encounter: natural roofing slate and commercially prepared craft slate. Natural roofing slate, often reclaimed or sold in bulk by building suppliers, can be an economical option. It possesses a rustic, authentic charm with a more pronounced “riven” texture from being split along its natural cleavage planes. However, this authenticity comes with challenges. Roofing slate is notoriously inconsistent in thickness, composition, and surface texture, which can create significant focus issues for your laser. It often requires more intensive cleaning and may contain hidden fractures or mineral deposits. Craft-specific slate, sold as coasters, plaques, and tiles, is the recommended choice for beginners and for projects demanding precision. This slate is typically quarried and processed specifically for decorative purposes. It is sawn to a consistent thickness and often features a smoother, honed surface, providing an ideal canvas for detailed engraving. While more expensive per piece, the reliability and uniformity of craft slate save time and reduce material waste, making it a worthwhile investment for professional results.
What to Look For When Purchasing Slate
Whether you are sorting through a pile of reclaimed roofing tiles or selecting a pack of craft coasters, a discerning eye is your best tool. Knowing what to look for will dramatically increase your chances of a successful engraving. Keep these three critical factors in mind:
- A smooth, uniform surface: Run your fingers over the slate. While a completely glass-like surface isn’t necessary, you should avoid pieces with significant ridges, deep valleys, or flaky areas. These topographical variations will cause the laser to go in and out of focus, resulting in an engraving with blurry and sharp spots. A flatter surface ensures the laser beam remains at a consistent focal distance across the entire design.
- Consistent thickness: For a laser to work effectively, the distance between the lens and the material surface—the focal length—must be precise. If a piece of slate is thicker on one side than the other, parts of your engraving will be out of focus. You can check for consistency by placing the slate on a perfectly flat surface and gently pressing on its corners to see if it wobbles.
- Absence of cracks or major pyrite inclusions: Inspect each piece carefully for hairline cracks, as the heat from the laser can cause them to expand and break the slate. Also, look for small, shiny, metallic flecks embedded in the stone. This is often pyrite, or “fool’s gold.” Pyrite is much denser and harder than the surrounding slate and does not engrave. Instead, it can reflect the laser energy, leave an un-etched metallic spot in your design, and in rare cases, even cause minor damage to your machine’s lens if the reflection is direct.
Step-by-Step Preparation for a Pristine Surface
Once you have selected the perfect pieces of slate, you must prepare them for the laser. The goal is to create a completely clean, dry surface, free of any contaminants that could interfere with the laser’s interaction with the stone. Oils from your hands, microscopic dust particles, and residue from the manufacturing or cutting process can all absorb or deflect the laser’s energy, leading to blotchy, faded, or inconsistent engraving. Follow these simple steps to ensure your slate is ready. First, perform a final inspection for any flaws you may have missed. It is better to discard a piece now than after it has been engraved. Next, clean the slate thoroughly. For general dust and grime, a soft cloth dampened with a 50/50 mixture of isopropyl alcohol and water works exceptionally well. Isopropyl alcohol is an excellent degreaser that evaporates quickly without leaving a residue. Alternatively, you can wash the slate with mild soapy water and a soft brush, but you must rinse it completely and allow it to air dry for several hours. Ensure the slate is 100% dry before it goes into the laser, as any moisture will turn to steam and can interfere with the engraving process. Just before placing the slate in your laser engraver, give it one final wipe with a clean, dry, lint-free microfiber cloth. A pristine surface is the first and most critical step toward achieving a stunning, professional-quality result.
Dialing in the Perfect Laser Settings for Slate
Mastering slate engraving requires a shift in thinking from how you might approach other materials like wood or acrylic. The laser does not burn or vaporize slate; instead, it superheats the surface, causing microscopic fractures and chipping. This physical change in the stone’s surface structure creates a light gray or white mark that stands in beautiful contrast to the dark, untouched slate. Understanding this fracturing process is the key to dialing in your settings. Your goal is not to apply maximum power, but to find the delicate balance that creates the cleanest, brightest fracture without overheating the material and causing it to flake or melt.
Understanding the Core Parameters: Power, Speed, and Resolution
Every laser machine is different, so providing a universal set of “perfect” numbers is impossible. However, the principles for finding those numbers are constant. Success lies in methodically testing the interplay between power, speed, and resolution (DPI).
- Power: With slate, less is often more. The most common mistake is using too much power. Excessive energy doesn’t create a whiter mark; it creates too much heat, causing larger, uncontrolled flakes to pop off the surface. This results in a rough, pitted texture and a loss of fine detail. You are looking for the minimum power level necessary to create a consistent, light-colored mark. For most diode and CO2 lasers, this will be in the low to moderate range of your machine’s capability, often between 10% and 30% power.
- Speed: Speed works in tandem with power. A faster speed means the laser beam spends less time on any given point, delivering less total energy. This is precisely what you want for slate. Moderate to high speeds (e.g., 3000-6000 mm/min, depending on your machine) prevent excessive heat buildup and help create a crisp, clean mark. Slow speeds combined with even low power can still “cook” the slate, leading to a darker, melted appearance rather than a bright fracture.
- DPI (Dots Per Inch) / Interval: This setting dictates how close together the engraved lines are. It might seem intuitive to use a high DPI for high detail, but this is often counterproductive on slate. When the engraved lines are too close, the fractures from one pass can interfere with the adjacent pass, shattering the delicate structure you are trying to create. This results in a muddy, overworked appearance where details become blurred. A lower DPI, typically between 254 and 300 (or a line interval of about 0.1mm), often produces a much cleaner and brighter result. This spacing gives each engraved line its own solid foundation to fracture from, maximizing contrast and preserving detail.
The Essential Test Grid: Your Roadmap to Perfection
The single most important step in finding your ideal settings is running a test grid on a scrap piece of slate—ideally from the same batch as your final project. In your laser software, create a grid of small squares. Assign a range of power settings to the vertical axis (e.g., 10%, 15%, 20%, 25%) and a range of speed settings to the horizontal axis (e.g., 3000, 4000, 5000, 6000 mm/min). After running the test, examine each square closely. You are searching for the combination that produces the brightest, most uniform color with a smooth feel and no noticeable flaking. This simple test removes all guesswork and is the foundation of repeatable, professional-quality work. While both CO2 and diode lasers can engrave slate beautifully, their settings will differ. A 40W CO2 laser might achieve a great result at 15% power and 5000 mm/min, whereas a 10W diode laser might need a slower speed of 2000 mm/min at 80% power to achieve a similar effect. Always test for your specific machine. As a final pro tip, consider experimenting with defocusing the laser. By setting the focal point 1-2mm above the slate’s surface, the laser spot becomes slightly larger and less intense. This can produce a wider, “fluffier” engraving that often appears even whiter, which is perfect for filling in large areas of a design.
Post-Engraving Finishing and Care
Once the laser has finished its work, your slate piece might look a bit underwhelming. It will be covered in a fine layer of gray dust, obscuring the crisp details of your design. This is where the post-engraving process begins—a series of steps that will clean the slate, dramatically enhance the contrast, and protect your work for years to come. Skipping these finishing touches is the difference between an amateur-looking project and a professional, retail-quality product.
The very first action you must take is a thorough cleaning. The dust created during engraving is composed of tiny pulverized stone particles that settle deep into the crevices of your design. If not removed, this dust will dull the final appearance and interfere with any sealant you apply. The most effective method is to use a soft-bristled brush, like an old toothbrush or a soft nail brush, and cool running water. Gently scrub the engraved area under the tap. The combination of the water and the soft bristles will lift the dust out of the microscopic fractures without scratching the slate’s surface or damaging the delicate engraved details. For intricate designs where you want to avoid water, a can of compressed air can be used to blow the dust away. Regardless of your method, the goal is to reveal the clean, light gray color of the fractured stone against the dark, natural slate. After cleaning with water, it is imperative to let the slate dry completely, as any trapped moisture will prevent finishing oils or sealants from applying evenly.
Enhancing Contrast for Maximum Visual Impact
A clean, dry engraving is a blank canvas for the final, transformative step: contrast enhancement. This process darkens the body of the slate, making the light-colored engraving “pop” with striking clarity. The two most common methods are applying mineral oil or a clear acrylic sealant.
- Food-Safe Mineral Oil: This is the preferred method for functional items like engraving on slate coasters, cheese boards, or serving platters. Mineral oil is food-safe, readily available, and incredibly effective. It works by absorbing into the porous surface of the un-engraved slate, deepening its color to a rich, dark gray or black. The engraved area, being fractured and less porous, absorbs very little oil and retains its light color. To apply, place a small amount of mineral oil on a clean, lint-free cloth and wipe a thin, even coat over the entire surface. Let the slate sit for 10-15 minutes to allow the oil to penetrate. The most crucial step is next: take a new, clean, dry cloth and meticulously buff off all the excess oil. You must be thorough, as any residual oil on the surface will leave a greasy finish that attracts dust and fingerprints. The final result should be a smooth, satin finish, not a wet or oily one.
- Clear Acrylic Sealant: For decorative pieces that won’t be used with food, such as wall plaques or signs, a clear sealant offers both contrast enhancement and durable protection. A spray-on matte or satin clear coat is ideal, as it preserves the natural look of the stone better than a high-gloss finish. The sealant works similarly to oil, darkening the slate while protecting the surface from scratches and moisture. To apply, work in a well-ventilated area and spray several light, even coats, allowing each coat to dry according to the manufacturer’s instructions. This method seals the stone permanently, locking in the contrast and making the piece easy to dust and clean in the future.
By carefully cleaning your slate and choosing the right finishing method, you can elevate your project from a simple etching to a stunning piece of art with breathtaking contrast and a truly professional feel.
Conclusions
You now have the foundational knowledge for successful laser engraving slate projects. Remember that success lies in three key areas: meticulous preparation of the slate, patient testing to find the perfect settings for your machine, and proper cleaning and finishing to maximize contrast. With these skills, you can confidently create stunning and sellable slate items for any occasion.
Frequently Asked Questions
Q: What is the best type of slate for laser engraving?
A: For beginners and those seeking precision, craft-specific slate (sold as coasters, tiles, etc.) is the best choice. It has a consistent thickness and a smoother surface, which leads to more reliable and higher-quality results. Natural roofing slate can be used but is often inconsistent and requires more preparation.
Q: Why does my slate engraving look melted or have poor detail?
A: This is almost always caused by using too much laser power or too slow a speed. Unlike wood, slate doesn’t need to be burned. You are trying to fracture the surface. Reduce your power significantly (e.g., 10-30%) and increase your speed. Also, a DPI that is too high (over 300) can cause details to blur together.
Q: How do I make my engraved design brighter and more visible?
A: The key is a two-step finishing process. First, after engraving, thoroughly clean the slate with cool water and a soft brush to remove all dust. Once it is completely dry, apply a contrast enhancer. Use food-safe mineral oil for items like coasters and cheese boards, or a matte clear acrylic spray sealant for decorative pieces. This will darken the slate and make the light-colored engraving pop.
Q: Can I use a diode laser to engrave slate?
A: Yes, both CO2 and diode lasers can engrave slate beautifully. The required settings will differ, however. A lower-wattage diode laser may need to run at a higher percentage of its total power and a slower speed compared to a higher-wattage CO2 laser to achieve the same effect. As always, running a test grid is essential to find the ideal settings for your specific machine.
Block "subscribe-popup" not found